What’s New in 4.1
Updated: 06/10/2021
Live2D Cubism gets a major update to version 4.1!
Please see below for a detailed description of the new features.
Temporary deform tool
A temporary deformation tool has been added to allow more convenient deformation of selected objects.
It can be performed on objects with vertices, so deformations can be performed on deformers, and only selected vertices can be deformed.
It can also be used for Form Animation (FA) since it does not modify the model data structure.
Temporary path deformation
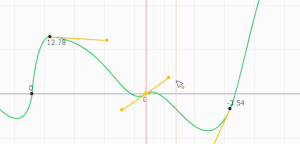
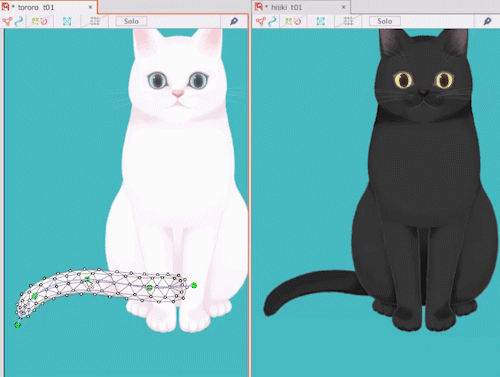
You can create a disposable deform path that allows you to deform the vertices of the selected object.
It can be deformed to bend along a path.
Temporary warp deformation
A grid of control points allows you to deform the vertices of the selected object.
It is also possible to edit the grid by increasing or decreasing its columns and rows according to the situation.
Other temporary deform tools
Objects with vertices can be deformed in various ways.
The following deformations are supported, allowing you to efficiently create the shape you want to make.
- Zoom In/Zoom Out
- Rotation
- Free transform
- Perspective
- Distort
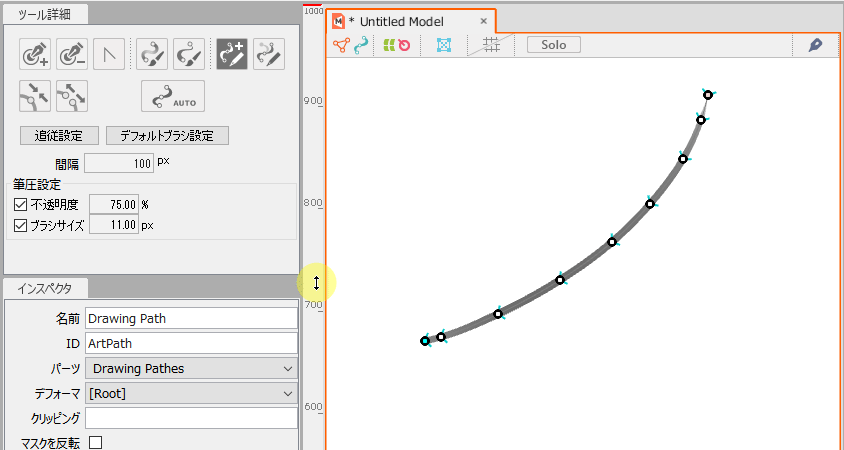
Stroke ArtPath / Re-stroke ArtPath
This function creates and edits an ArtPath to match the stroke.
The ArtPath can be placed in line with strokes drawn with pen tabs, etc., as if they were drawn directly on the canvas.
This function is also useful for redrawing an ArtPath.
Stroke mesh-mapping (beta)
Added the function to create a mesh with strokes in Mesh Edit mode.
Dragging the canvas creates a path from which a mesh can be created.
The polygons of the ArtMesh are divided by tracing the area to be meshed.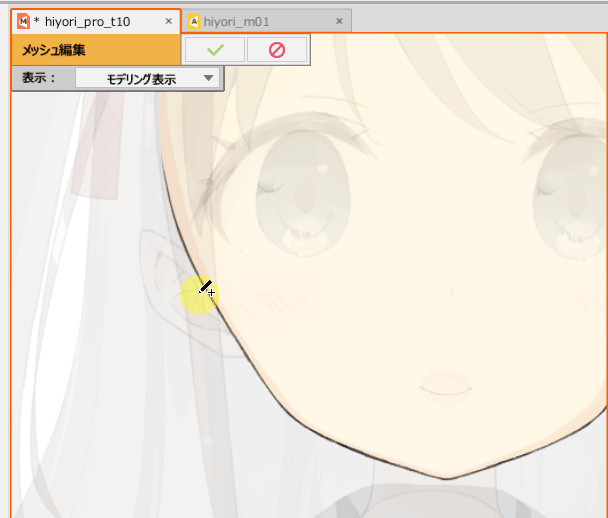
Deformed Brushes (beta)
This tool allows you to intuitively deform ArtMesh, ArtPath, and warp deformer shapes with a brush.
Select an object and drag the area you want to deform to deform it.
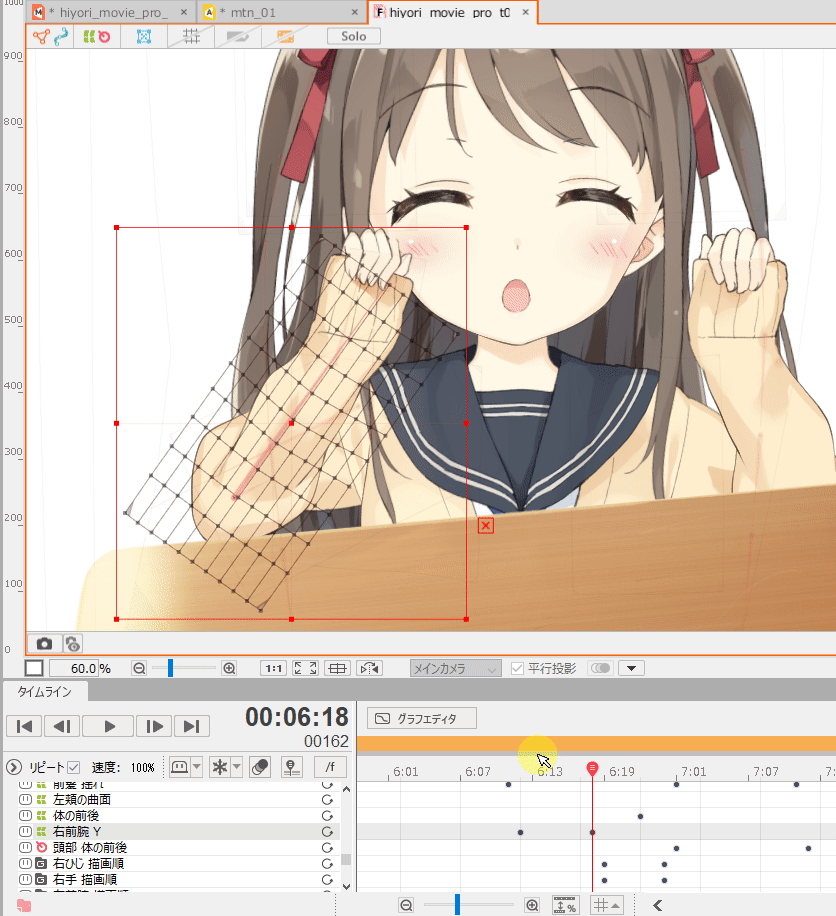
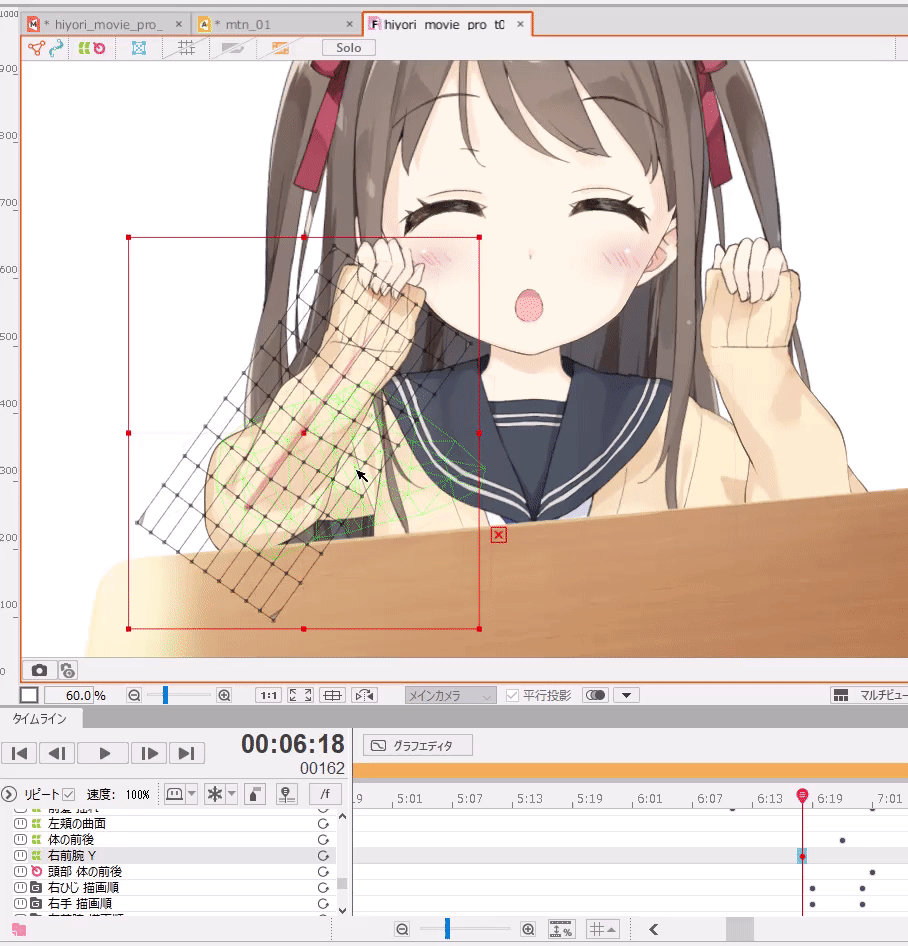
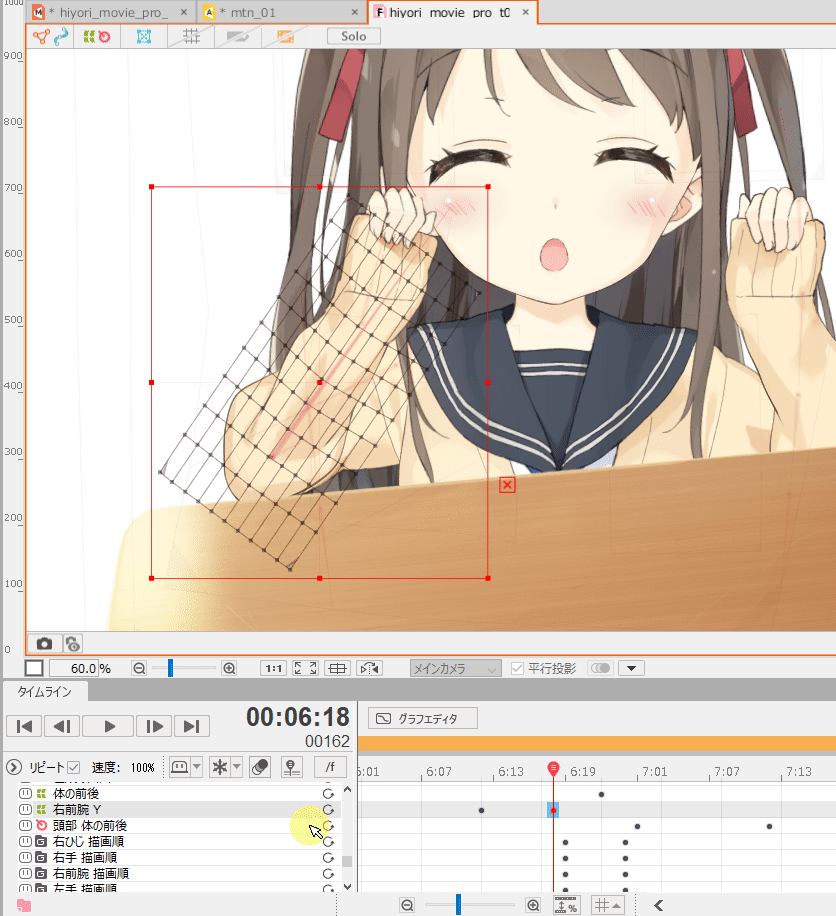
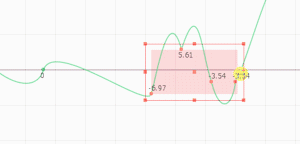
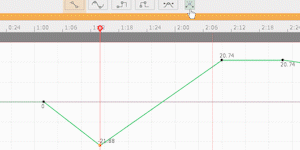
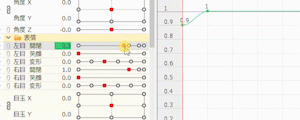
Timeline Improvements
Dope Sheet and Graph Editor have been greatly improved.
Major modifications have been made to the editing of Bezier curves, mainly in the Graph Editor.
Graph Editor
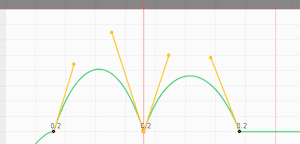
Self-adjusting handle:
In Bezier curve editing, the front and rear handles now extend and shorten to prevent the curve from bending through.
It also extends and shortens in the same way when moved on the Dope Sheet.

Continuous Beziers:
Edit so that the front and rear handles are aligned.
This is useful for adjusting smooth curves.
By default, holding down [Ctrl] and moving a handle will result in continuous Bezier editing, but you can also change the default setting by checking the [Always edit continuous Beziers] in the [Palette menu] in the upper right corner of the timeline palette.
(Press [Ctrl] to reverse the function.)
Box editing:
Keys no longer disappear when transforming a box in the selected state.
When narrowing the width of the box, the keys are placed as close together as possible.
In addition, the original shape is remembered until the box disappears, so curve information is not lost even if the box is repeatedly deformed.
Copy and paste:
Copy and paste can now be used within the Graph Editor.
One curve can be pasted into any other curve at any position across scenes and animations.
In the case of multiple curves or Form Animation curves, the curves are limited to the same curve.
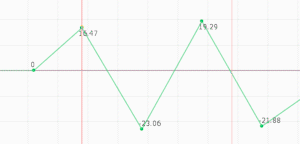
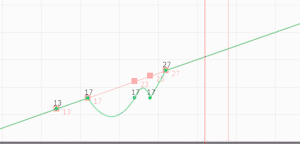
Edit curves by dragging:
It is now possible to grab a curve and edit its shape.
This is useful for creating rough shapes.

Curve presets:
Frequently used curve shapes can be applied to a specified curve at the touch of a button.
This is a useful function that can also be utilized for character movement, although it is often used primarily in motion graphics.
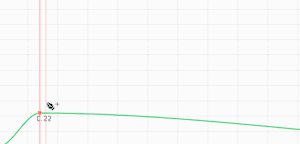
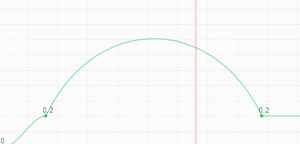
Smooth a curve:
Shapes the handles before and after the selected point into a straight line (continuous Bezier).
It can be selected from the right-click menu and applied to a selection key or to the entire selection curve.
Enable smart snap:
Round the value of the selected points.
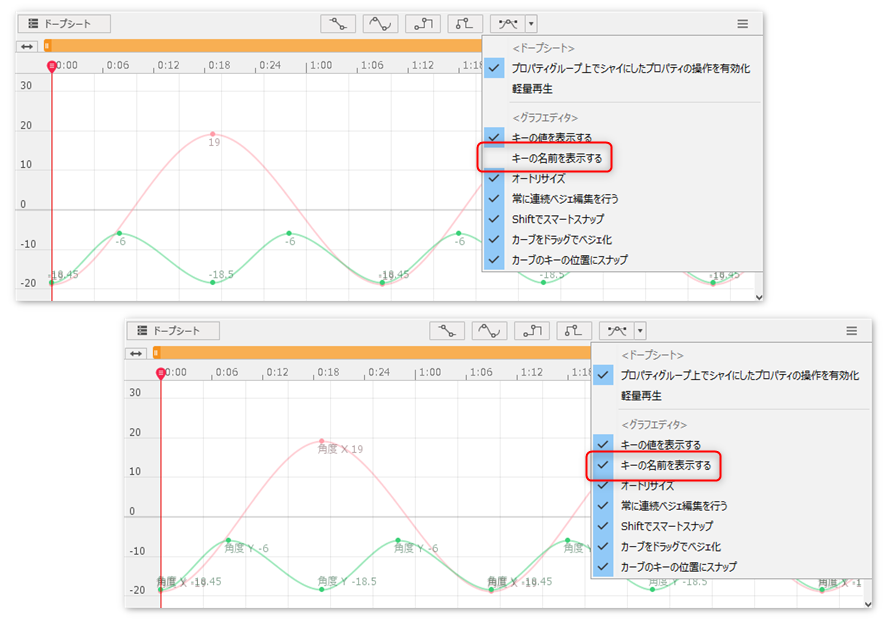
Display parameter name at key position:
If the [Display key name] checkbox in the timeline palette menu is checked, at the key position in the Graph Editor, the name of the parameter will be displayed.
Dope Sheet
Adding keys:
In the case of Bezier curves, handles are automatically created while preserving the curve shape as in the Graph Editor.
Changing values:
When editing with the parameter slider, the original shape is maintained as much as possible, even if the handle reaches the upper or lower limit until a decision is made.
Increasing parameter input accuracy:
Editing Live2D parameters while holding down [Shift] allows you to enter detailed values.
This function is useful when fine adjustments are required.
Moving Form Animation Key:
For Form Animation curve editing only, the values are adjusted to maintain a base point value (the same value as the frame value) that reflects 100% of the deformation when the key is moved.
Improvements in UI operation in heavy environments:
Operability during heavy model editing has been improved.
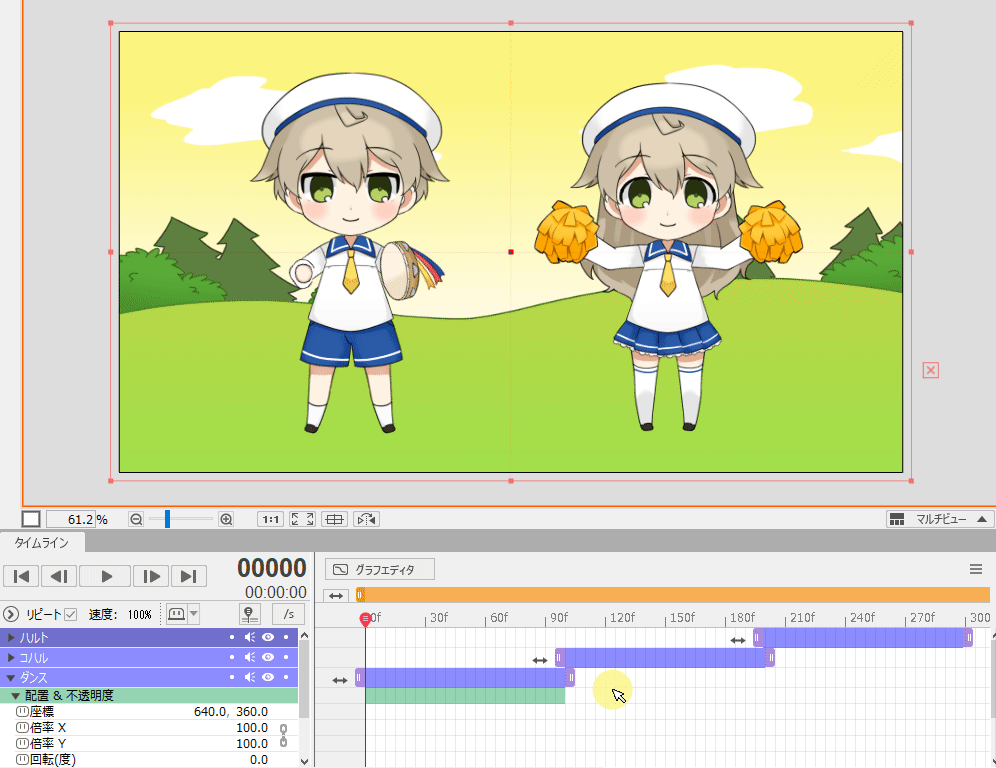
Scene Track
- This function places a scene as a track within another scene.
Scenes can be used as materials or multiple scenes can be joined together to create an animation.
Scenes can also be nested by placing scenes containing scene tracks as scene tracks. - Apply a time remapping to the scene track to add effects such as speeding up, slowing down, reversing,
- or easing the playback of the referenced scene.
In addition, by placing the created scene as a scene track and applying a time remapping, the timing of the overall movement can be adjusted.
- or easing the playback of the referenced scene.
- The scene track has a repeat function, allowing the referenced scene to be played back repeatedly.
It can be used to repeatedly display short scene materials, such as simple effects or screen superimpositions.
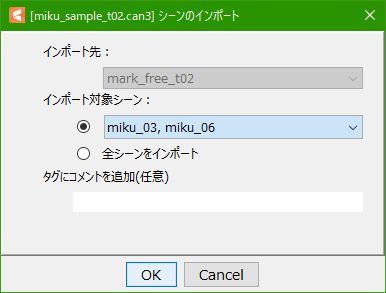
Scene Import
The function to copy and add part or all of a scene from another animation file.
Reference information for materials such as models and image files is also copied as needed.
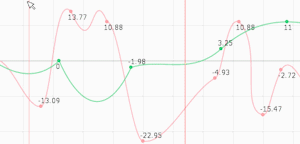
Onion Skin (Official Version)
The onion skin feature, which has been available as a beta version since Cubism 4.0, is now released as an official version.
In addition to the substantial addition of setting items, improvements have been made in terms of ease of use, including access to functions.
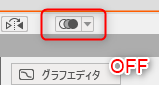
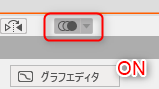
Onion skin activation
A button added to the bottom of the View area allows the onion skin to be turned on and off without having to open it from the menu.
The ON/OFF status is linked to the open view ([Modeling], [Animation], [Form Animation]).
 |  |
Modeling View display settings
The Modeling View allows the following settings.
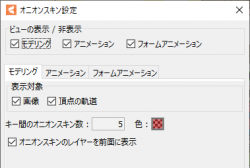
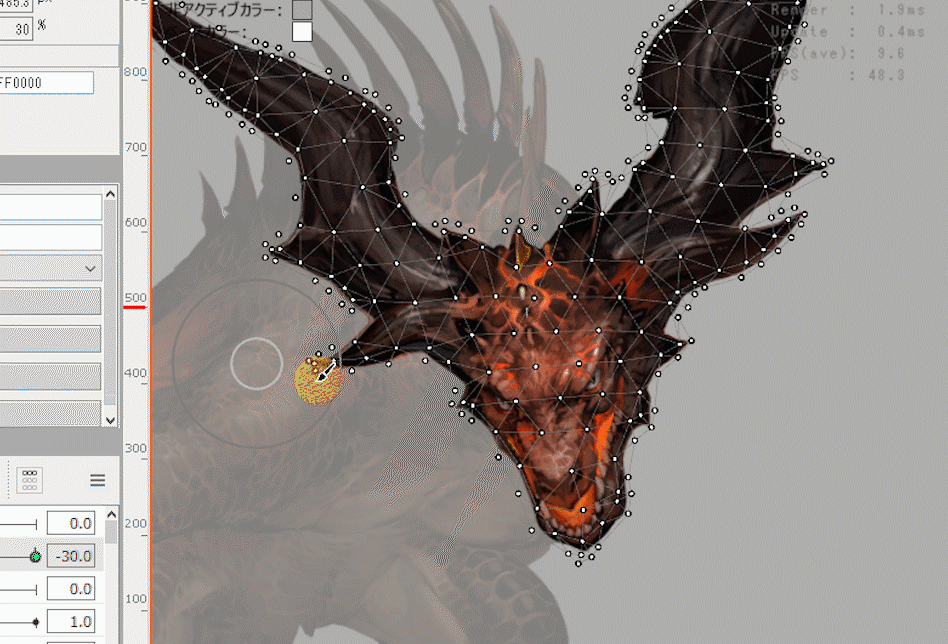
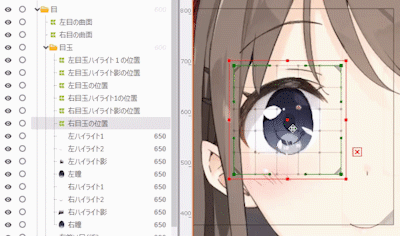
Image / Orbit of the currently selected vertex:
In the beta version, it was only possible to switch on/off the display of the orbit of the selected vertex, but in the official version, the image of the onion skin and the display of the orbit can now be switched independently.
In the beta version, the orbit of the selected vertex was displayed only in the ArtMesh, but in the official version, the control point of the deform path is also supported.
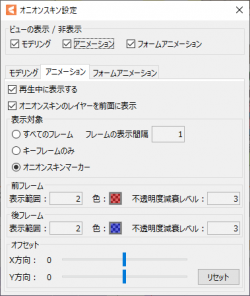
Color and transparency settings:
Onion skin color and transparency settings are also available in the Modeling View.
Onion skin layer in the foreground:
When checked, the onion skin layer is always displayed in front of the other parts, and when unchecked, it is displayed in its original draw order.
Onion skin marker
Onion skin markers are special markers that are placed at any frame position on the timeline palette to set the display position of the onion skin.
Onion skin markers can be moved by dragging with the mouse.
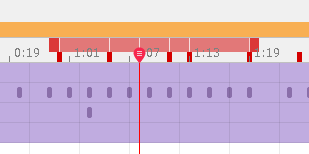
Visualize the display range of the onion skin on the timeline
A red bar has been added to indicate the range of frames in which the onion skin will be displayed.
The length of the onion skin display range bar is linked to the display range of the frame to be displayed (see below) and the previous and next frames in the onion skin settings.
The red bar displaying the onion skin range can be toggled between [All Frames], [Keyframe], and [Onion skin marker].

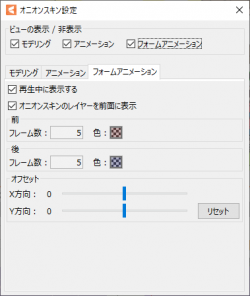
Animation View display settings
The following settings are available in the Animation View.
Display during playback:
The onion skin display can now be toggled on and off during animation playback.
This is useful if you want to reduce the drawing load during playback while the onion skin function itself is turned on.
Onion skin layer in the foreground:
When checked, tracks in the onion skin are always displayed in front of other tracks; when unchecked, tracks are displayed in their original draw order.
Displayed in:
The target frame for displaying the onion skin can now be selected.
Opacity reduction level:
The opacity of onion skin frames can now be set to decay as one moves away from the current position.
The reduction level can be set on a 10-point scale.
Offset:
A setting to shift the drawing position of the onion skin in the X and Y directions has been added.
This function is useful when you want to check the previous and next frames on a track with few coordinate shifts.

Form Animation View display settings
The following settings are available in the Form Animation View.
Note: These are almost the same functions as the settings with the same name added to the Animation View.
Other Improvements
Hide selected state
Click on the [Show] menu -> [Hide selected state].
When an object is selected on the canvas, the UIs (ArtMesh vertices, mesh lines, and deformer border lines) are hidden.
Shortcut keys can also be used to hide the UI on the View that appears in the selected state.
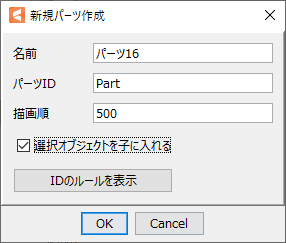
Put selected objects into children
A new option (checkbox) [Put selected objects into children] has been added to the Create Part dialog box.
[Put selected objects into children] is enabled when
- multiple objects are selected.
- executed from a shortcut, regardless of the number of selected objects.
- [Shift] + left click on the New Part icon.
Paste shapes to different objects
For objects such as ArtMeshes and warp deformers, if the number of vertices is the same, you can use [Copy Shape] on an object and paste onto another object.
If the objects are of the same type and have the same number of vertices and control points, they can be pasted.
For an ArtPath, the shape can be pasted along the copied shape even if the number of vertices do not match.
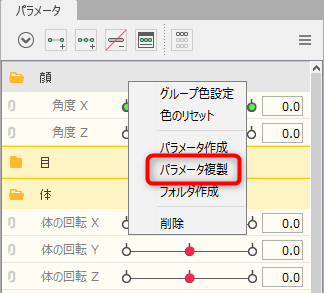
Replicate parameters
Added [Replicate parameters] function to the right-click menu of parameters.
Duplicate parameter settings only.
(Objects and keyforms are not duplicated.)
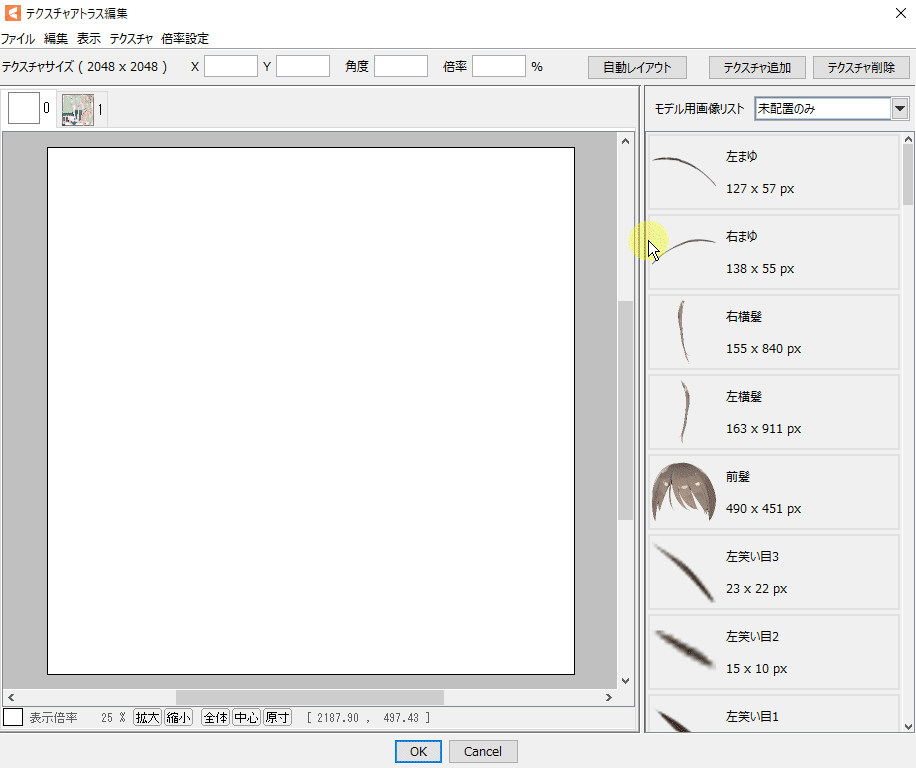
Change Auto Layout on Edit Texture Atlas
With the Auto Layout on Edit Texture Atlas dialog box, you can now configure to fix magnification, allow rotation, etc.
In addition, while previously it was only possible to automatically place images so that they did not overlap, we have added a setting that allows meshes to be placed in such a way that they do not overlap.
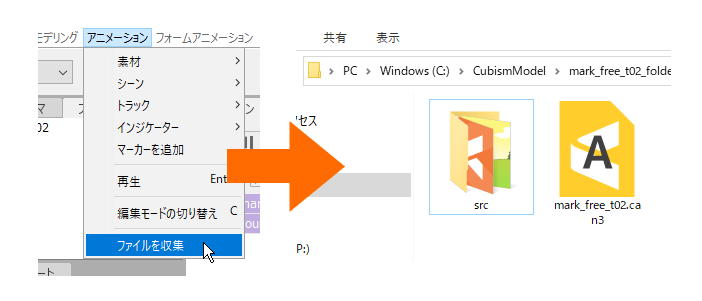
Gather files
Copy and export the animation file along with the material being used.
This can be used to archive animations or pass them on to other workers, avoiding accidents such as lost material files or broken links.
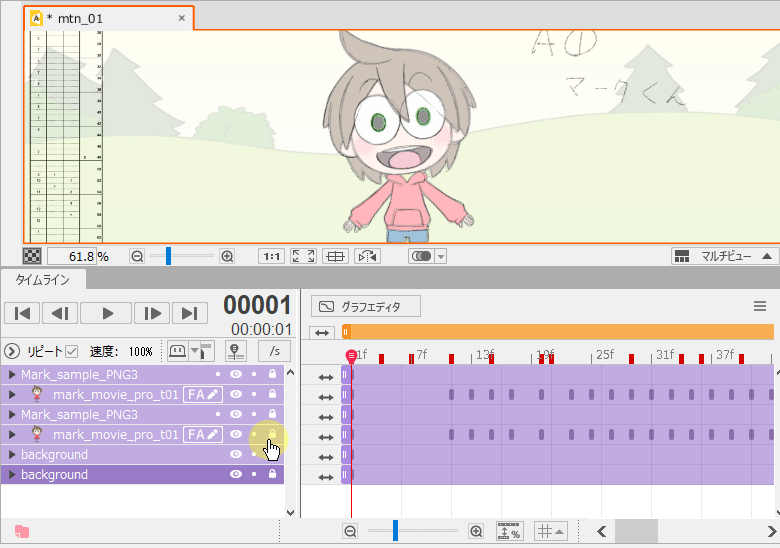
Solo display function
This function allows you to display the target track alone on the timeline palette.
By pressing the [Solo display button] added to the right of the track’s display button (eyeball button), only that track can be displayed alone.
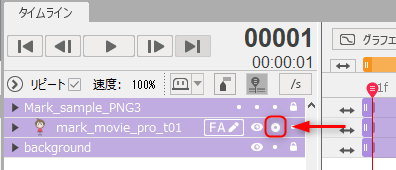
Change by dragging the display and lock buttons
The [Track display] and [Lock] buttons on the timeline palette can now be continuously toggled by dragging.
Buttons on multiple tracks can be switched on and off more quickly.
[OW Viewer] Display curve type for motion
[OW Viewer] The function to reproduce motion playback of SDKs from 4.0 or earlier has been added.
If you are using the SDK (Others) in the target version, please consult with the developer and consider whether to check the box.
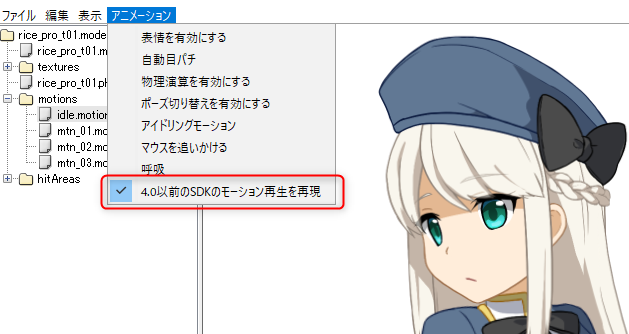
See the “When the reproducibility of motion3.json deteriorates” page in the [Cubism SDK Manual] for more details.
[OW Viewer] Cursor tracking setting function
The Viewer can now do exactly the same thing as the [Cursor Tracking Settings] in the Editor’s Physics and Scene Blend Settings dialog box.
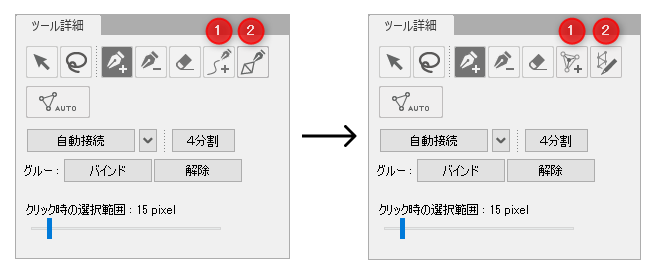
Changes in some icon and cursor designs
The following icons in the [Mesh Edit Tool] under Edit Mesh manually have been redesigned.
(The cursor used to change the icon design is also changed.)
(1) Add more vertices
(2) Stroke Mesh-mapping (beta)
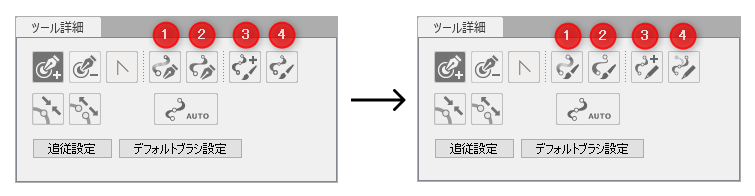
The following icons in the [ArtPath Tools] have been redesigned.
(The cursor used to change the icon design is also changed.)
(1) Adjust the opacity of control points.
(2) Adjust the width of control points.
(3) Stroke ArtPath
(4) Re-stroke ArtPath