How to create PSDs to import
Updated: 08/26/2025
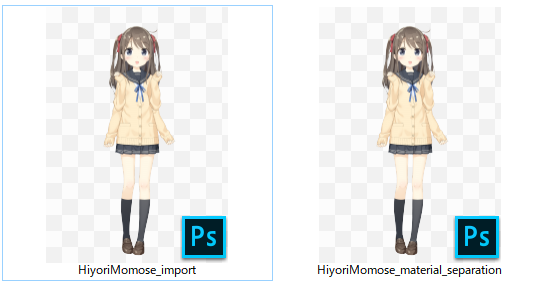
This page explains the preparations required after material separation and how to create import PSDs.
See “About Material Separation” for the procedure for separating illustrations into parts such as eyelashes, eyeballs, outlines, and so on.
How to create PSDs to import
Each part (group) created in the PSD for material separation is combined into a single layer.
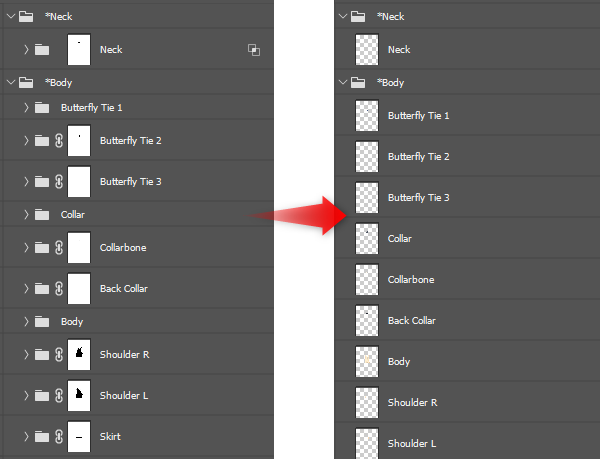
Once all the parts are on a single layer, save as a new file.
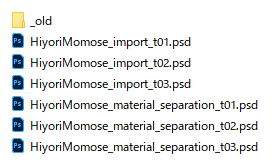
For file names, PSDs for material separation should be named “xxx_material_separation.psd,” and PSDs for import should be named “xxx_import.psd,” etc. for easier management.
Note: When merging groups, be careful not to overwrite and save the merged layers in the material separation PSD.
Tips
It is a good idea to enter txxx at the end of the data name, with the xxx part increasing in number each time the PSD is updated.
(“t” means take.)
Using the same txxx numbers for material separation and for importing makes management easier.
A Photoshop script that can automatically merge layers is available.
Download the script from the “Scripts for Photoshop” page.
Notes When Creating PSDs for Import
When creating PSDs for import, the following points should be noted.
Check to see if there are any layers with the same name
Typically, the same layer name can be imported into Cubism Editor, but the same layer name can cause confusion, which can lead to problems later on.
To avoid such problems, all the layers should be named differently in the material separation PSD stage.
Layer attributes after merging should match those in [Color blend] in the Cubism Editor
Layer attributes set in the PSD may change to unintended colors upon import if there is no corresponding item in the Cubism Editor’s [Color blend].
Tips
Layer attributes can be set in the Cubism Editor.
After importing, select the ArtMesh for which you wish to change the attribute and open the [Inspector] palette -> [Color blend] to reset it.
If a layer attribute other than “Normal” is set in the PSD, it will be automatically set when imported into the Cubism Editor if there is a corresponding item in [Color blend].
If none are applicable, the attribute will be “Normal.”
See “Blend mode” for details.
[Opacity] settings in the PSD are also reflected in the Cubism Editor, but [Fill] is output at 100%
If [Opacity] is set to 50% in the PSD, the opacity will be set to 50% when imported into the Cubism Editor.
[Fill] is not reproduced in the Cubism Editor, so even if it is set to “50%,” etc., it will be set to 100% in the Cubism Editor.
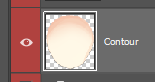
For cheek dyeing, for example, where the density needs to be adjusted, it is recommended to use [Opacity] instead of [Fill].
Tips
Opacity can also be set in the Cubism Editor.
After importing, select the ArtMesh you want to change, then select the [Inspector] palette -> [Opacity] setting.
Merge line drawings and clipping masks
One layer per part.
Line drawings, fills, filter effects, clipping, etc. are combined into a single layer.
Note: If you want to separate line drawings, shadows, etc., manage them as one layer per part.
Layer masks are not used
If layer masks remain, combine them into one with “Apply Layer Mask.”
Color mode is “RGB,” color profile is “sRGB”
If the color mode is set to something other than RGB, such as CMYK, PSDs cannot be read, so use RGB mode.
If the color profile is not sRGB, the colors may be incorrect when loaded, so use sRGB.
See “Notes on PSD creation” for the conversion method.
Check for dust
There may be some eraser residue or other dust left behind that is hard to notice, and even dust is recognized as a material.
Automatic mesh generation, etc. may not work properly, so be sure not to leave any dust behind, such as eraser residue.
Even if no dust remains, a large transparent area may cause unintended operation.
It is a good idea to use the Lasso Tool or other tools to select and delete non-material areas.
In Photoshop, you can change the display of layer thumbnails to get a rough idea of the current state of the material.
| ✓ | ✖ |
 |  |
Check to see if path information is included
If path information is included in a PSD created with Photoshop CC2019 or later versions, it may not be imported into the Cubism Editor.
If path information is included, it should be deleted before merging.