About Material Separation
Updated: 01/04/2024
This page explains the material separation process with specific examples.
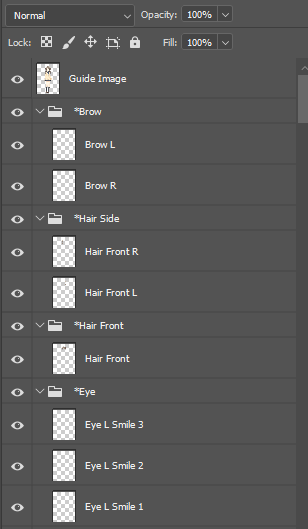
Material separation is the process of dividing an illustration into parts, such as eyelashes, eyeballs, outlines, and so on. This process is necessary for the Live2D modeling process.
Please refer to the tutorial video “Illustration Processing” for detailed material separation information and an explanation for each part.
Note: Please refer to the linked page where you can download PSDs to import.
The drawing data is imported into the Cubism Editor, but in rare cases, depending on the drawing tool you are using,
normal reading and writing may not be possible.
Please use the following drawing tools that are guaranteed to work.
Recommended graphics software when creating PSDs for import
- Photoshop (Adobe)
- CLIP STUDIO PAINT (Celsys)
Criteria for Material Separation
The amount of material separation will vary depending on the model, but the more detailed the division, the better the quality of the model will be.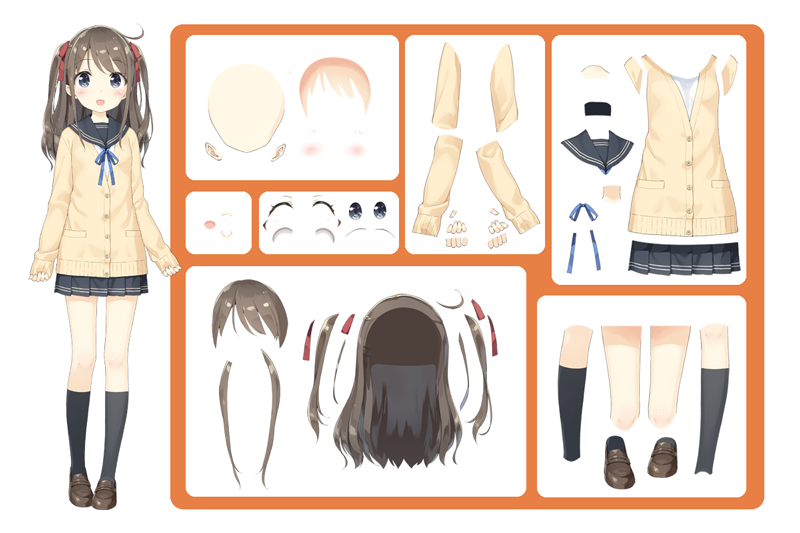
Material Separation Procedure
First, copy the source image.
Place the copied source image in a newly created group (folder) and change the name to the part name for clarity.
POINT
Copy only the necessary parts from the source image.

Set a layer mask on the group from which you copied the source image, and cut around the part you wish to crop.
If you accidentally cut off too much of the image, a layer mask is useful because it can be easily undone.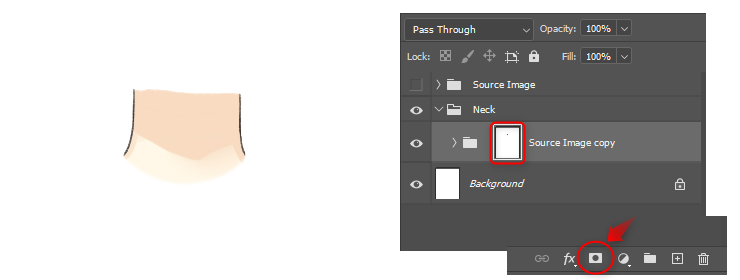
Be sure to create a new layer and add the color and lines of the part to it.
The parts that move significantly and the parts that will be visible when other parts move should be drawn earlier in the process.
Be careful not to add directly to the original layer in the group, as it will be difficult to revise later.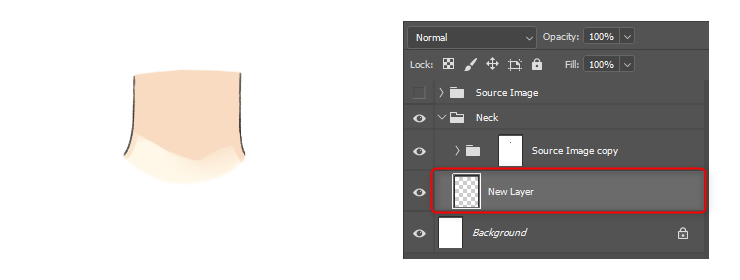
The above is the rough flow of material separation.
For a detailed explanation of material separation, please refer to the tutorial video “Illustration Processing.”
Although the material separation can be performed with a variety of graphics software, we recommend working with [Photoshop] or [CLIP STUDIO PAINT], where you can use a variety of brush tools according to the layer masks and illustrations.
PSDs for Material Separation and Import
When creating models, it is useful to have the following two PSDs available for easy modification and management.
PSD for material separation:
Mainly used for processing and editing parts
PSD for import:
Used for importing into Cubism Editor
PSD for material separation
PSDs for material separation are PSDs that can be processed and edited when additional parts or further material separation becomes necessary during model creation.
All folders and layer masks will be in their pre-merged state.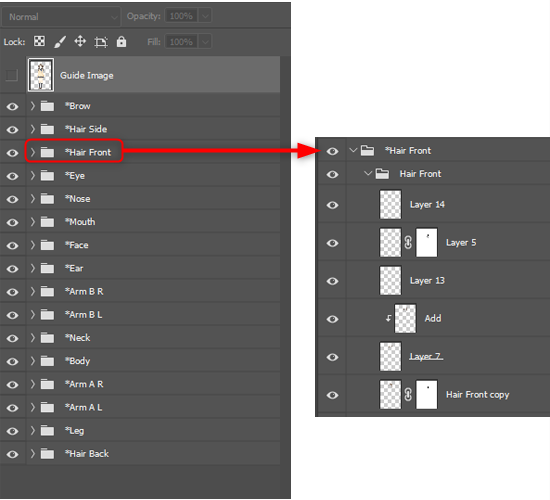
PSD for import
PSDs for import are PSDs that combine folders and layer masks in the PSDs for material separation into a single layer of parts for import into Cubism Editor.
POINT
It is typically easier to do the drawing additions to the “PSD for import,” but it is recommended to do this with a “PSD for material separation” so as to facilitate later editing.
For more information on how to create PSDs for import, see “How to create PSDs to import.”