Stroke ArtPath / Re-stroke ArtPath
Updated: 06/10/2021
This function creates and edits an ArtPath to match the stroke.
Stroke ArtPath / Re-stroke ArtPath
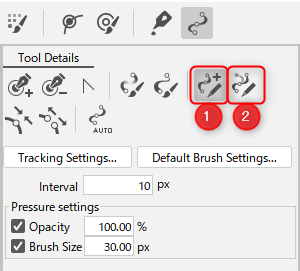
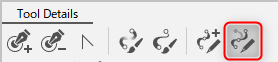
Click on the ArtPath Tools icon, then, from the Tool Details palette, select [Stroke ArtPath] (1) or [Re-stroke ArtPath] (2) to execute it.
Note: Create/edit ArtPath with strokes can be set up as shortcuts.
Stroke ArtPath
To create, select the [Stroke ArtPath] icon in the red frame.

Dragging in the View area creates an ArtPath.
Re-stroke ArtPath
To edit, select the [Re-stroke ArtPath] icon in the red frame.
Edit to select and draw the vertices of the ArtPath you want to deform.
Precautions
A “green arrow” now appears at the control points of the ArtPath.
This represents the direction in which the ArtPath was drawn.
[Re-stroke ArtPath] depends on the order in which the ArtPaths are drawn. When editing, please draw according to the direction of the “green arrow.”

Tool Details
Interval
This is the “interval” setting for the vertices of the ArtPath that will be created when drawn.
A small interval creates an ArtPath with more vertices and a large interval creates an ArtPath with fewer vertices.
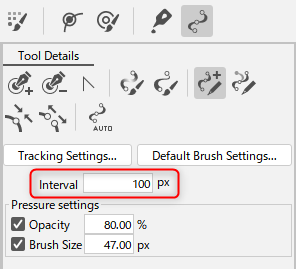
Pressure settings
The Opacity and Brush Size values are the values that will be applied to the opacity and line width of the control points of the ArtPath being created.
If the pressure setting is checked, the pressure will be 0.0 to 1.0 times higher depending on the pen tab’s pressure.