Placement of Guide Image
Updated: 03/04/2026
This section describes how to place a guide image.
There are two ways to place a guide image.
- Load external image files (PNG, JPG)
- Take a snapshot and use it as a guide image
How to Place a Guide Image
Load external image files (PNG, JPG)
To load a guide image file, drag and drop the image file onto the Canvas View.
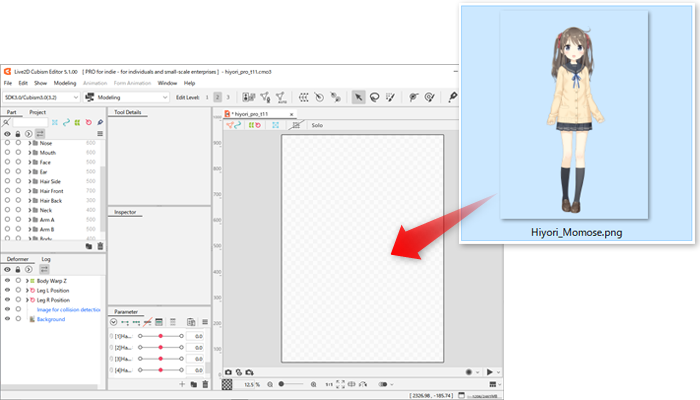
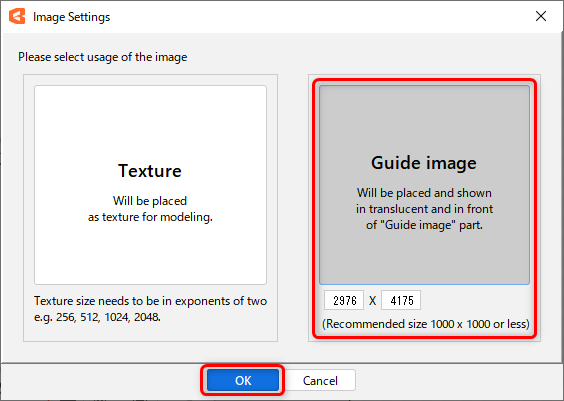
The image is loaded and the [Image Settings] dialog box appears.
Click [Guide Image], set the size, and click the [OK] button.
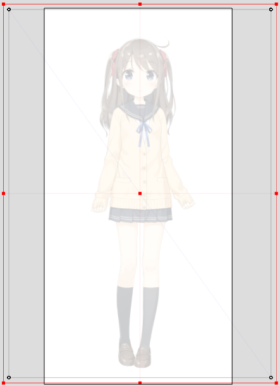
The guide image will be placed in the [Guide Image] part of the [Parts palette] with an opacity of 25%.
Adjust size and position as needed, and adjust opacity in the [Edit] palette.
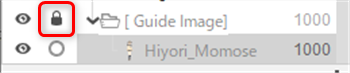
Once placement and adjustment are complete, it is recommended to lock the [Guide Image] part to secure it so it will not move.
Take a snapshot and use it as a guide image
You can also place guide images by taking snapshots in various poses and using them.
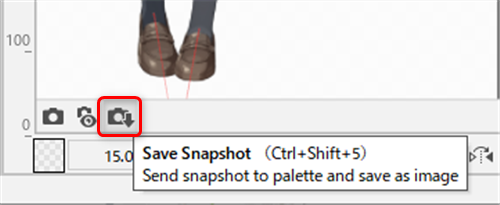
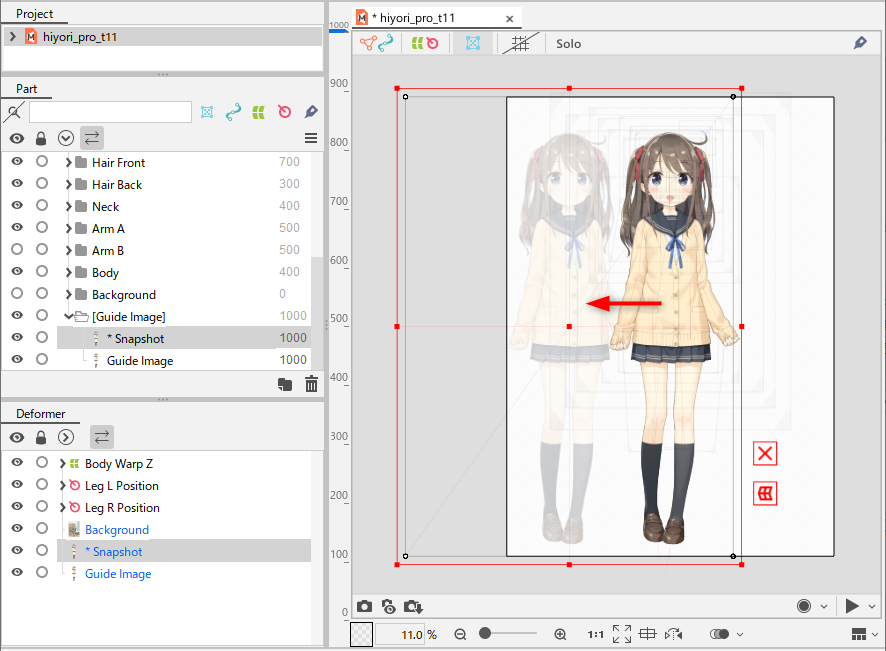
ArtMeshes that become the guide image using the snapshot function are placed in the “guide image parts” with an opacity of 25%.
Note: In the reference image below, the placed guide image is moved to the left to make it easier to see.
See “Snapshot Function” for more information on the snapshot function.
Behavior When Adding a Guide Image
- If there are zero parts for which a guide image has been set, the guide image is placed within the part after the part for which the guide image has been set is created.
- If there is only one part for which a guide image has been set, the currently added guide image is added to the part as it is.
- If there are two or more parts for which a guide image has been set, parts are searched for with width given priority, and then the currently added guide image is added to the first part found.