Exporting and Replacing PNG Files (beta)
Updated: 09/06/2018
Editing the Texture Atlas allows you to export and replace textures as PNG files.
PNG files can be replaced even for data created by reading PNGs with cmox files prior to Cubism 2.1.
Point
This feature can be used with models created with Cubism 3 or later, but it is only implemented as a fix for model files that have been replaced with PNG files in Cubism 2.0, and they can be replaced with PNG files in Cubism 3 or later.
If you want to change colors or replace textures in Cubism 3 or later, we recommend using the “Re-import PSDs” in the Advanced version.
Export Textures as PNG Files
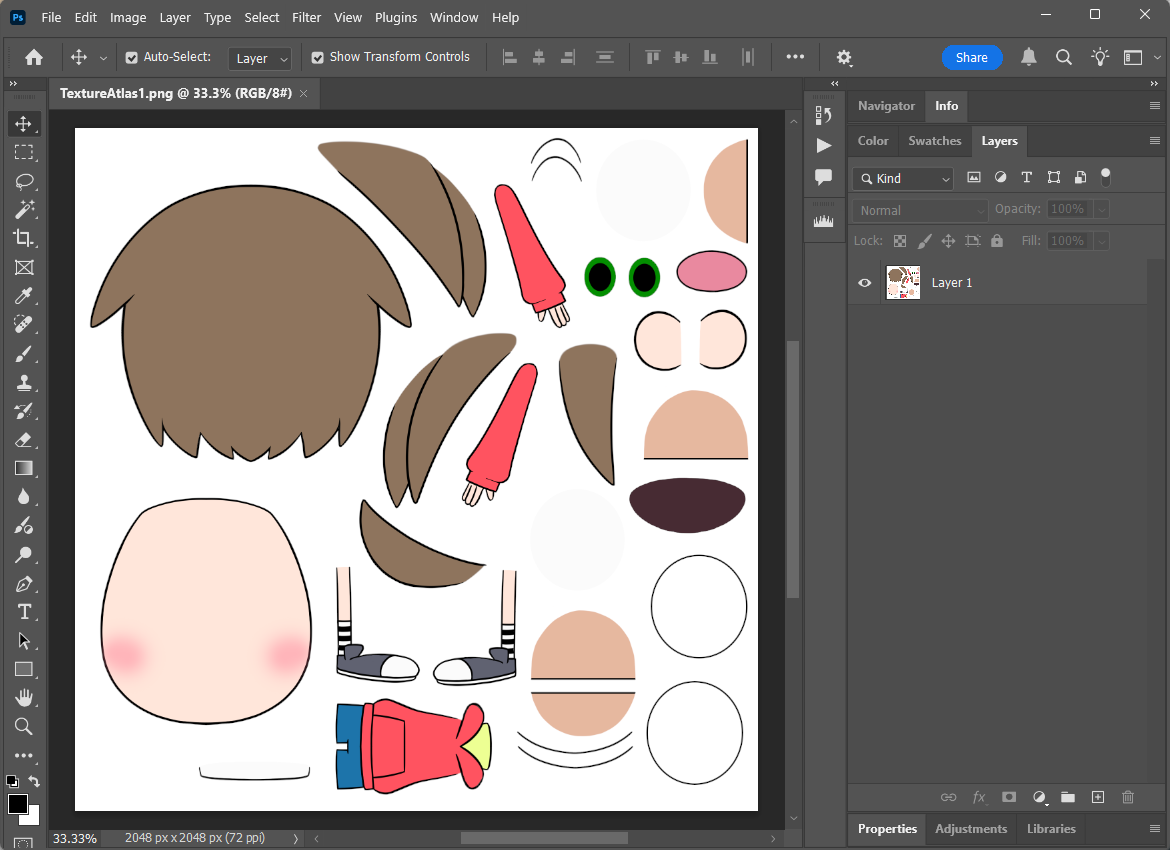
Export textures as PNG files from the Texture Atlas Editor.
Click on the Texture Atlas Edit icon.
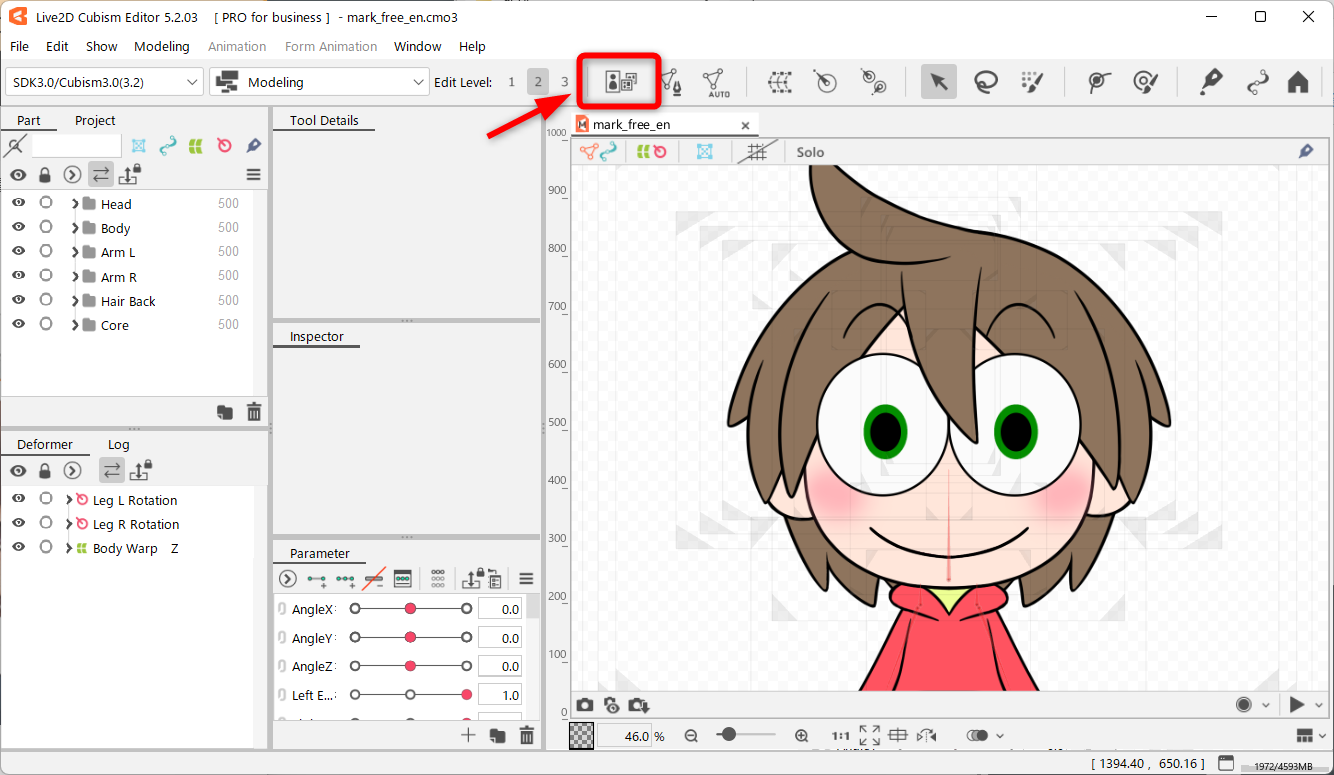
This will open the Texture Atlas Edit screen.
Select the texture you want to export as a PNG file.
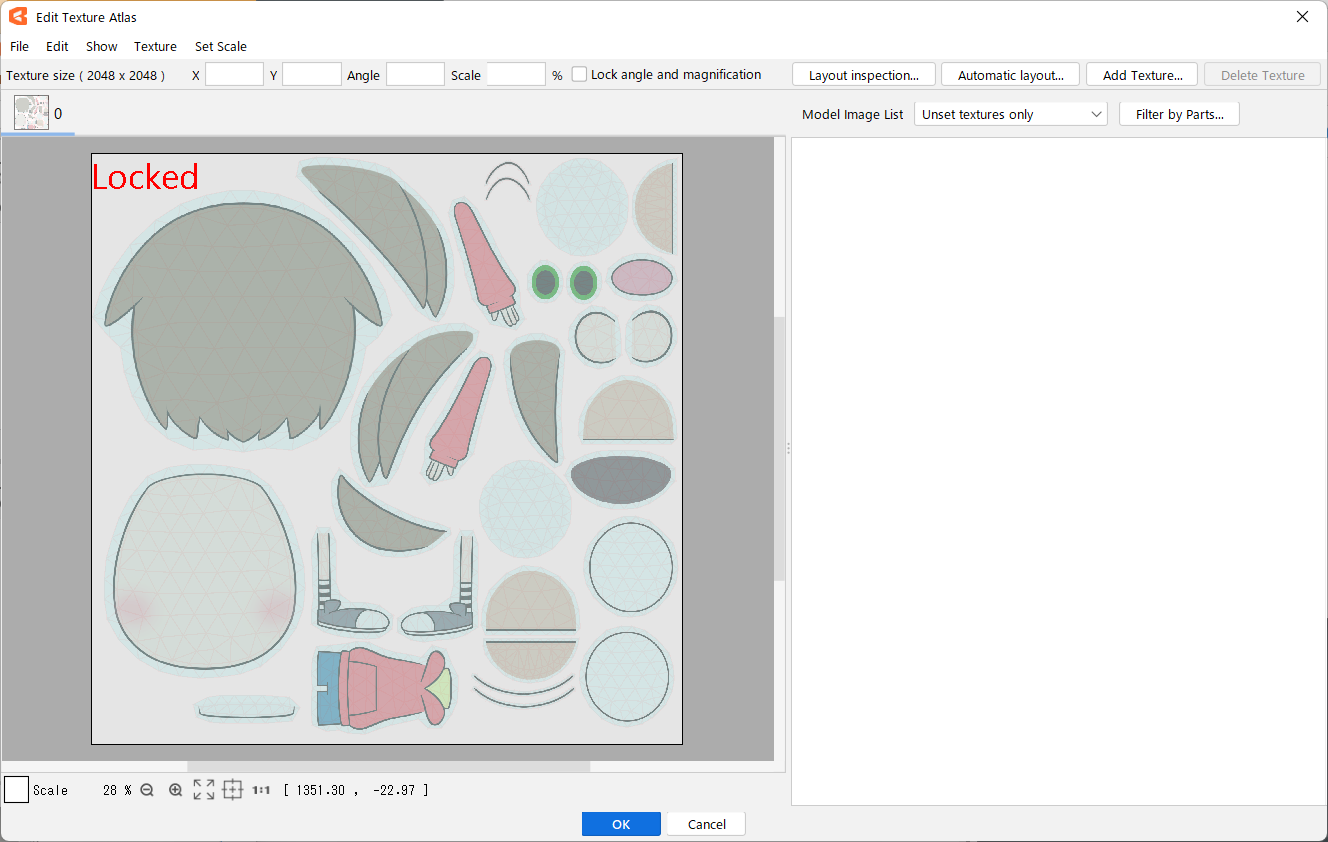
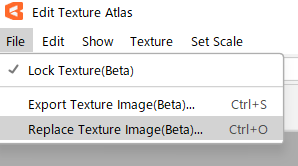
File menu => Export texture image (beta)
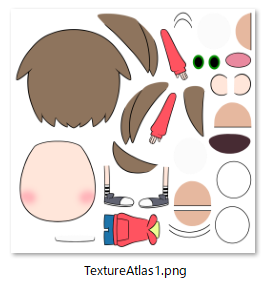
Textures are exported as PNG files.
Replace Textures with PNG Files
Textures can be replaced with PNG files from the Texture Atlas Editor.
Now, let’s change the color of the model’s clothes by replacing the PNG file.
Change the color of the model’s clothing using the PNG file exported in the previous section.
 |  |  |
Go to the Editor and select the tab for the texture you want to replace on the Texture Atlas Edit screen.
File menu => Replace texture image (beta)
The PNG file has been replaced and the color of the model’s clothing has been changed.
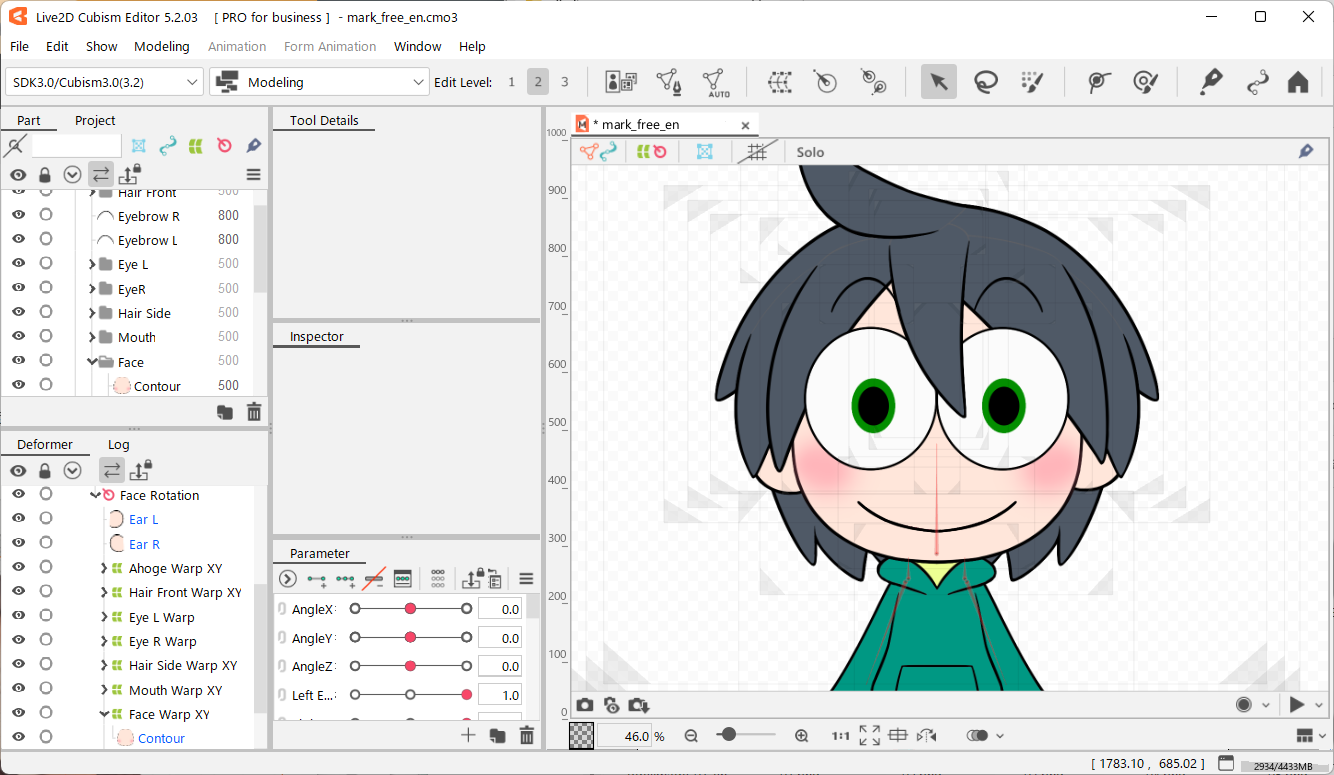
However, as shown in the image below, only the texture has been replaced, so it needs to be further reflected in the source image.
(The model guide image is before replacement.)
The following procedure will be reflected in the source image.
Modeling menu => Texture => Apply Texture Atlas to Source Image (Beta)
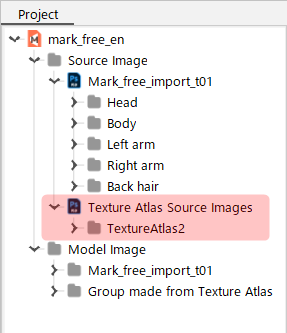
“Texture Atlas Drawings” has been added to “Source Image” in the project palette and is now reflected.
This allows objects to be repositioned for data with “texture image replacement.”