Create Facial Expressions in Animation View
Updated: 07/12/2021
This section describes the steps for creating facial expressions in the Animation View.
Setting Scenes
First, create a new animation file.
Click the [File] menu -> [New] -> [Animation] to create a new scene.
A project file name that is easy to recognize as an expression, such as “(character name)_exp.can3” is recommended.
First, set up the settings for expression motion in the [Inspector] palette.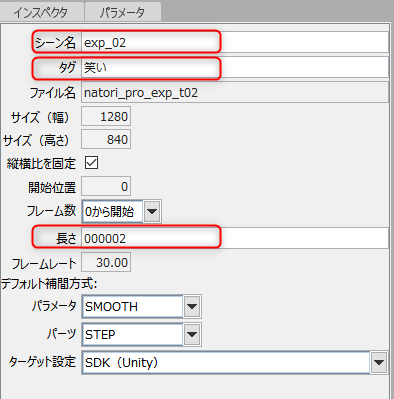
Scene name:
The scene name will eventually be listed in the JSON file, so the name should be consistent with the content.
Tag:
The tag section should include the expression name for easy identification.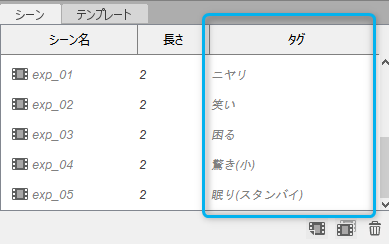
Duration:
Since there is no movement in the expression, the shortest length is fine.
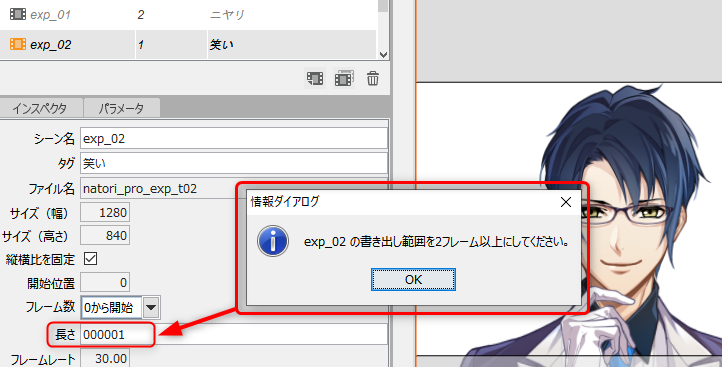
However, since the timeline must be longer than 2 frames when the motion data is exported, set the scene duration to “2.”
If the duration is not long enough (1 frame), the following warning dialog box will appear.
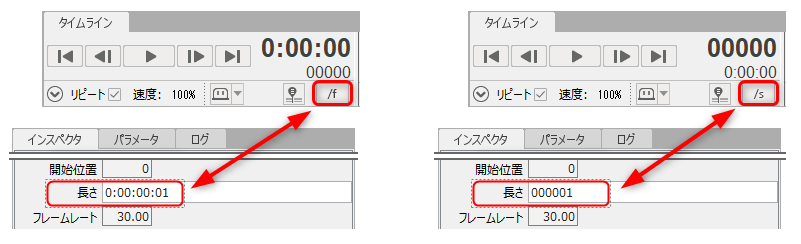
TIPS
The time duration notation can be switched between “timecode format” and “frame format” by pressing the icons in the [Timeline] palette.
Load the model
Drag and drop models onto the [Timeline] palette to place them on the View.
For more information on loading model files, see “Model Loading and Placement.”
Then, adjust the model size.
Place the model in a size that makes it easy to recognize the expressions, as shown in the figure below.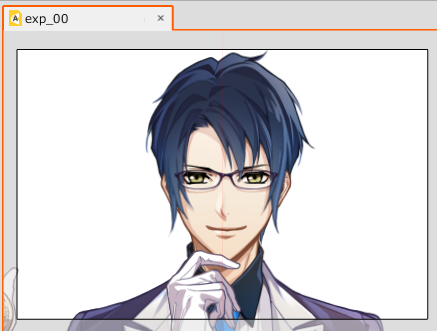
How to Add Facial Expressions
Keyframes will be hit only on the parts related to facial expressions.
Keyframes are not used for areas unrelated to facial expressions, such as the “angle of the face (XY)” or the “swing of the hair”.
Also, for facial expressions, parameters that may be moved by motion, such as “mouth open/close,” “eyeball X,” and “eyeball Y,” should be carefully considered when determining values.
Normally, these parameters should be left unchanged at their standard values.
(This depends on the specifications of the game or application, so please consult with your development staff before making a decision.)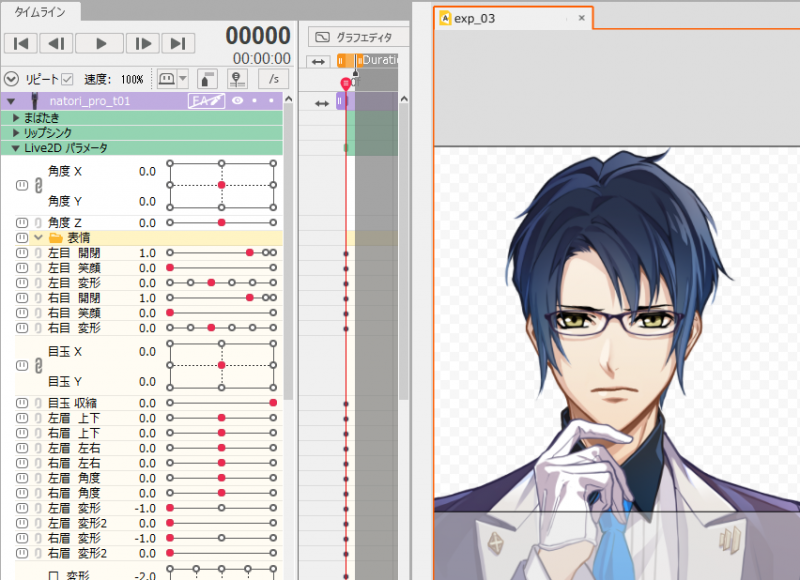
Export Motion Data
Once the facial expression scene has been created, click the [File] menu -> [Export Embedded File] -> [Export motion file] to export the .motion3.json file.
If there is no particular requirement, export the file with the following settings.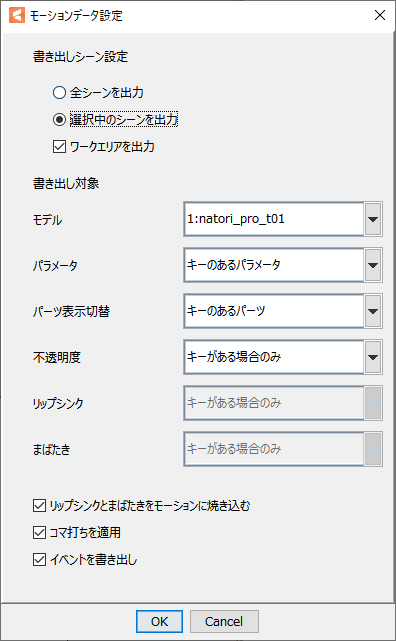
For instructions on how to import .motion3.json files for facial expressions into the Viewer, please refer to “Expression Settings and Export.”