Inverted Mask
Updated: 09/04/2019
This section describes mask inversion.
About Inverted Mask
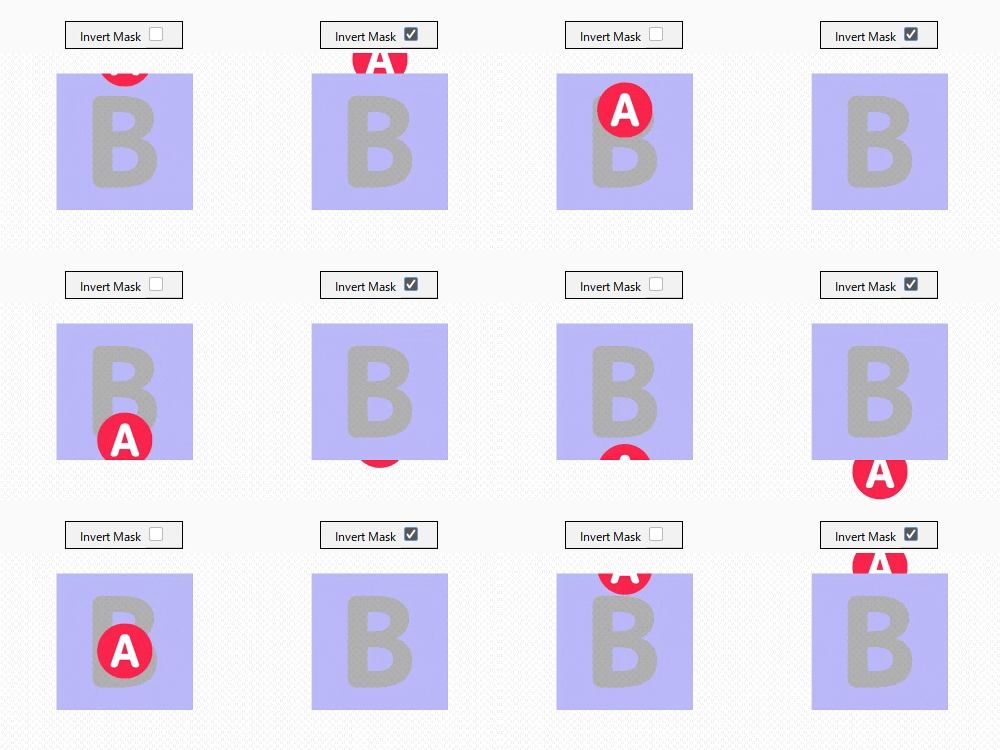
Inverts the clipping mask, allowing for hidden expressions.
Procedure for Inverted Mask
The procedure is the same as for “Clipping Mask” up to specifying the object ID to be masked.
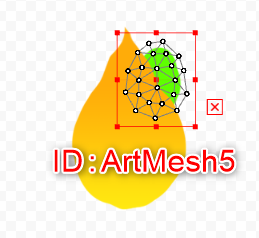
Select and copy the ArtMesh to be masked.
Select the ArtMesh to be clipped and paste its ID in the [Clipping ID] field of the [Inspector] palette.
The ID of the ArtMesh to be used as a mask (ArtMesh5) is pasted into [Clipping ID], and the object is clipped.
Up to this point, this is the normal clipping mask procedure.
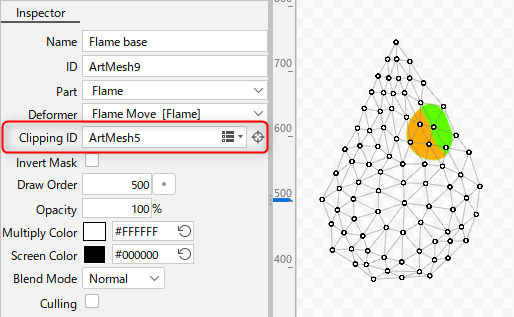
Check [Invert Mask] in the [Inspector] palette.
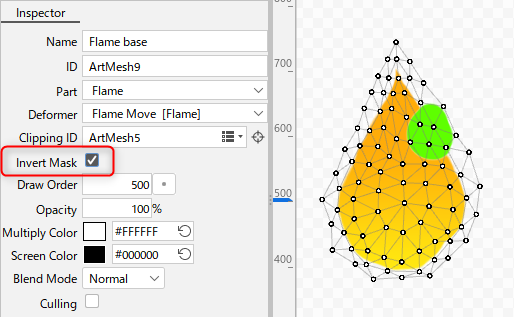
By turning on Inverted Mask, it is the opposite of a normal clipping mask, and the expressions can be hidden by the specified ArtMesh.
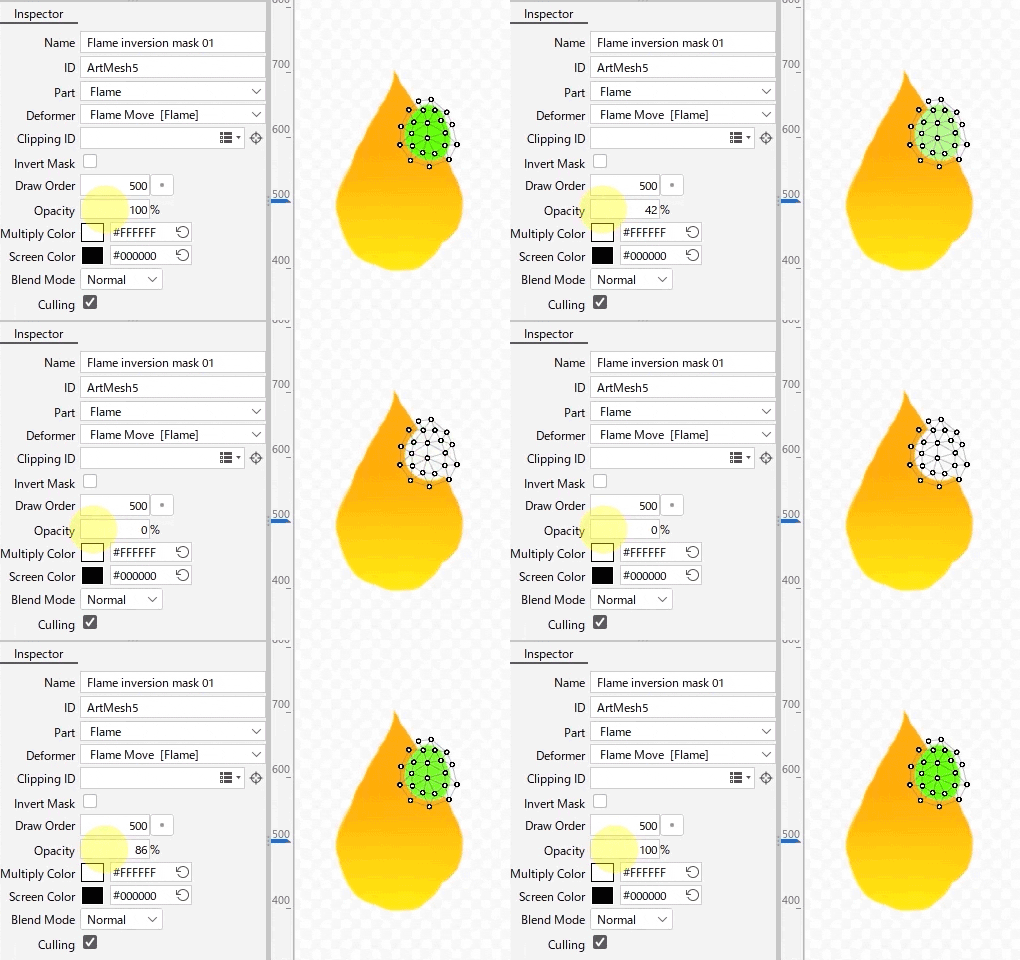
Tips
Multiple ArtMeshes can be specified by separating them with a comma (e.g.: ArtMesh1, ArtMesh2, …)
Point
When used in video productions other than SDKs, clipping masks can be used extensively.
Example of Mask Inversion Usage
Clipping the bangs to a translucent image => [Invert Mask] to create the sheerness of hair.
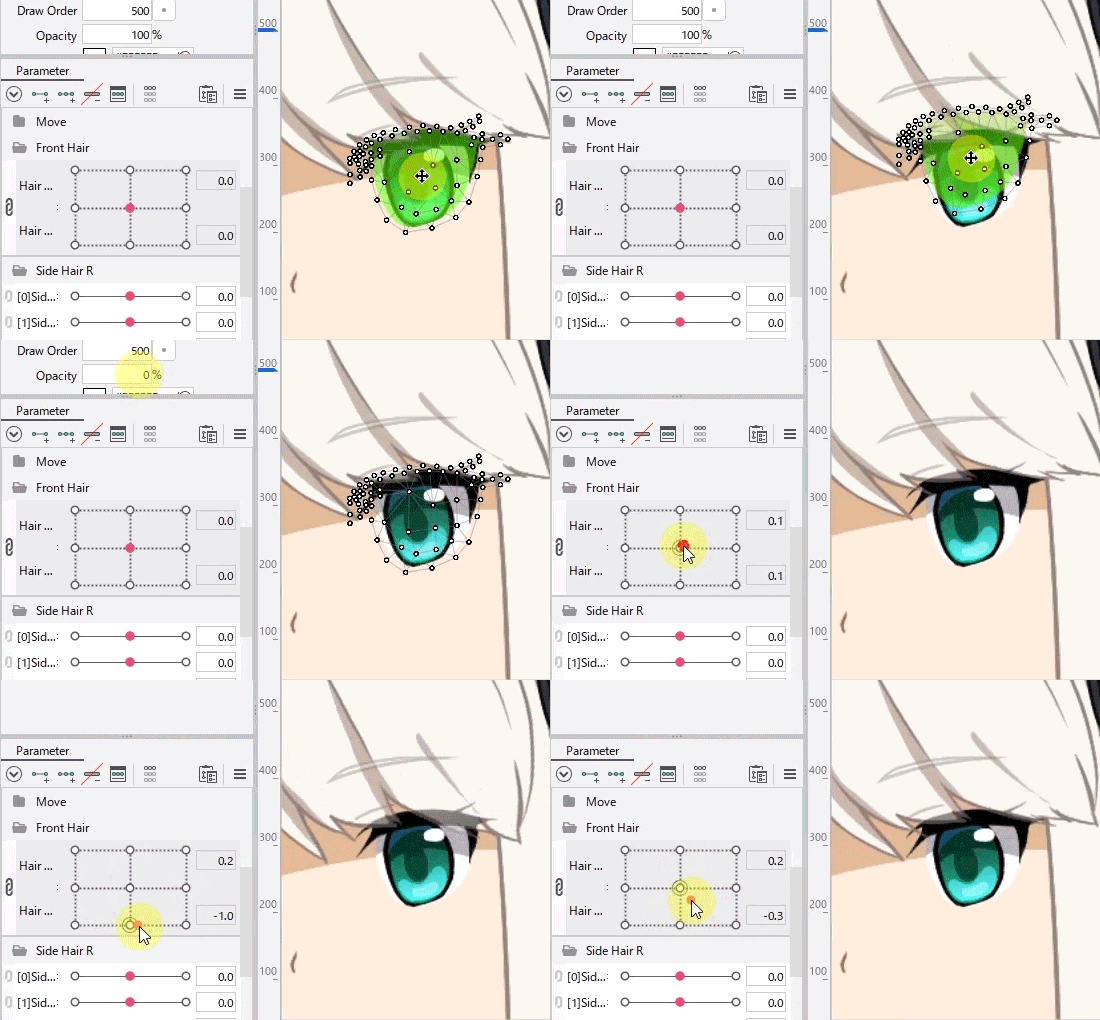
The inverted mask can be used to hide the specified object, so that colors do not overlap even when semi-transparent objects are superimposed on each other.
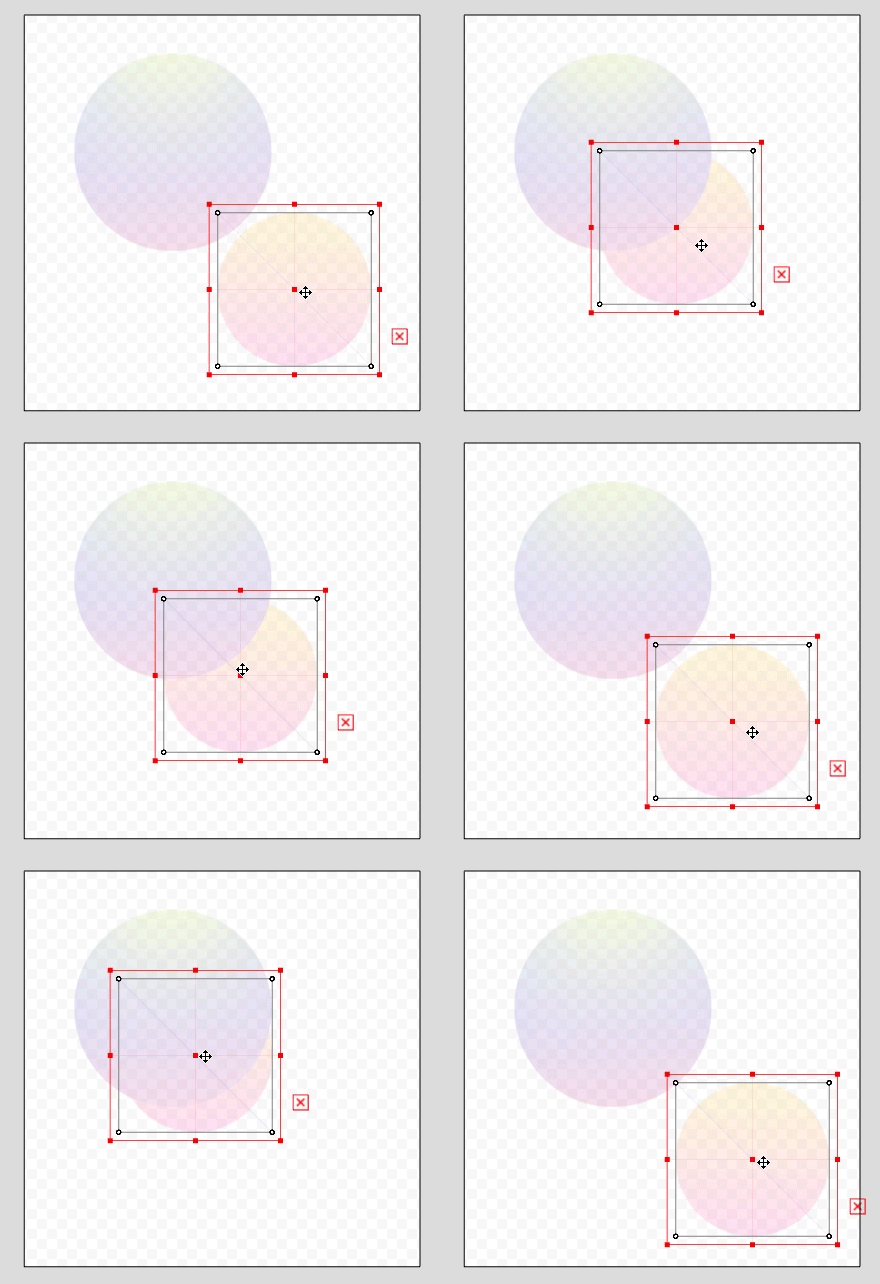
Notes on Clipping When Using SDK
Restriction by SDK version specification
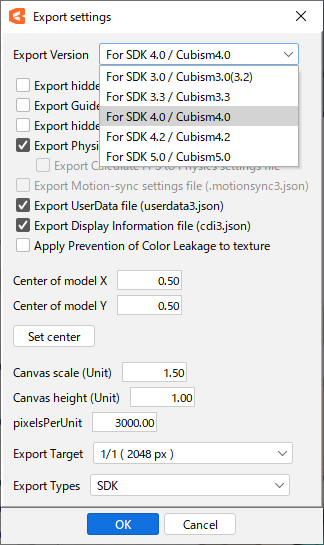
When using mask inversion, the Editor’s SDK target version should be [SDK4.0/Cubism4.0] or later.
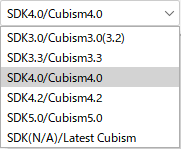
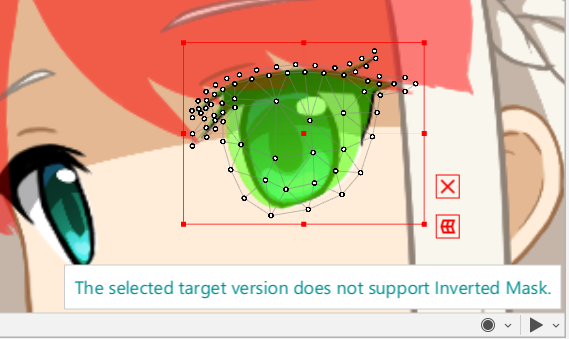
For targets 3.3 or earlier, mask inversion is not supported and is not reflected in the View display.
(It will look red and a warning appears.)
About moc3 file export
To use models with mask inversions in SDK 4.0, please set the export version to [SDK4.0/Cubism4.0 compliant] or later versions.
If you select version 3.3 or earlier, the clipping ID and mask inversion flags will not be exported if mask inversion is turned on.
