Graph Editor
Updated: 10/22/2024
The Graph Editor allows you to create animations while visually checking changes in parameters.
This section describes the basic operations of the Graph Editor.
Switch Edit Mode
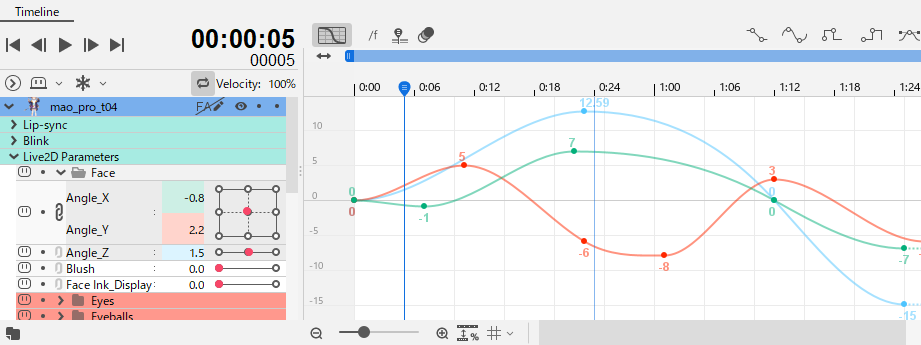
By default, the [Dope Sheet] is displayed, which represents keyframes as dots.

Click the [Switch Edit Mode] button to switch to the [Graph Editor].
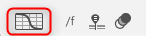
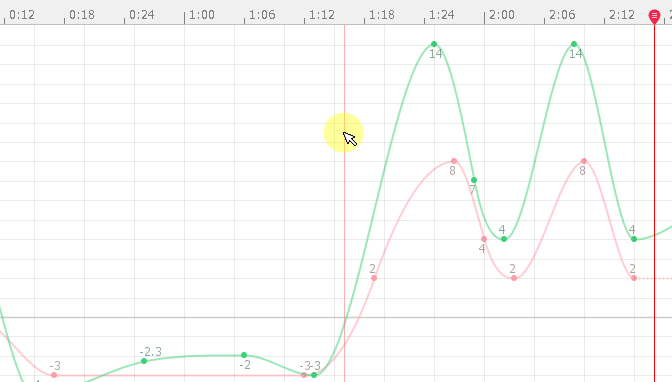
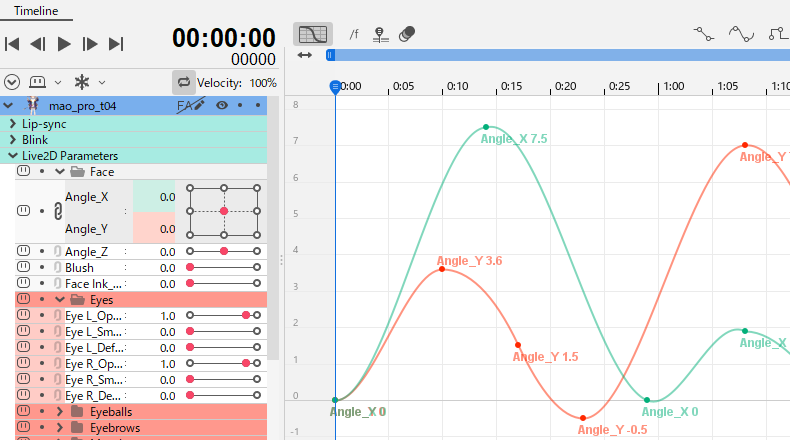
Selecting a parameter displays a graph, which can then be edited.
Multiple curves can also be displayed simultaneously by selecting multiple parameters.
Click the [Switch Edit Mode] button again to switch to the [Dope Sheet].
You may want to edit the animation while switching to a format that is easy to use.
Basic Operation
Insert keyframes
You can insert a key at any position by holding down [Ctrl] and [Left-click] on the frame at the position where you want to insert.
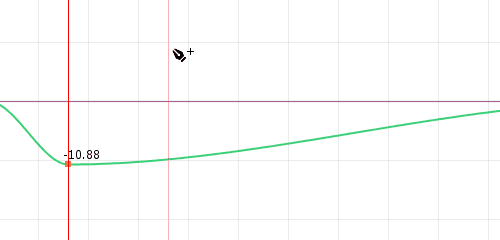
You can insert a key on the curve by holding [Ctrl] + [Shift] and [Left-click].
The cursor will then display a “+” as shown in the image below.
Delete keyframes
You can delete a key by holding down [Ctrl] and [Left-click] on the keyframe.
The cursor at this time will be a “-” as shown in the figure below.
Moving keyframes
You can change the position of the selected keyframe by dragging it.
When the Bezier curve key is moved, the front and rear handles extend and contract proportionally to prevent the curve from bending through the front and rear handles.
This is true even when moved on a dope sheet.
Multiple selections allow you to move multiple keyframes at the same time.
You can also use the [left and right arrow keys] to move the keyframe left or right.
Only the [arrow keys] can be used to move left and right.
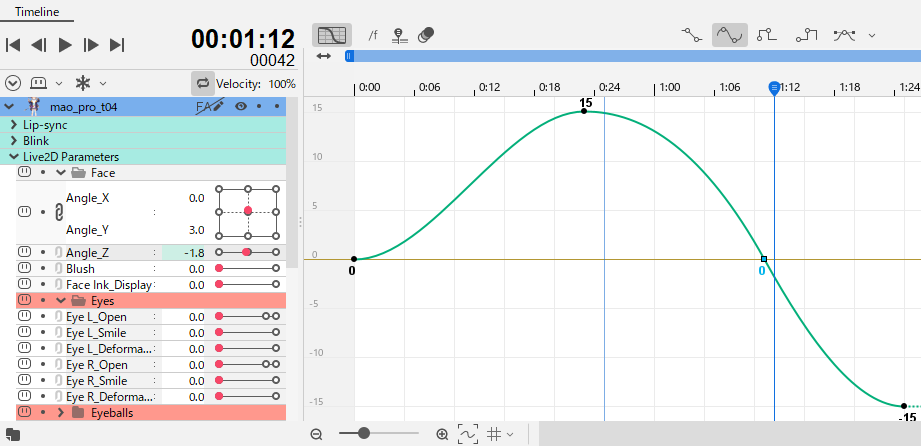
Editing a continuous Bezier
It can be edited so that the front and rear handles are aligned.
This is useful for adjusting smooth curves.
By default, holding down [Ctrl] while moving a handle will result in continuous Bezier editing, but the default can also be changed by checking [Always edit continuous Bezier] in the [Palette menu] in the upper right corner of the timeline palette.
(In that case, [Ctrl] will invert the function.)
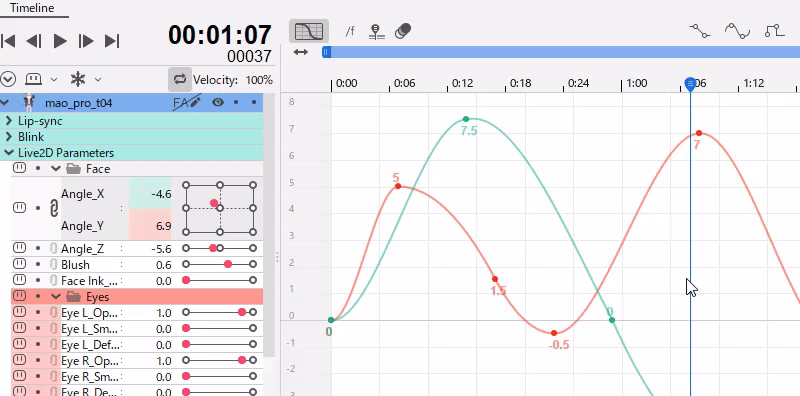
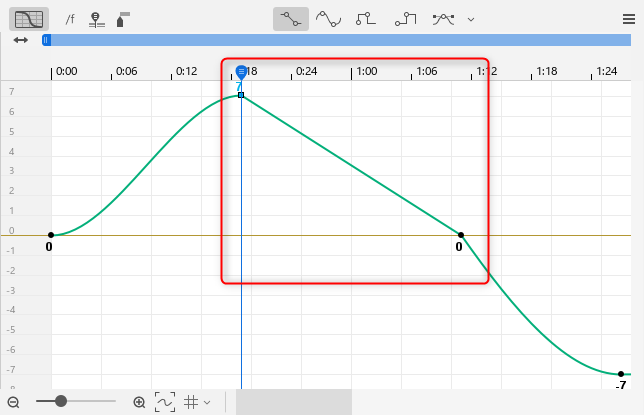
Editing multiple keyframes
If you start dragging from an empty area on the timeline, you can select keyframes contained within that area.
Multiple selected keyframes can be edited for parameter values at once.
When multiple selections are made, a red frame [Bounding Box] will appear.
The [Bounding Box] can be deformed freely, just as you would do elsewhere, and by grabbing the center point, you can move it while maintaining the keyframe alignment.
The amplitude of the curve can also be adjusted by scaling the [Bounding Box].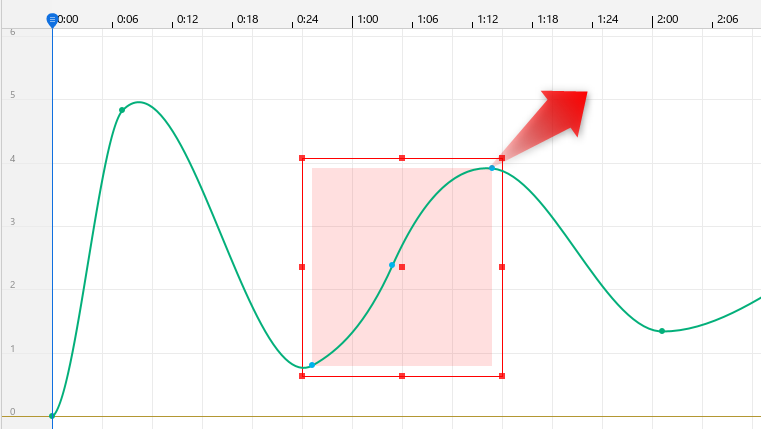
The following actions are performed by dragging while holding down the Shift or Alt key with multiple selections.
| [Shift] + drag | Moving vertically up and down |
| [Shift] + drag | Scaling while maintaining aspect ratio |
| [Alt] + drag | Scaling with anchor centered |
| [Shift] + [Alt] + drag | Scaling with anchors centered while maintaining aspect ratio |
Box editing
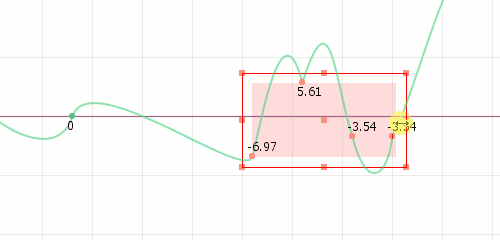
When narrowing the width of the box, the keys are placed as close together as possible.
The key does not disappear when the box is transformed in the selected state.
In addition, the original shape is stored until the box disappears, so there is no loss of curve information even if the box is repeatedly deformed.
Copying and pasting
You can copy and paste keys within the Graph Editor.
Information on one curve can be pasted into any other curve at any position across scenes and animations.
In the case of multiple curves or FA curves, it is limited to the same curve.
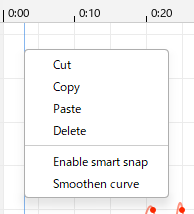
Cut
Keys can be cropped within the Graph Editor.
This can also be selected from the right-click menu.
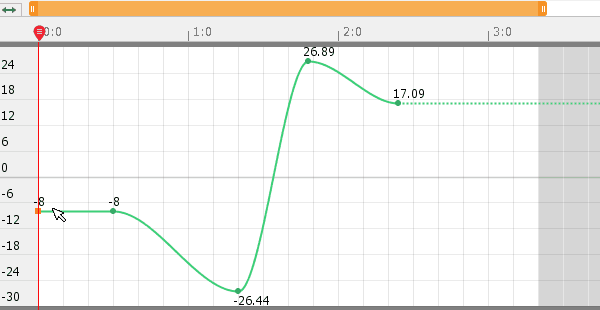
Curve dragging
You can grab a curve and edit the shape.
This is useful for creating rough shapes.
Shaping handles
Shapes the handles before and after the selected point into a straight line (continuous Bezier).
It can be selected from the right-click menu and applied to a selection key or to the entire selection curve.
Formatting values
Round the values of the selected points with the grid values.
You can use this function by checking the [Smart snap using Shift] checkbox in the timeline palette menu.
The [Shift] + [Alt] + [drag] action toggles between enable and disable.
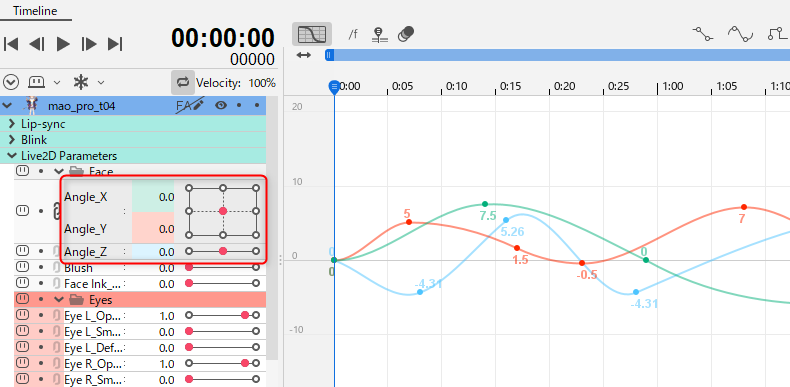
Changing values
When edited with the parameter sliders, the original shape is maintained until a decision is made, and the shape is maintained as long as possible, even if the handles reach their upper and lower limits.
Changing values with up/down cursor keys
In the Dope Sheet or Graph Editor, select a key and use the up or down keys on the keyboard to change the value.
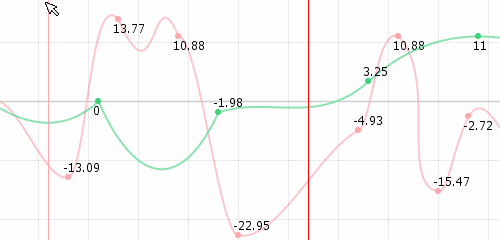
Selecting multiple properties
Multiple properties can be selected.
How to select:
- [Ctrl] + click to select individual items
- [Shift] + click to select a range
- Select all elements inside a folder by clicking on the folder in the properties
Tips
The property selection color and the curve line color will be the same, and if multiple properties are selected, each will be color-coded.
Displaying parameter name at key position
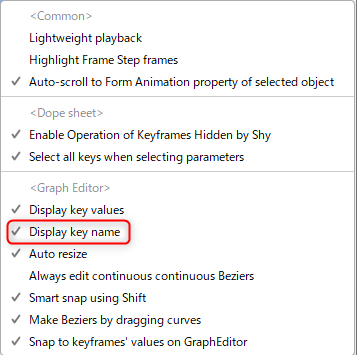
If the [Display key name] checkbox in the timeline palette menu is checked, at the key position in the Graph Editor, the name of the parameter will be displayed.
Expanding and reducing the timeline
The width of the timeline can be scaled using [Alt] + [mouse wheel].
The center of scaling is the cursor position.
Tips
Dope sheets can be scaled in the same way.
The height of the timeline can be scaled using [Alt] + [Ctrl] + [mouse wheel].
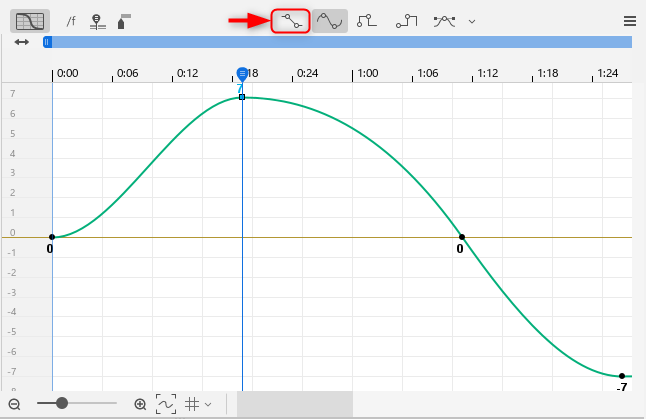
Applying curves

To apply one of the five types of curves described below to a graph, click on the respective curve’s button with the key on the curve selected.
Here, let’s change the default setting of [Smooth] to [Linear].
The curve connecting the next keyframe after the selected keyframe is now [Linear].
Curves can also be changed with multiple selections.
See the “Curve Types” section below for details on this curve.
Curve type
If two or more keys are inserted on the same parameter, the space between each key is automatically interpolated with a curve.
The Cubism Editor has five types of interpolating curves, allowing you to create a variety of animations.
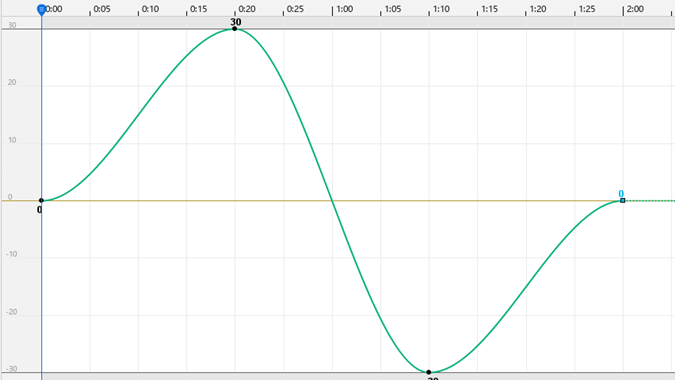
Auto smooth
The default keyframe interpolation method is [Smooth].
The applied keys are connected by smooth curves.
The animation begins to move slowly and decelerates toward the next keyframe.
| Button | Actual Animation | Graph Editor curve |
 |
 |
 |
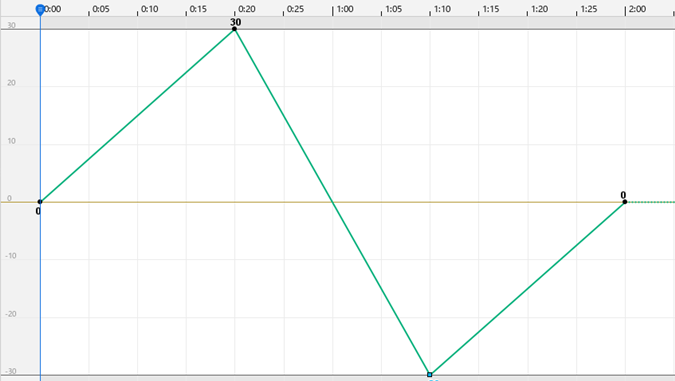
Linear
The applied keys are connected by a straight line between them.
Animation is constant and variable, with linear motion.
| Button | Actual Animation | Graph Editor curve |
 |
 |
 |
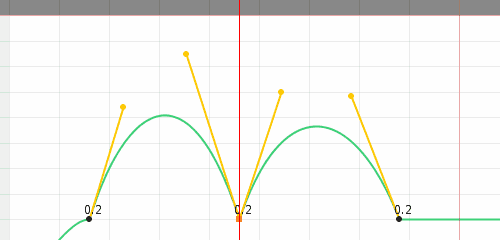
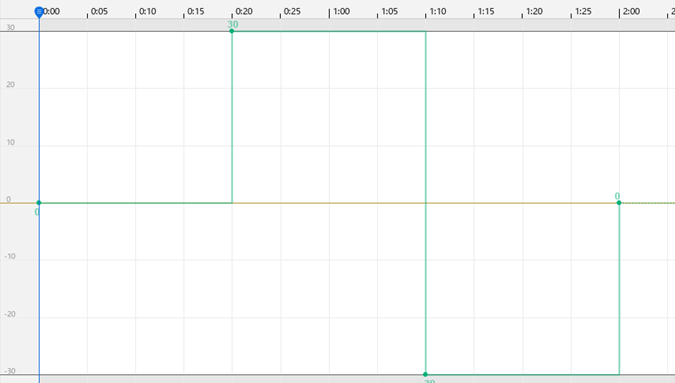
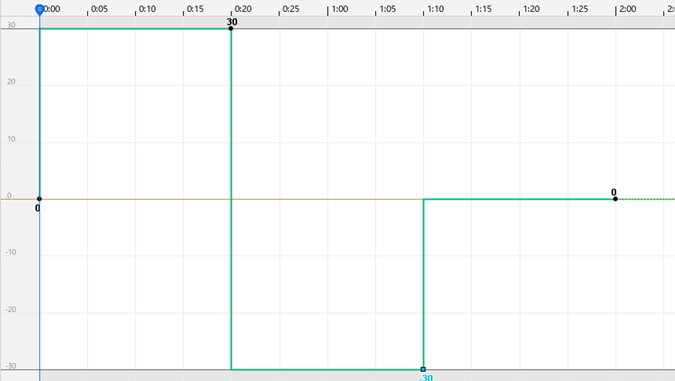
Step
The applied keys are connected by a horizontal straight line between them that matches the value of the previous keyframe.
The animation moves so that the previous and next pictures change in an instant.
| Button | Actual Animation | Graph Editor curve |
 |
 |
 |
Inverse step
The applied keys are connected by a horizontal straight line that matches the numerical value of the trailing keyframe.
The animation moves so that the previous and next pictures change in an instant.
| Button | Actual Animation | Graph Editor curve |
 |
 |
 |
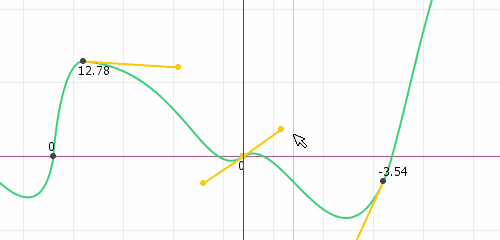
Bezier
Select a key and click the [Bezier] button to display a yellow [Bezier Handle] on the key.
By grabbing the rounded edge, you can move it up, down, left, or right, and freely edit the shape of the curve.
| Button | Actual Animation | Graph Editor curve |
 |
 |
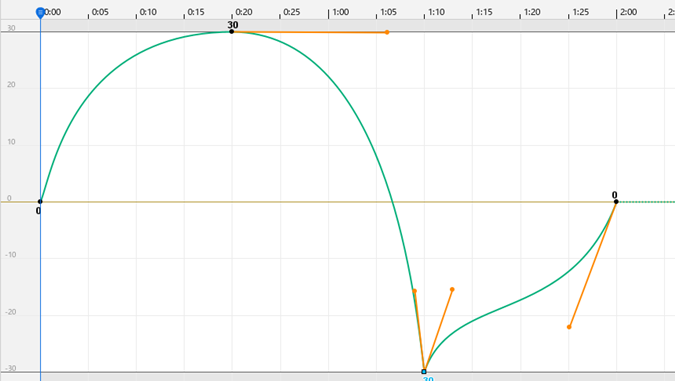 |
Curve presets:
Click on the button to the right of the [Bezier] button to apply any of the commonly used curve shapes that have been pre-populated.
This is a useful function that can also be utilized for character movement, although it is often used primarily in motion graphics.
Recalculate Curves
Accuracy of curve calculation has been improved since Cubism 4.2.00.
[Recalculation of Curves] can be performed for motion created with Cubism 4.1.05 or earlier.
How to recalculate curves:
Click CAN3 in the project palette to display the [Recalculation of Curves] button in the inspector palette.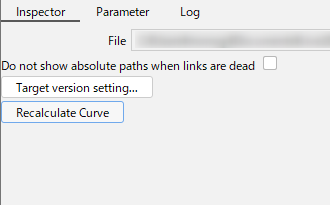
Click the [Recalculation of Curves] button to recalculate the curves for all scenes.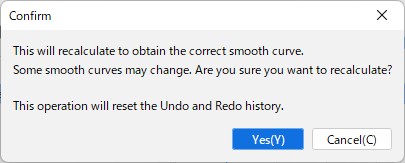
If there is a change in the value, a dialog box will display the details.
Precautions When Embedding the SDK
There are a few things to keep in mind when incorporating the animations you create into the SDK.
See “Precautions when Embedding the SDK” for more information.