Creating/Exporting Model Templates
Updated: 09/19/2024
This page explains how to create model templates and export them from the Editor.
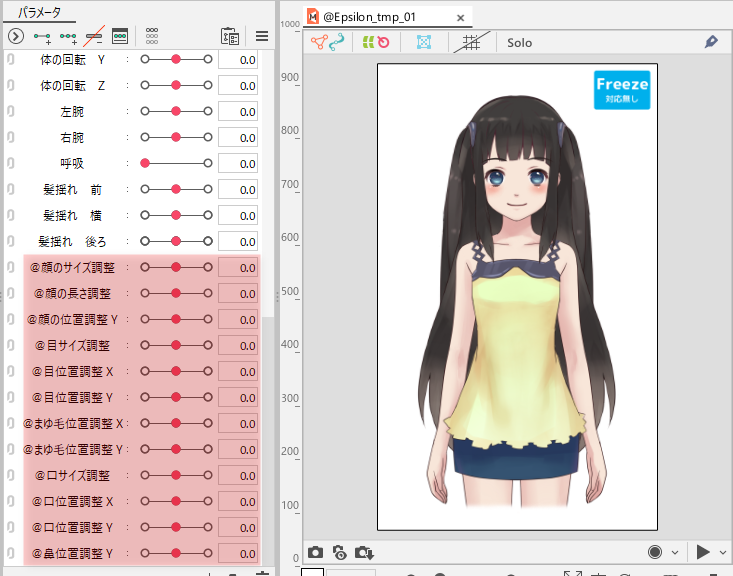
Template models can be adjusted in position and size more finely by setting “parameters for adjustment.”
The parameters for adjustment are used only for position and size adjustment during layout, and are automatically deleted after the template is applied.
See “About model templates” for a description of basic functions.
Create a model for the template
Parameters for adjustment can be created by prefixing the parameter ID of the template model with a one-byte “@” character.
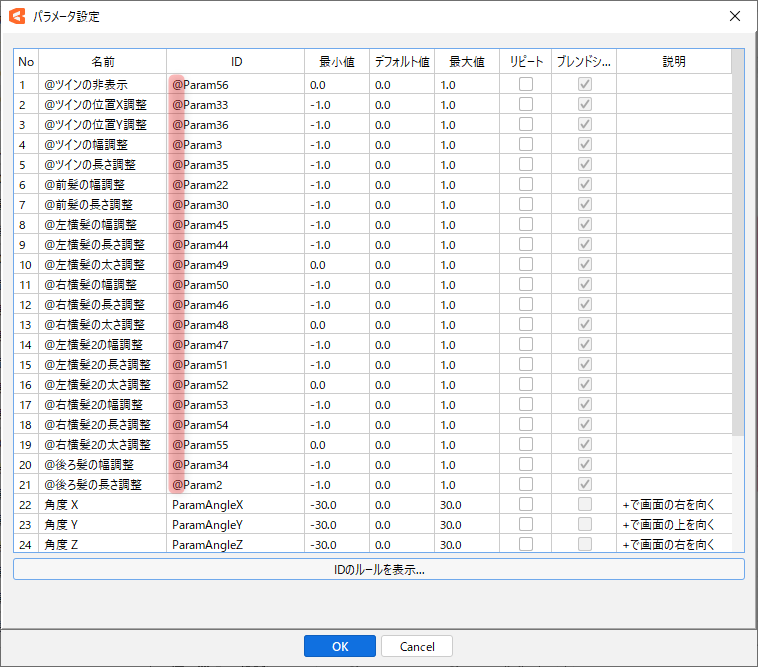
The parameters for adjustment are basically the same as those for blend shapes.
Using parameters for blend shapes eliminates the need to worry about parameter conbimations and allows multiple adjustment parameters to be associated to a particular deformer.
The parameter names of the official template models are marked with “@” for easy identification during layout. (You do not necessarily need to include “@” in the name.)

Use the official templates as a reference to create your own models.

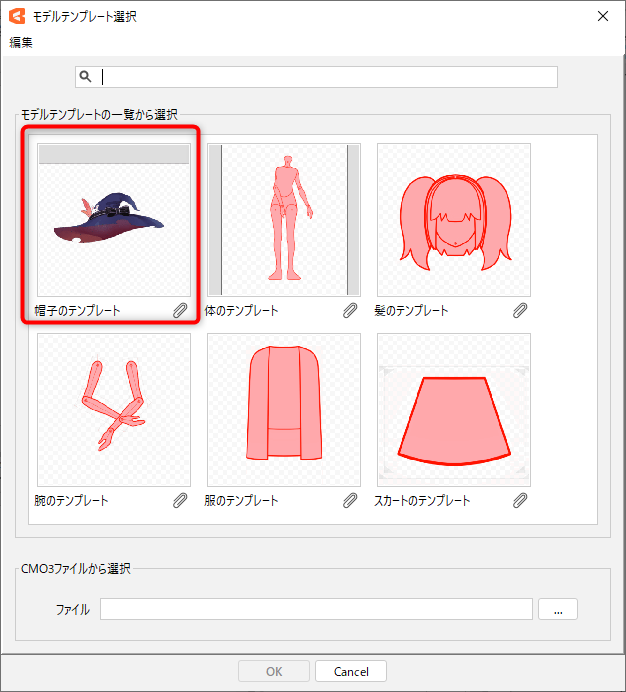
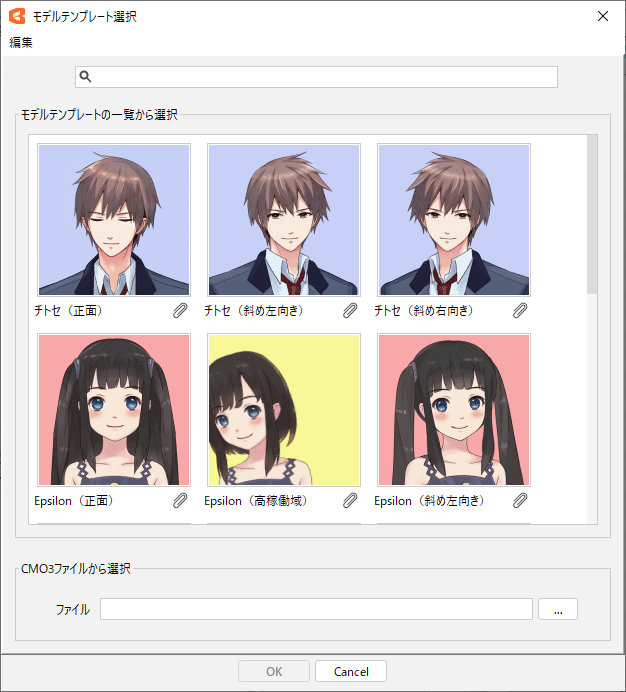
Display in Model Template Selection Dialog Box
The model you wish to use for the template can be exported as a model template information file (.template.json).
The exported model template is then placed in a specific folder and can be displayed on the Model template selection dialog box.
Prepare a template model
When exporting a template, the entire model is targeted.
To cut out a portion of an existing model and use it as a template, copy the necessary objects and paste them into a new model file.
This makes it easy to create models for each part of the body.
Export as a model template
The model being edited in the Modeling View is exported as a [Model template].
Select the [Modeling] menu -> [Model template] -> [Export Template…] to open the [Export Template] dialog box.
After entering each item, press OK to export the [Model template].
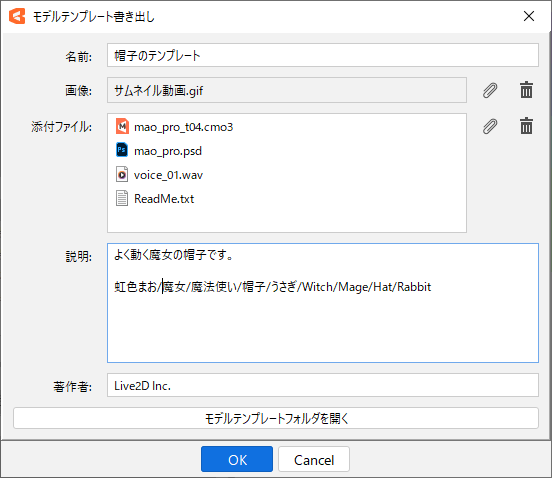
Name:
This is the name that appears in [Model template selection].
Image:
This image is displayed as a thumbnail in [Model template selection].
GIF, PNG, and JPG are available.
If you wish to preserve the aspect ratio, we recommend that you create the image in square format.
If you leave the field blank when exporting, a still image of the entire model will automatically be set as “thumbnail.png.”
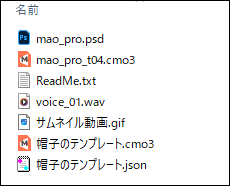
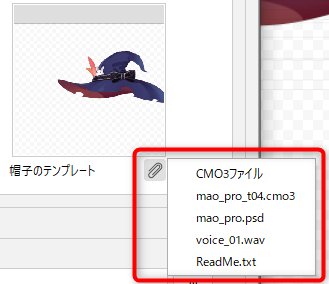
Attachments:
The files that appear in the clip menu of [Model template selection].
Click on an item in the menu to duplicate that file.
The exported model template will be available for selection from the [Model template selection] dialog box.
Model template information (JSON)
This file contains information for displaying [Model template] in [Model template selection].
[Model template information] is expressed in JSON format and consists of the following eight properties.
| Number | Property | Description |
|---|---|---|
| 1 | FormatVersion | A number indicating the format of the model template information. |
| 2 | ModelVersion | This is a number related to the model in the model template. |
| 3 | Name | [Name] of the model template. |
| 4 | BaseModel | CMO3 file of the model template. The file is loaded in [Model template selection] and displayed as a template model in [Model template application settings]. |
| 5 | Thumbnail | This is the [Image] of the model template. |
| 6 | Description | [Description] of the model template. |
| 7 | Author | The [Author] of the model template. |
| 8 | AttachmentFiles | [Attachment] of the model template. |
About Legacy Model Templates
Template models used in versions prior to Cubism 5.1 can be downloaded as legacy model templates below.
They can be placed in a specific folder to appear on the [Model template selection] dialog box.
Download Legacy Model Templates
In the [Model template selection] dialog box, click the [Edit] menu -> [Open model template folder] to open the folder where the model templates are saved.
Unzip the downloaded legacy model template and place it in the save location.
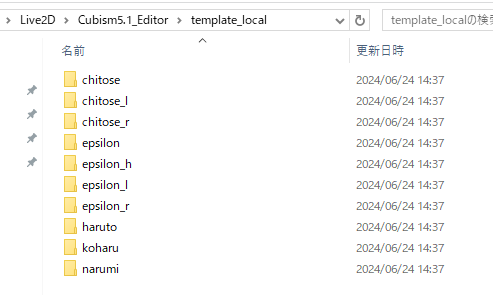
The [Model template selection] dialog box must be closed and reopened to display the model.
Ordering of parameters
Starting with Cubism 5.1, parameters for adjustment are displayed in the same order as models for templates.
This places the parameters for adjusting legacy model templates at the bottom, in the model template application settings.