Setting items for applying 3D rotation expressions
Updated: 06/25/2024
This section describes in detail the effect of each setting item when adjusted.
Camera position (3D rotation)
The [Camera position] setting determines how the image will look when rotated in 3D space.
It is affected by the strength of the parse described elsewhere. The greater the strength of the parse, the greater the change in appearance due to changes in camera position.
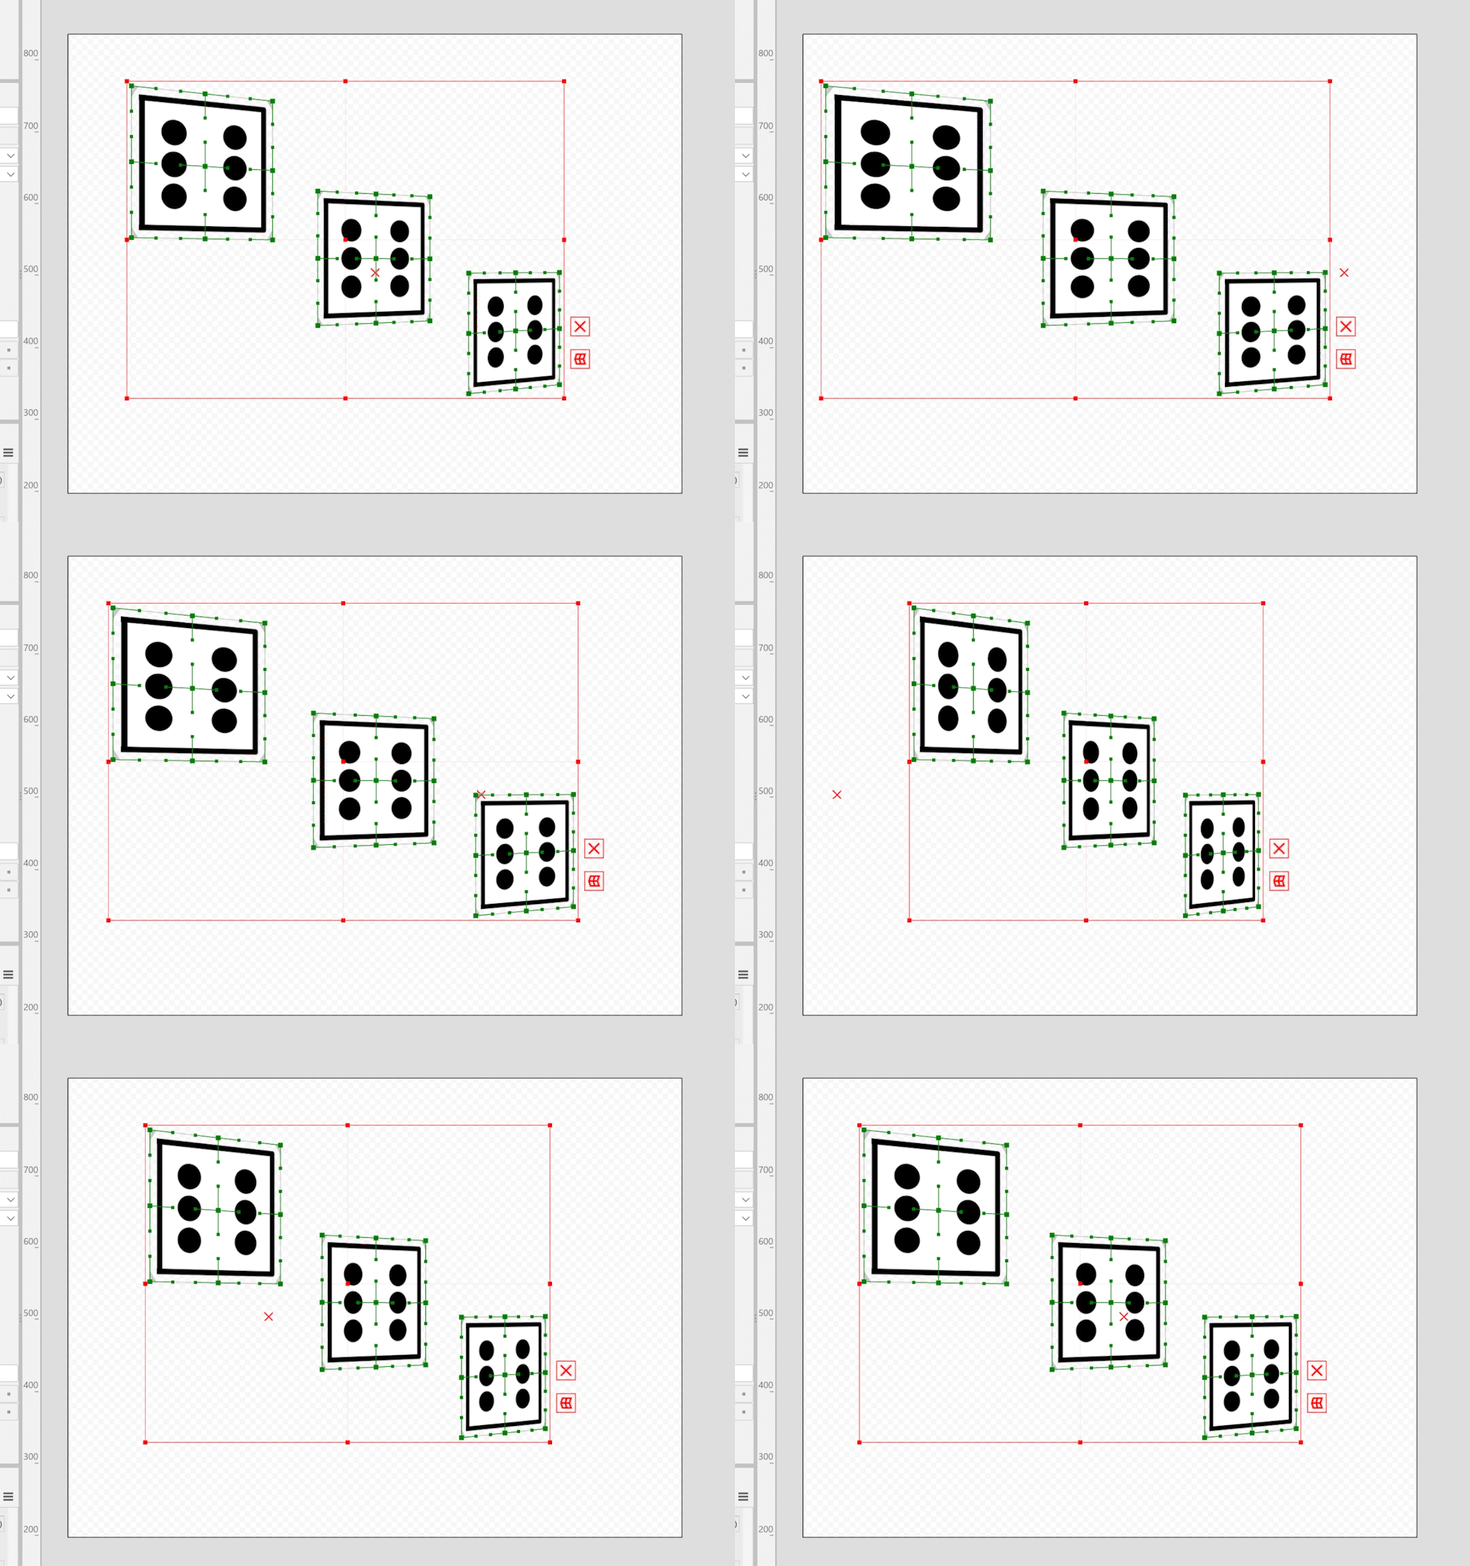
The figure below shows the change in the rightward keyform when the camera position is changed (the X symbol is the camera position).
Moving the camera position to the left gives the appearance of going around to the side of the subject.
| Change in keyform facing right when camera position (X) is changed |
|---|
 |
Center of rotation (3D rotation)
The [Center of rotation] setting is used to set the center of rotation of the object in 3D space.
Specify X and Y in canvas coordinates. Z is on the canvas (fixed at 0).
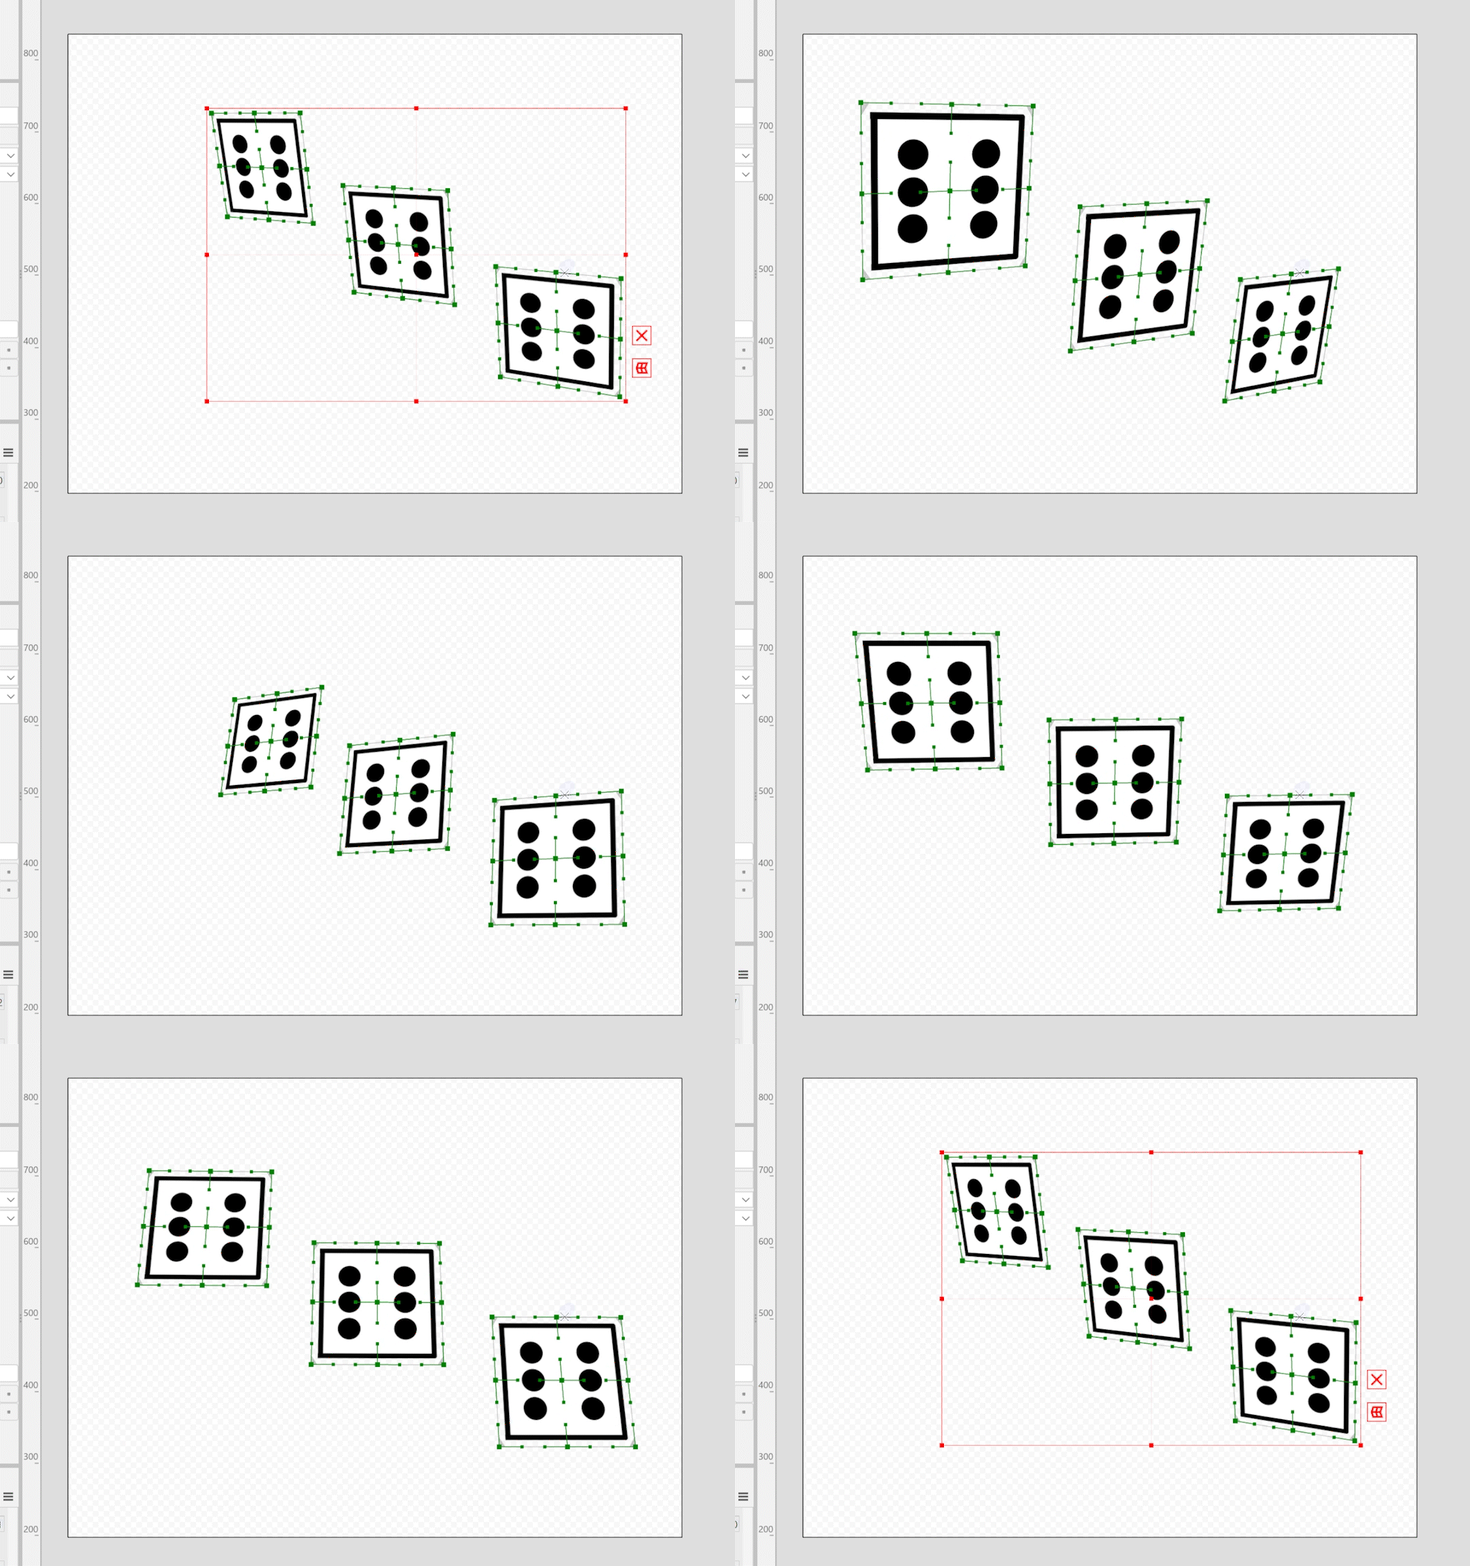
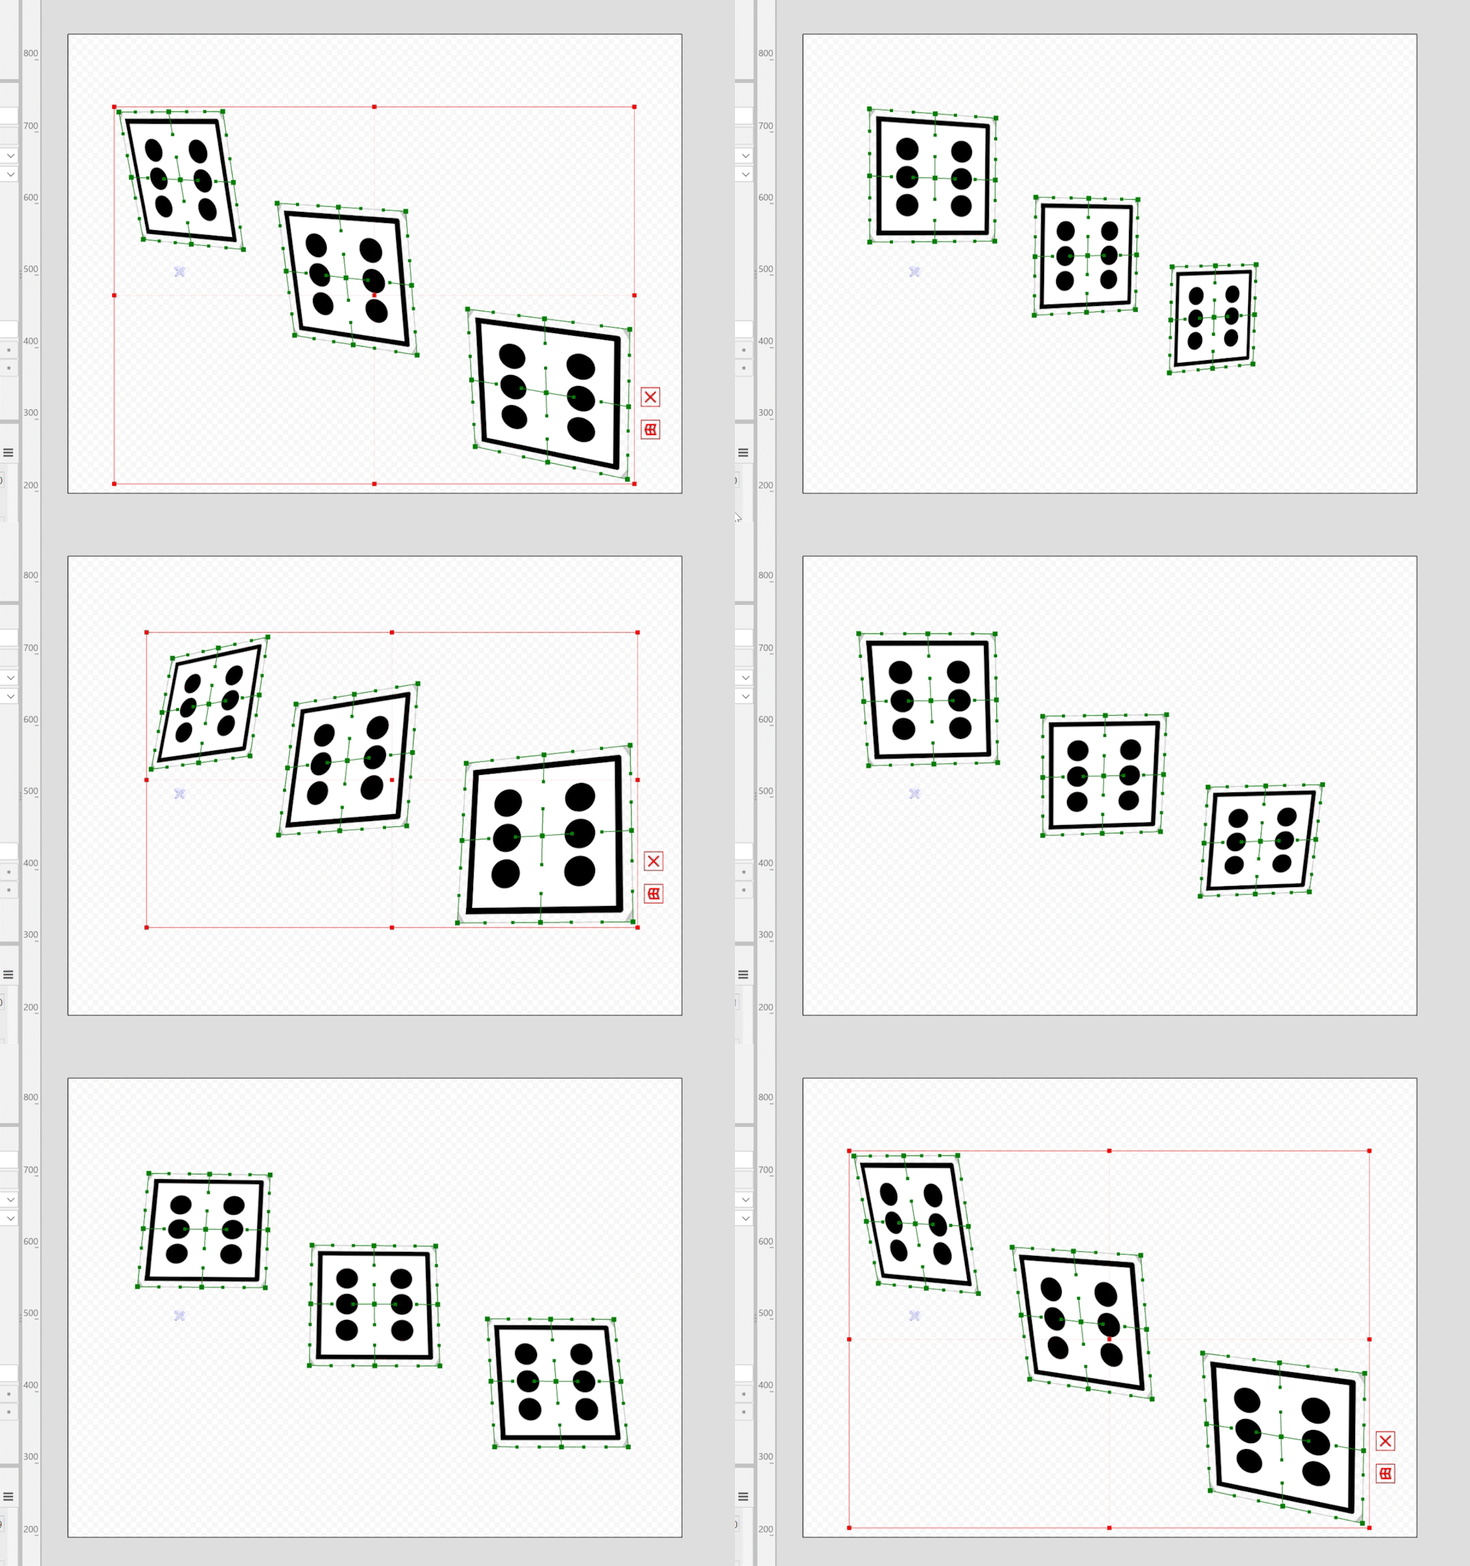
The figure below shows the movement when the center of rotation is placed on the right and left sides of the canvas.
The further away a point is from the center of rotation, the greater the movement due to rotation.
| Center of rotation on right side of canvas | Center of rotation on left side of canvas |
|---|---|
 |  |
Offset in Z direction (3D rotation)
The [Offset in Z direction] setting specifies how much the depth of the target should be shifted in the Z direction.
The shifting procedure is performed before rotation.
If depth estimation is used, it is performed on the estimated depth.
By changing this setting, the rotation can be expressed as floating forward or retracting backward from the center.
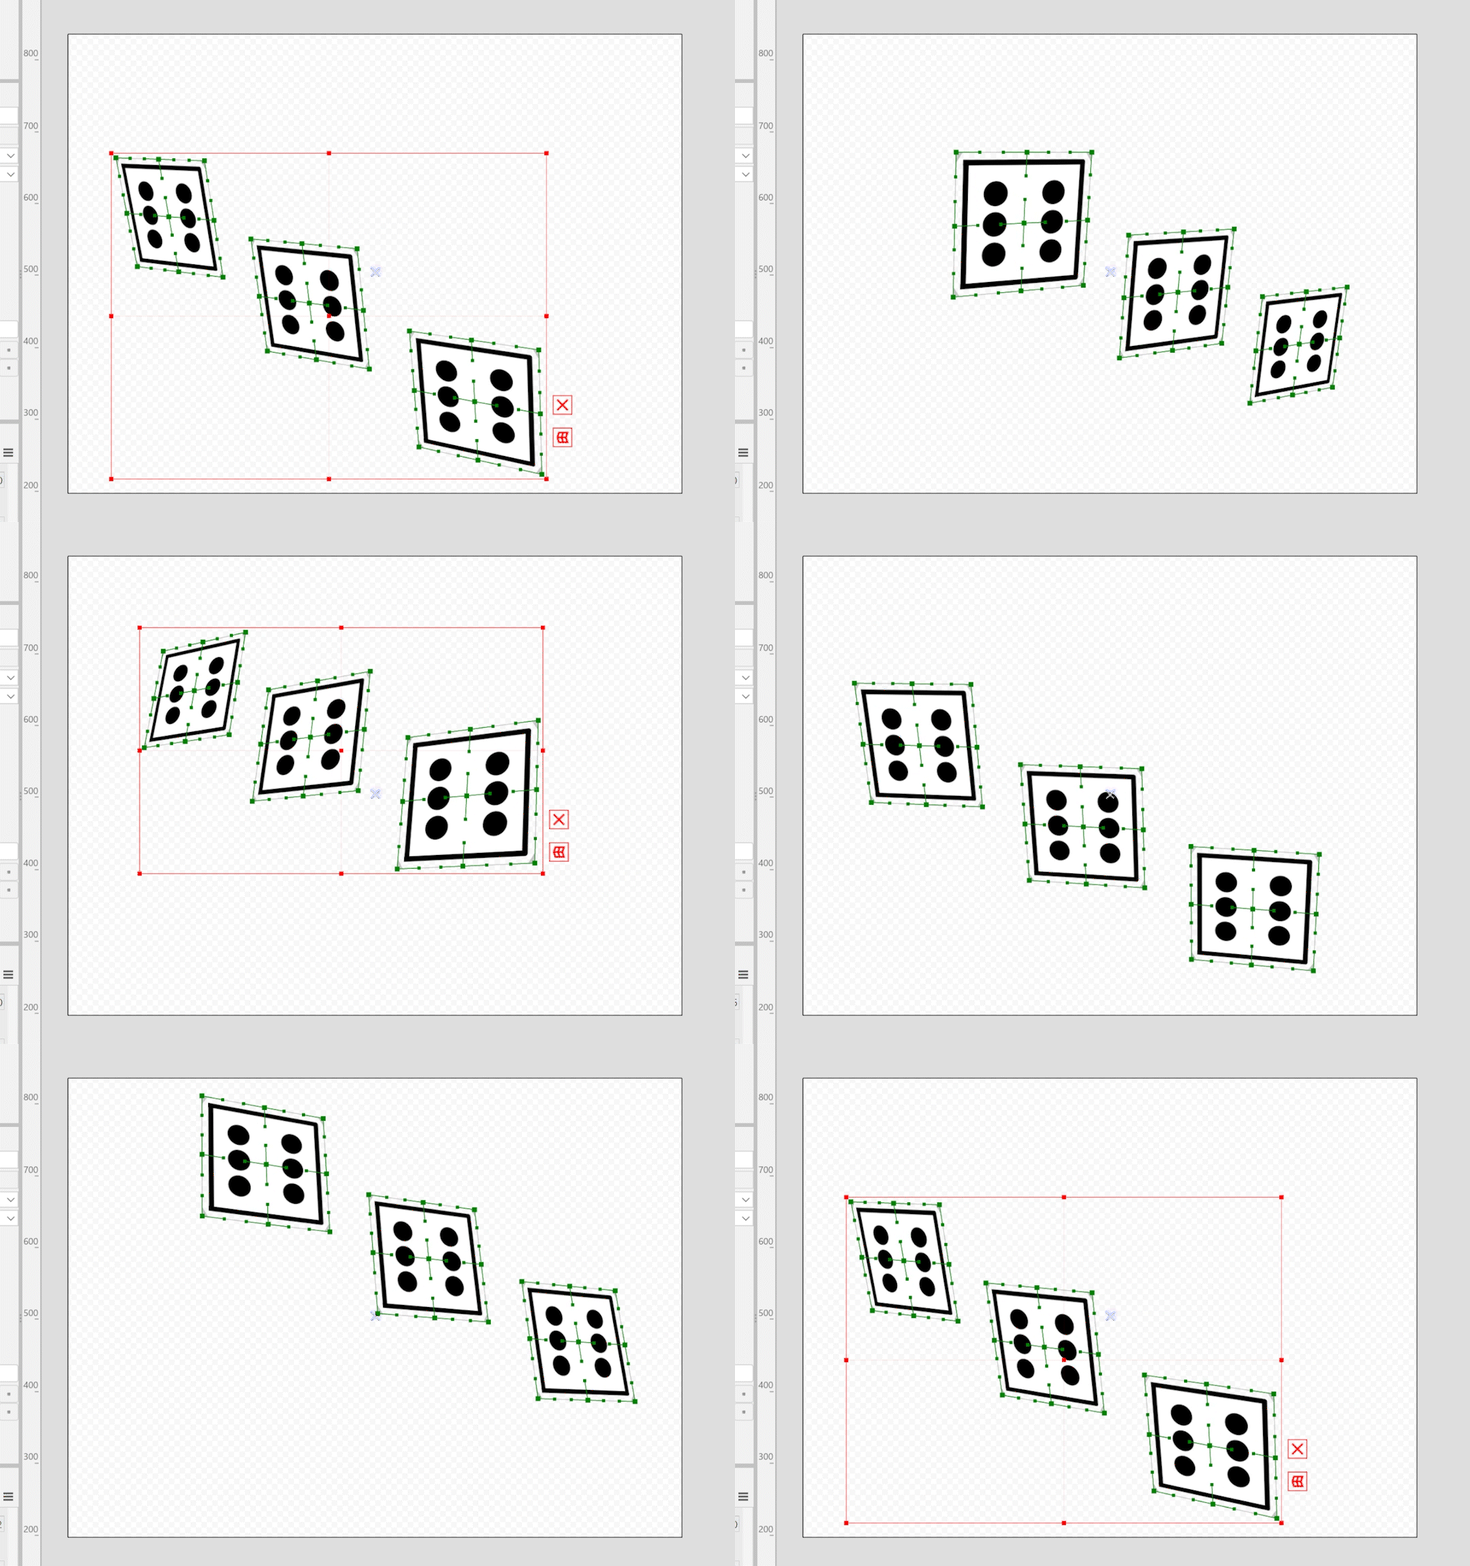
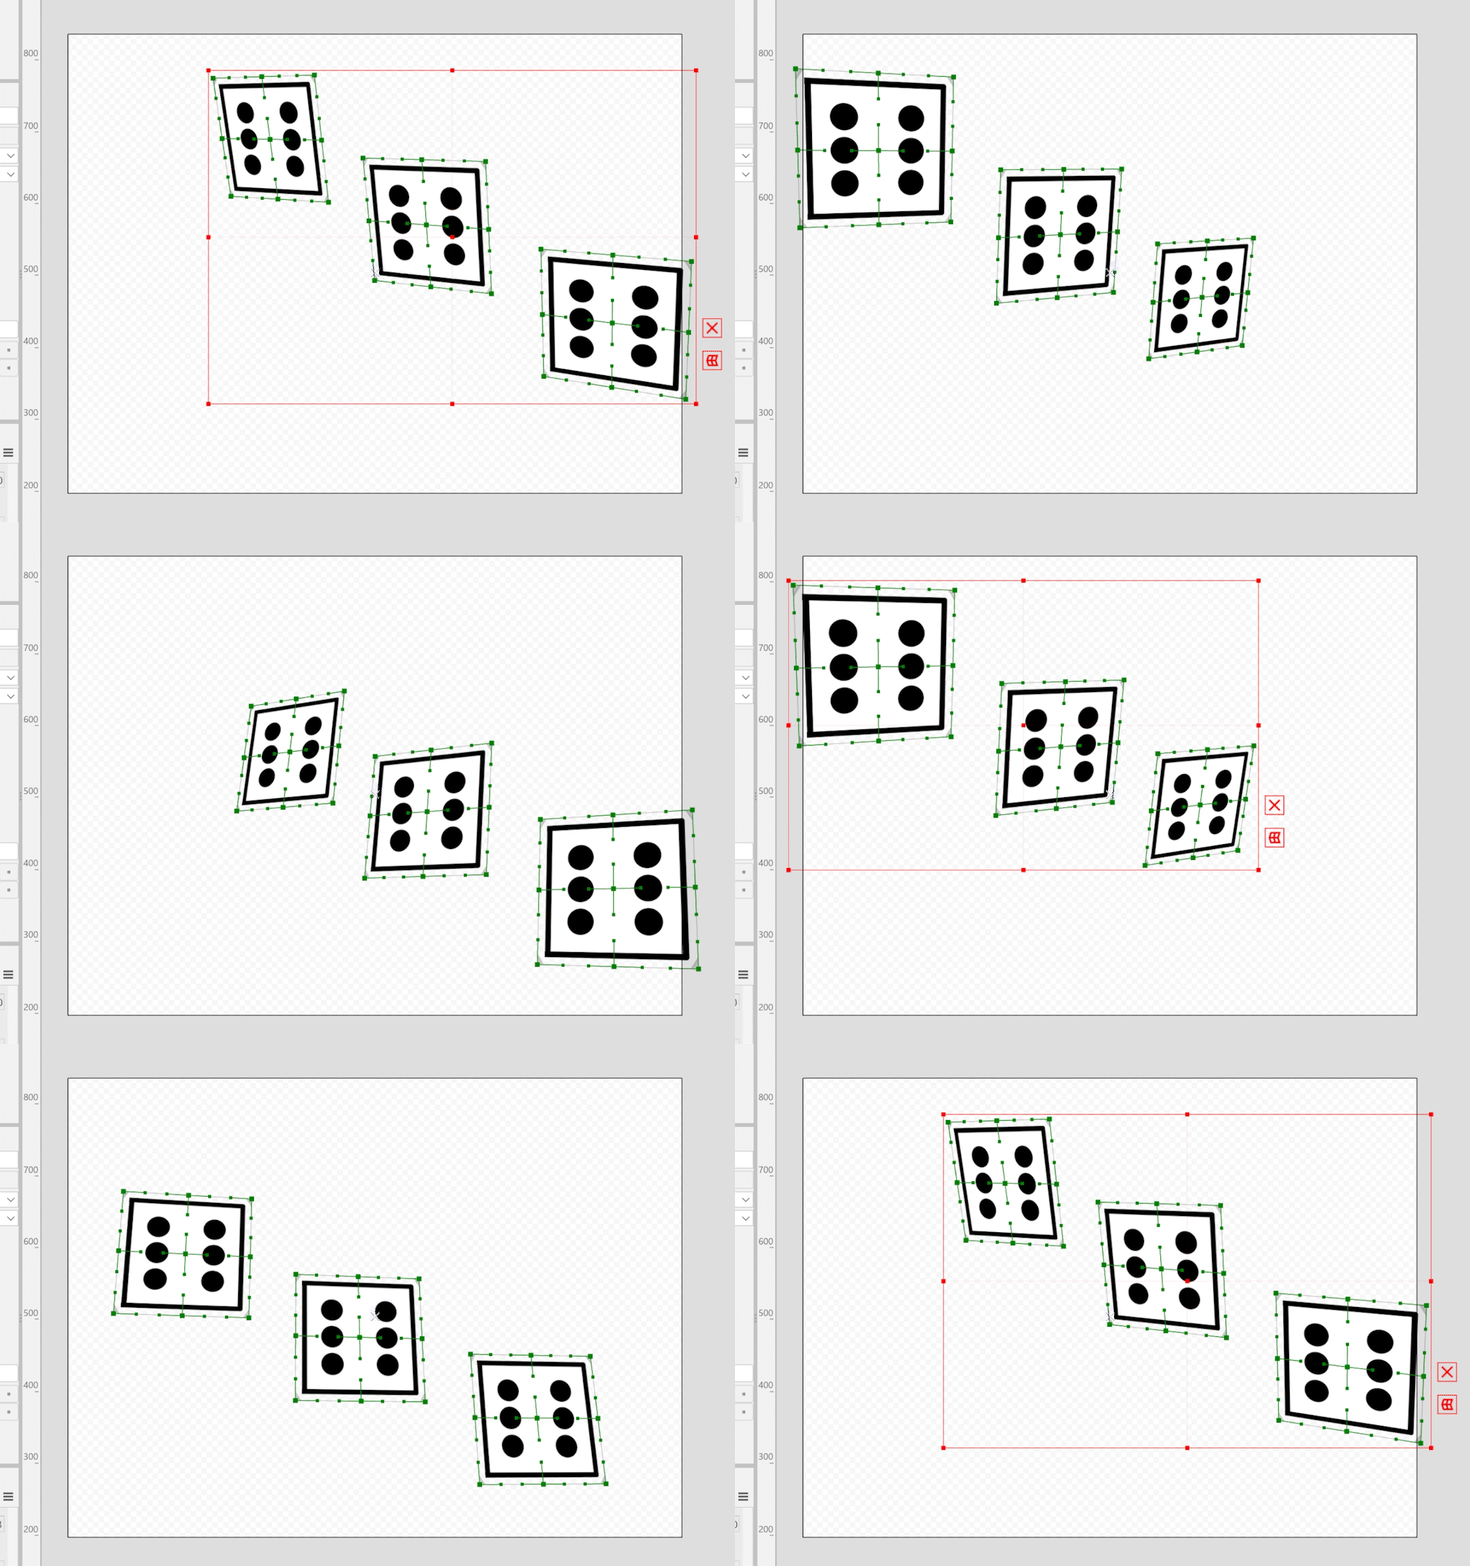
The figure below shows the motion when the center of rotation is set to the center of the object and the Offset in Z direction is positive and negative.
A positive Offset in the Z direction gives the object the appearance of floating in the foreground.
Conversely, a negative Offset in the Z direction gives the object the appearance of being pulled back.
| Center of rotation set to center of object and Offset in Z direction is positive | Center of rotation set to center of object and Offset in Z direction is negative |
|---|---|
 |  |
Perspective strength (3D rotation)
The [Strength of parse] setting specifies the perspective after the image is taken.
Increasing the parse value increases the distortion after rotation and gives the appearance of a closer camera.
A parse value of 0 gives the appearance of a parallel projection.
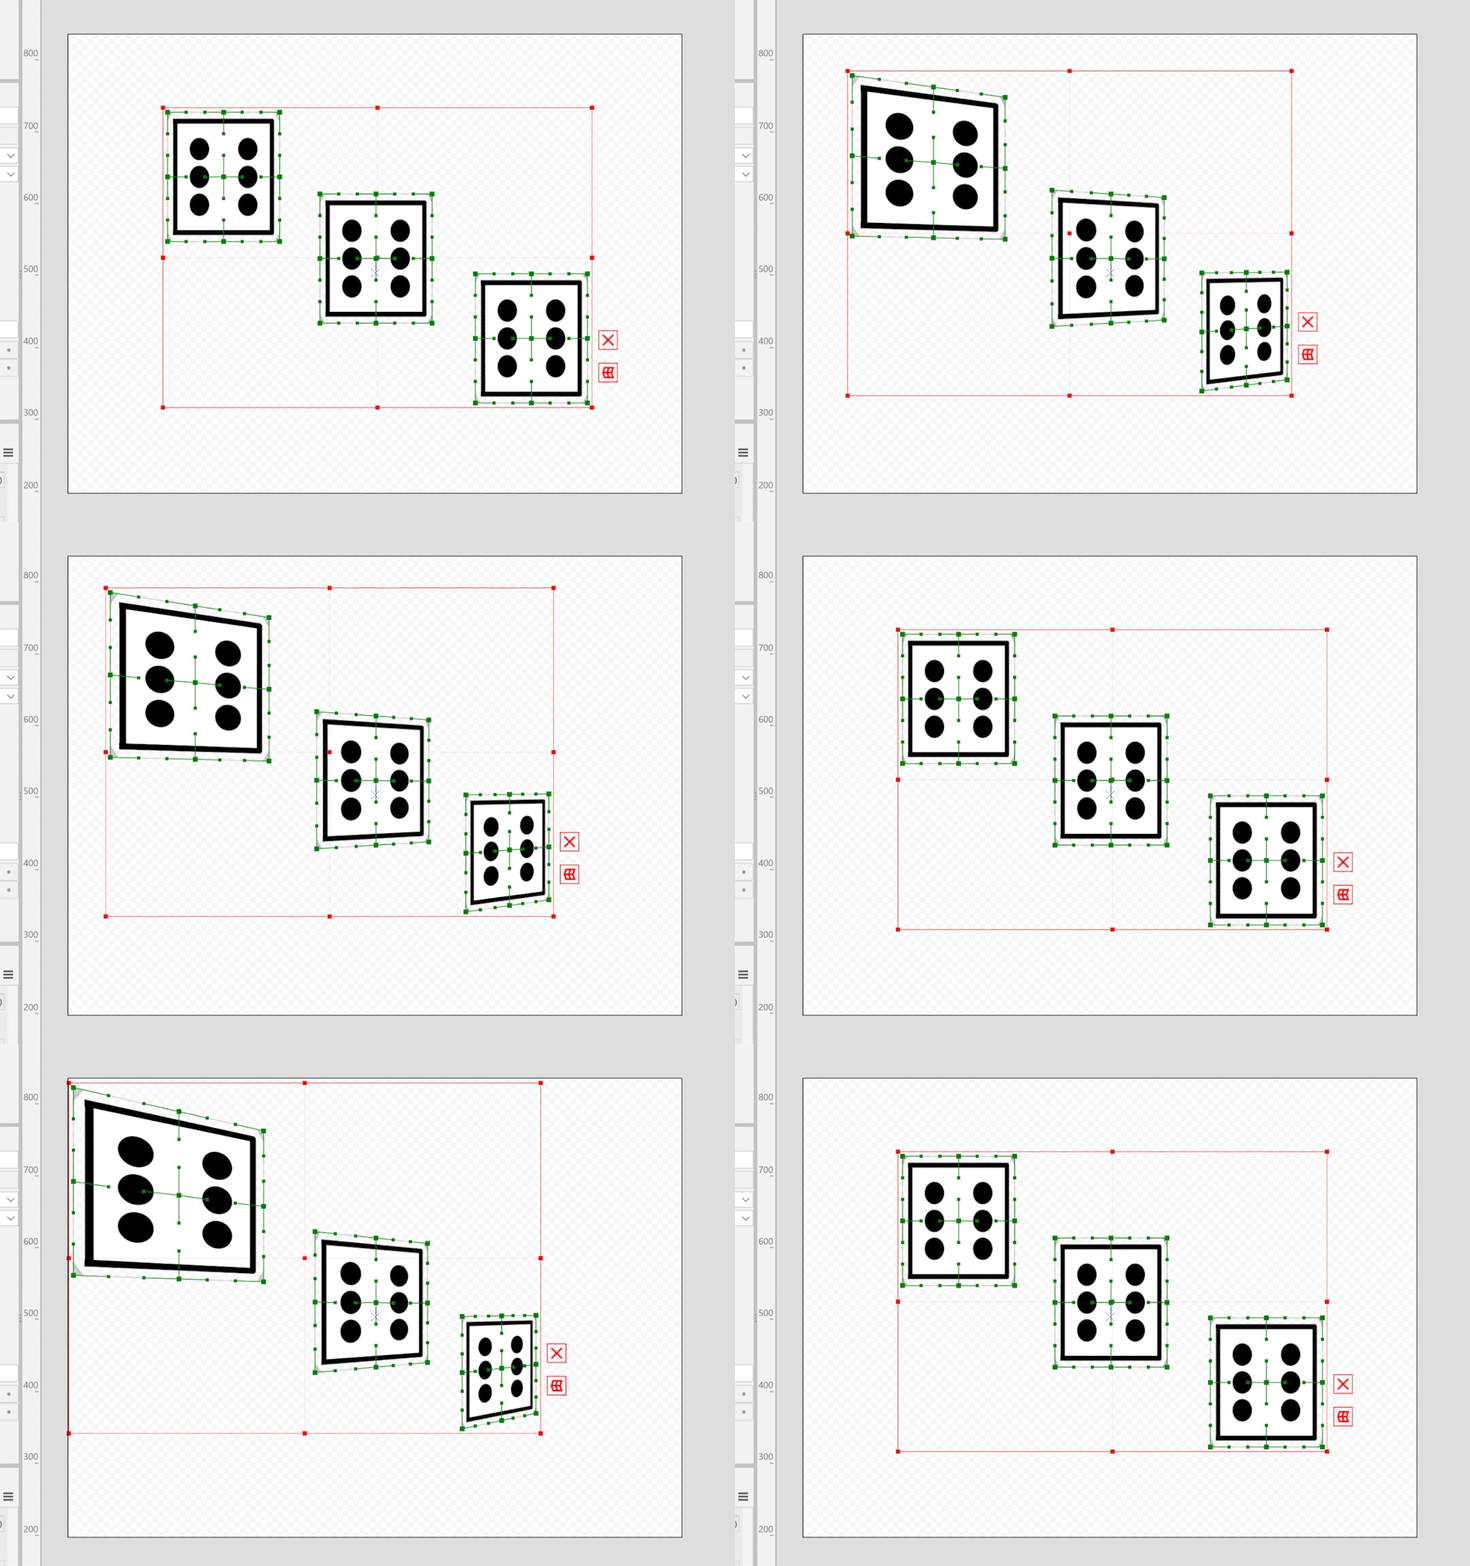
The figure below shows the change in the rightward keyform as the strength of the parse is increased from 0.
Increasing the strength of the parse will emphasize the difference in appearance between the foreground and background.
| Change in rightward keyforms as strength of parse is increased from 0 |
|---|
 |
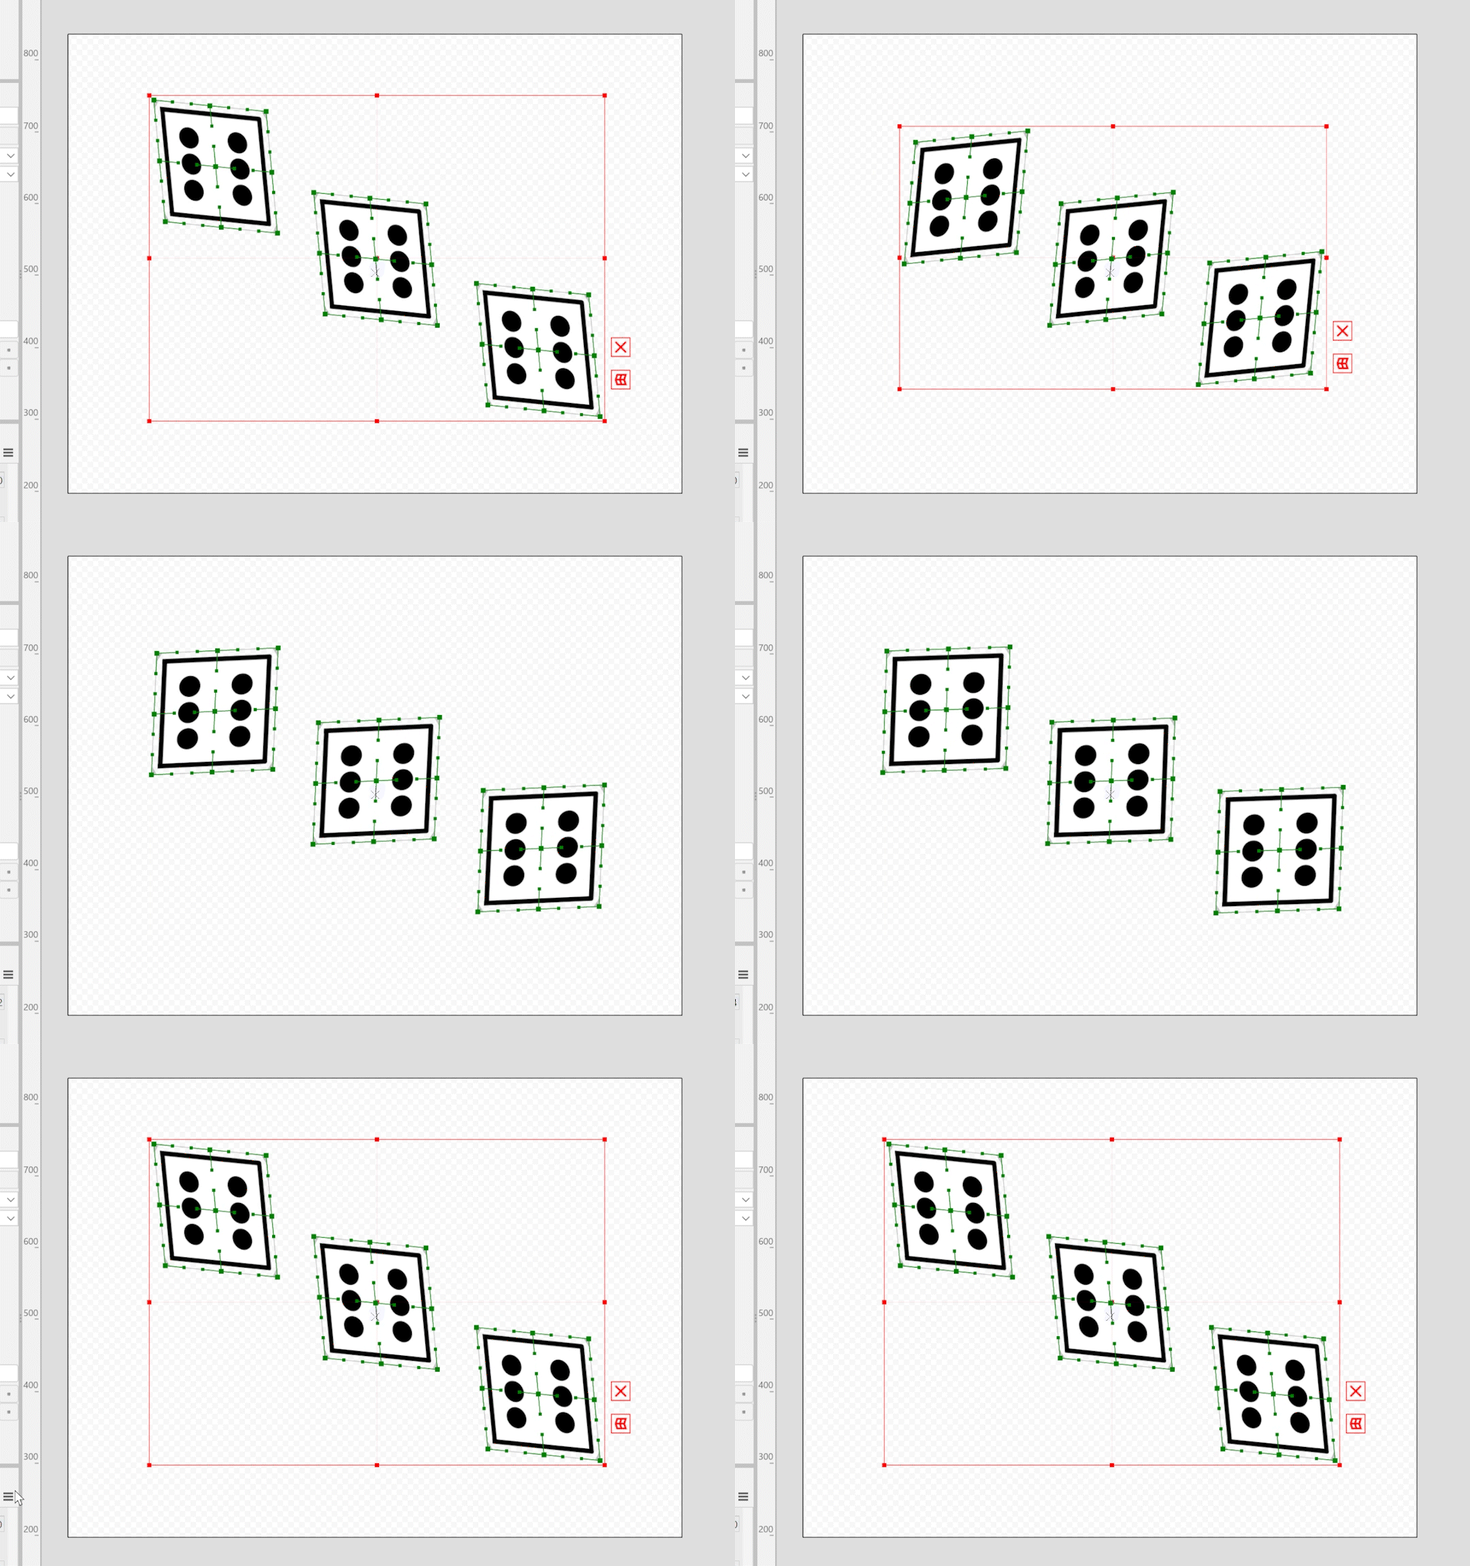
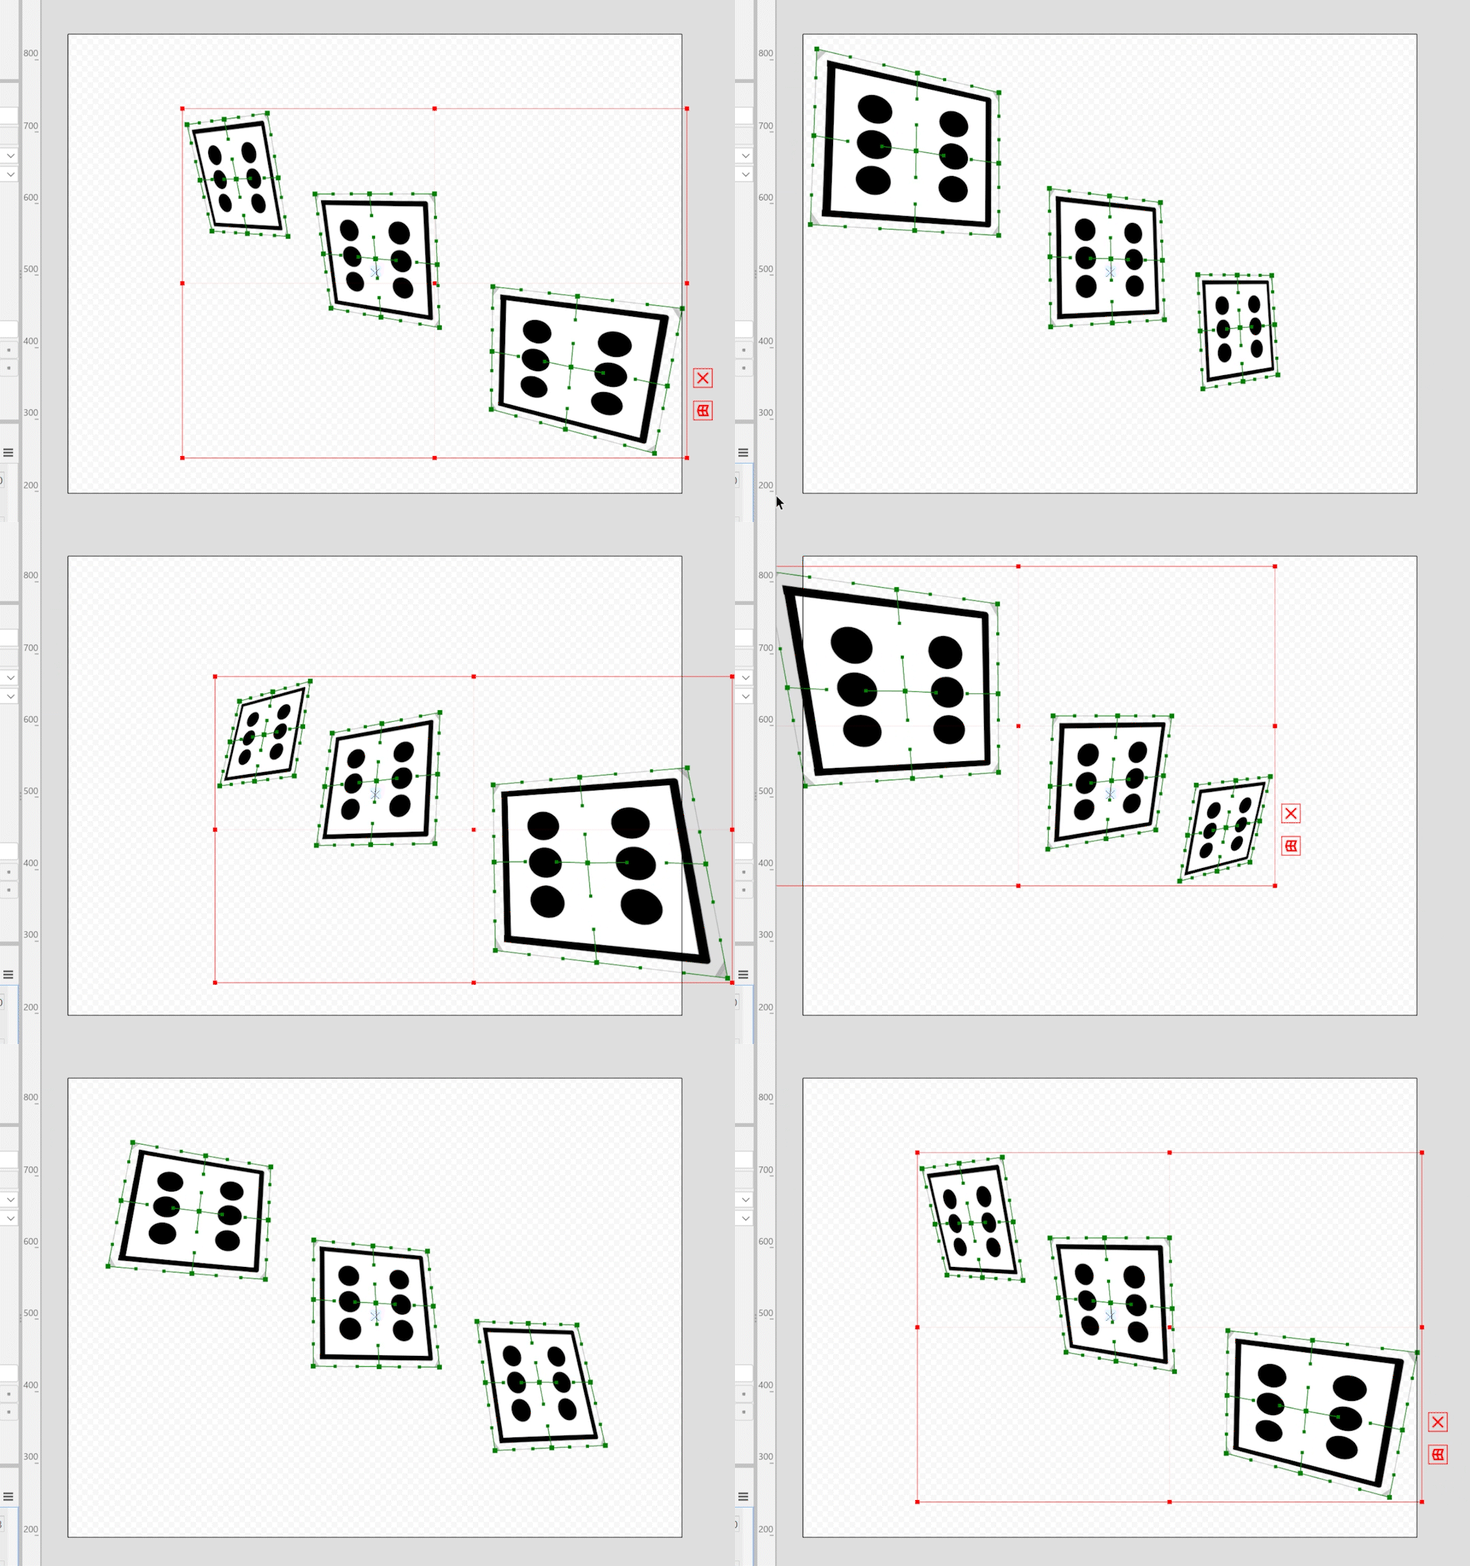
The figure below shows the difference in appearance of the rotation with different strengths of parse.
When Strength of parse is 0, the rotational movement is modest, but when Strength of parse is 100, the movement is more dynamic.
| Strength of parse is 0 | Strength of parse is 100 |
|---|---|
 |  |
Angle range (3D rotation)
The [Angle range] setting specifies the limit range of rotation.
Larger values give the appearance of greater rotation.
The value specified here is the angle between the minimum and maximum values, whichever is farther from the default value, with the default value of the parameter as the front.
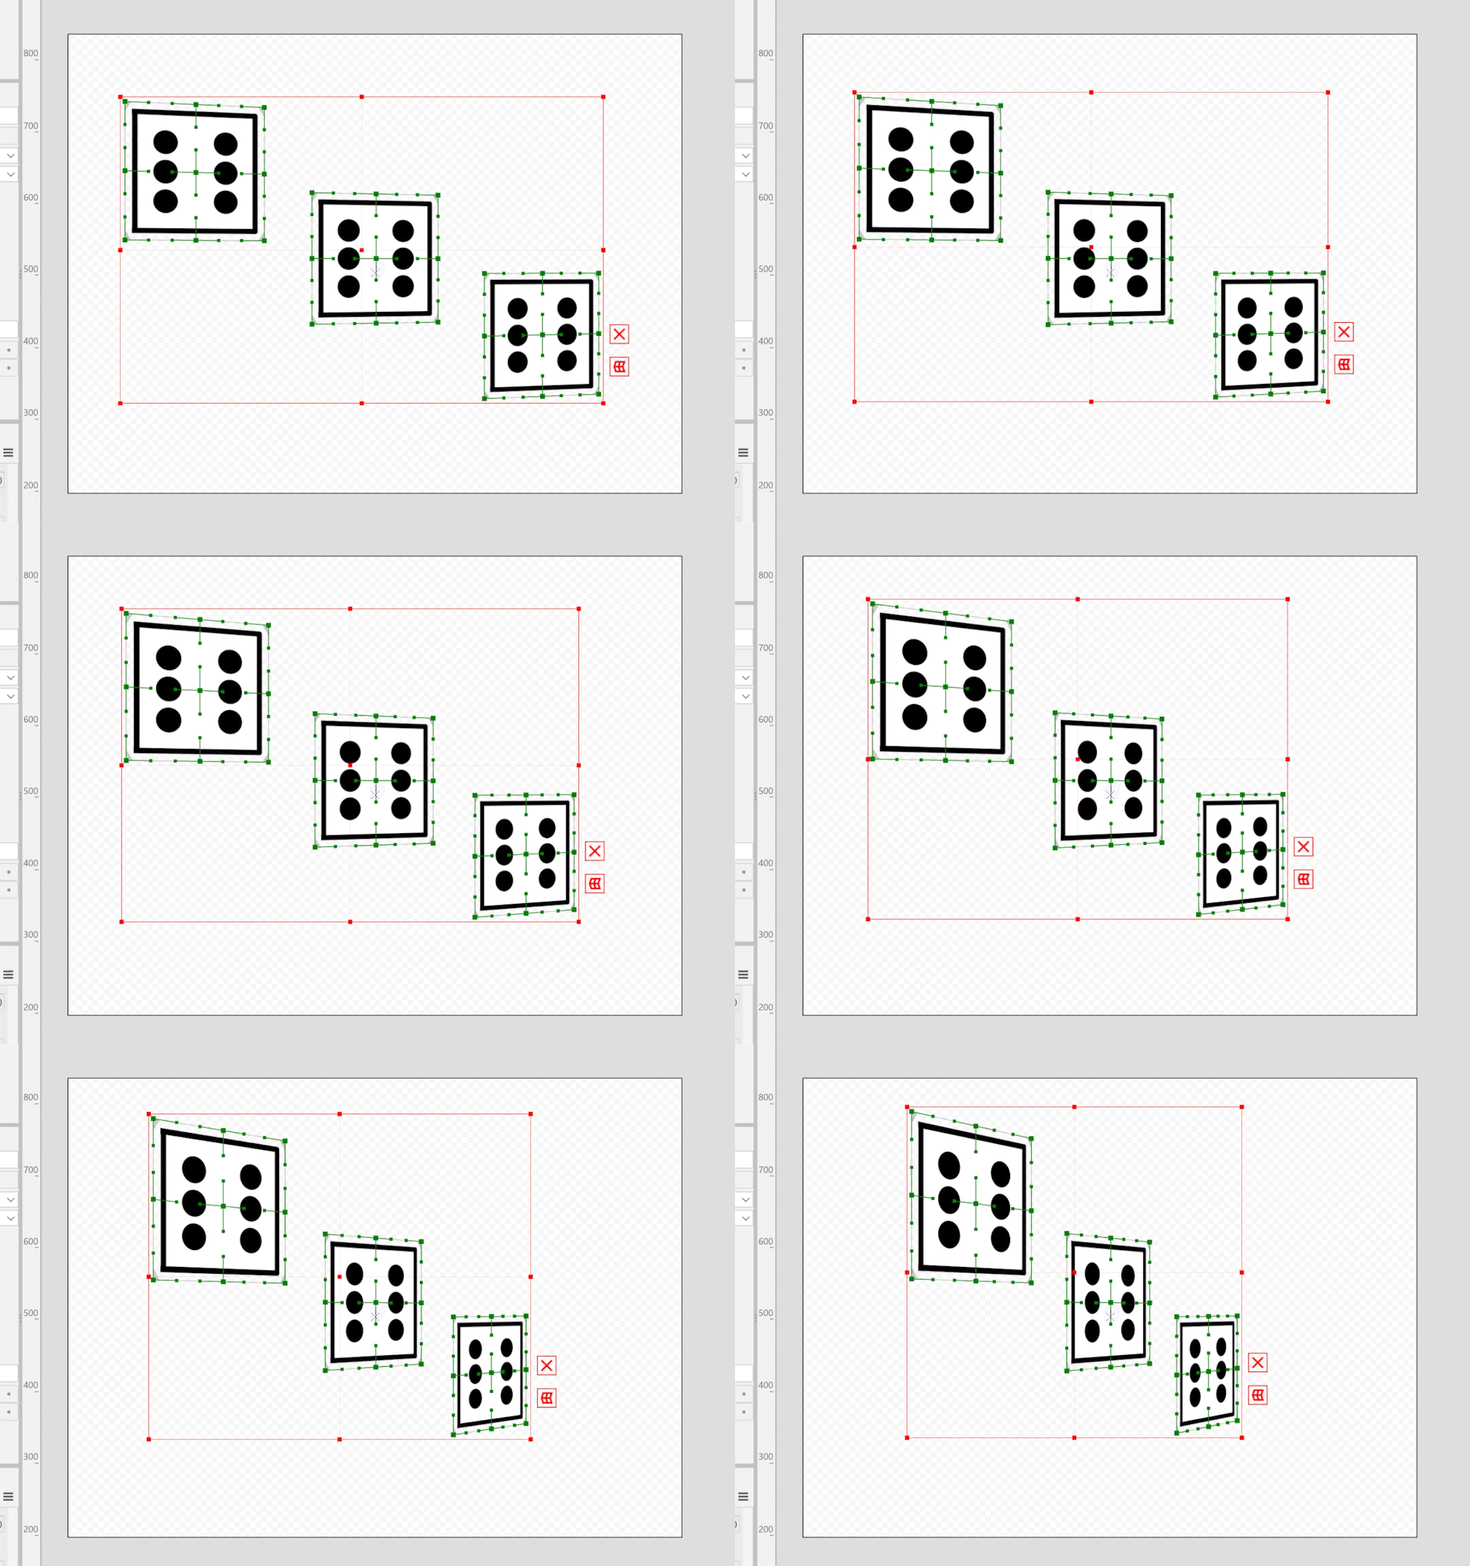
The figure below shows the change in the rightward keyform as the angle range is changed.
Larger values give the appearance of greater rotation.
| Change in rightward keyform when changing the Angle range |
|---|
 |
Rotation method (3D rotation)
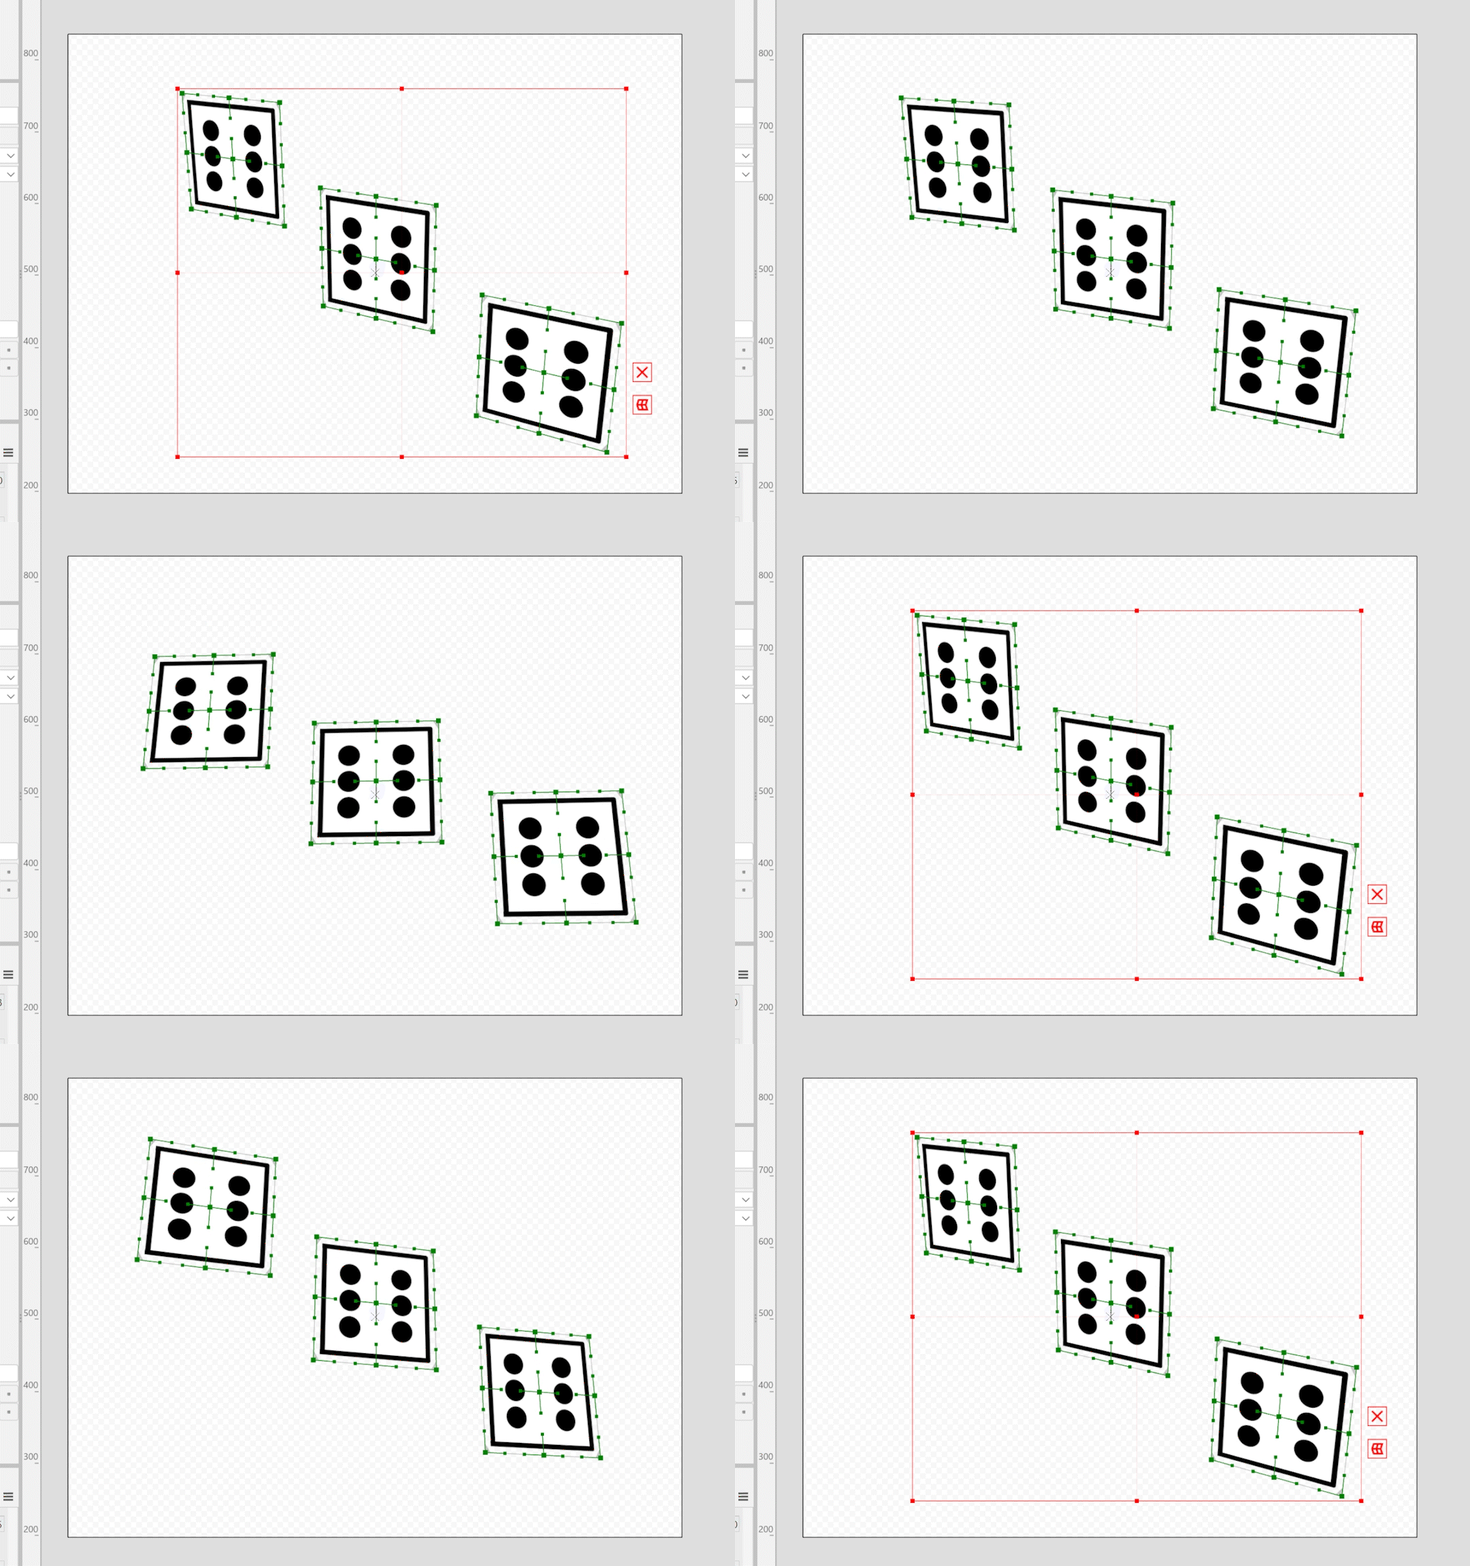
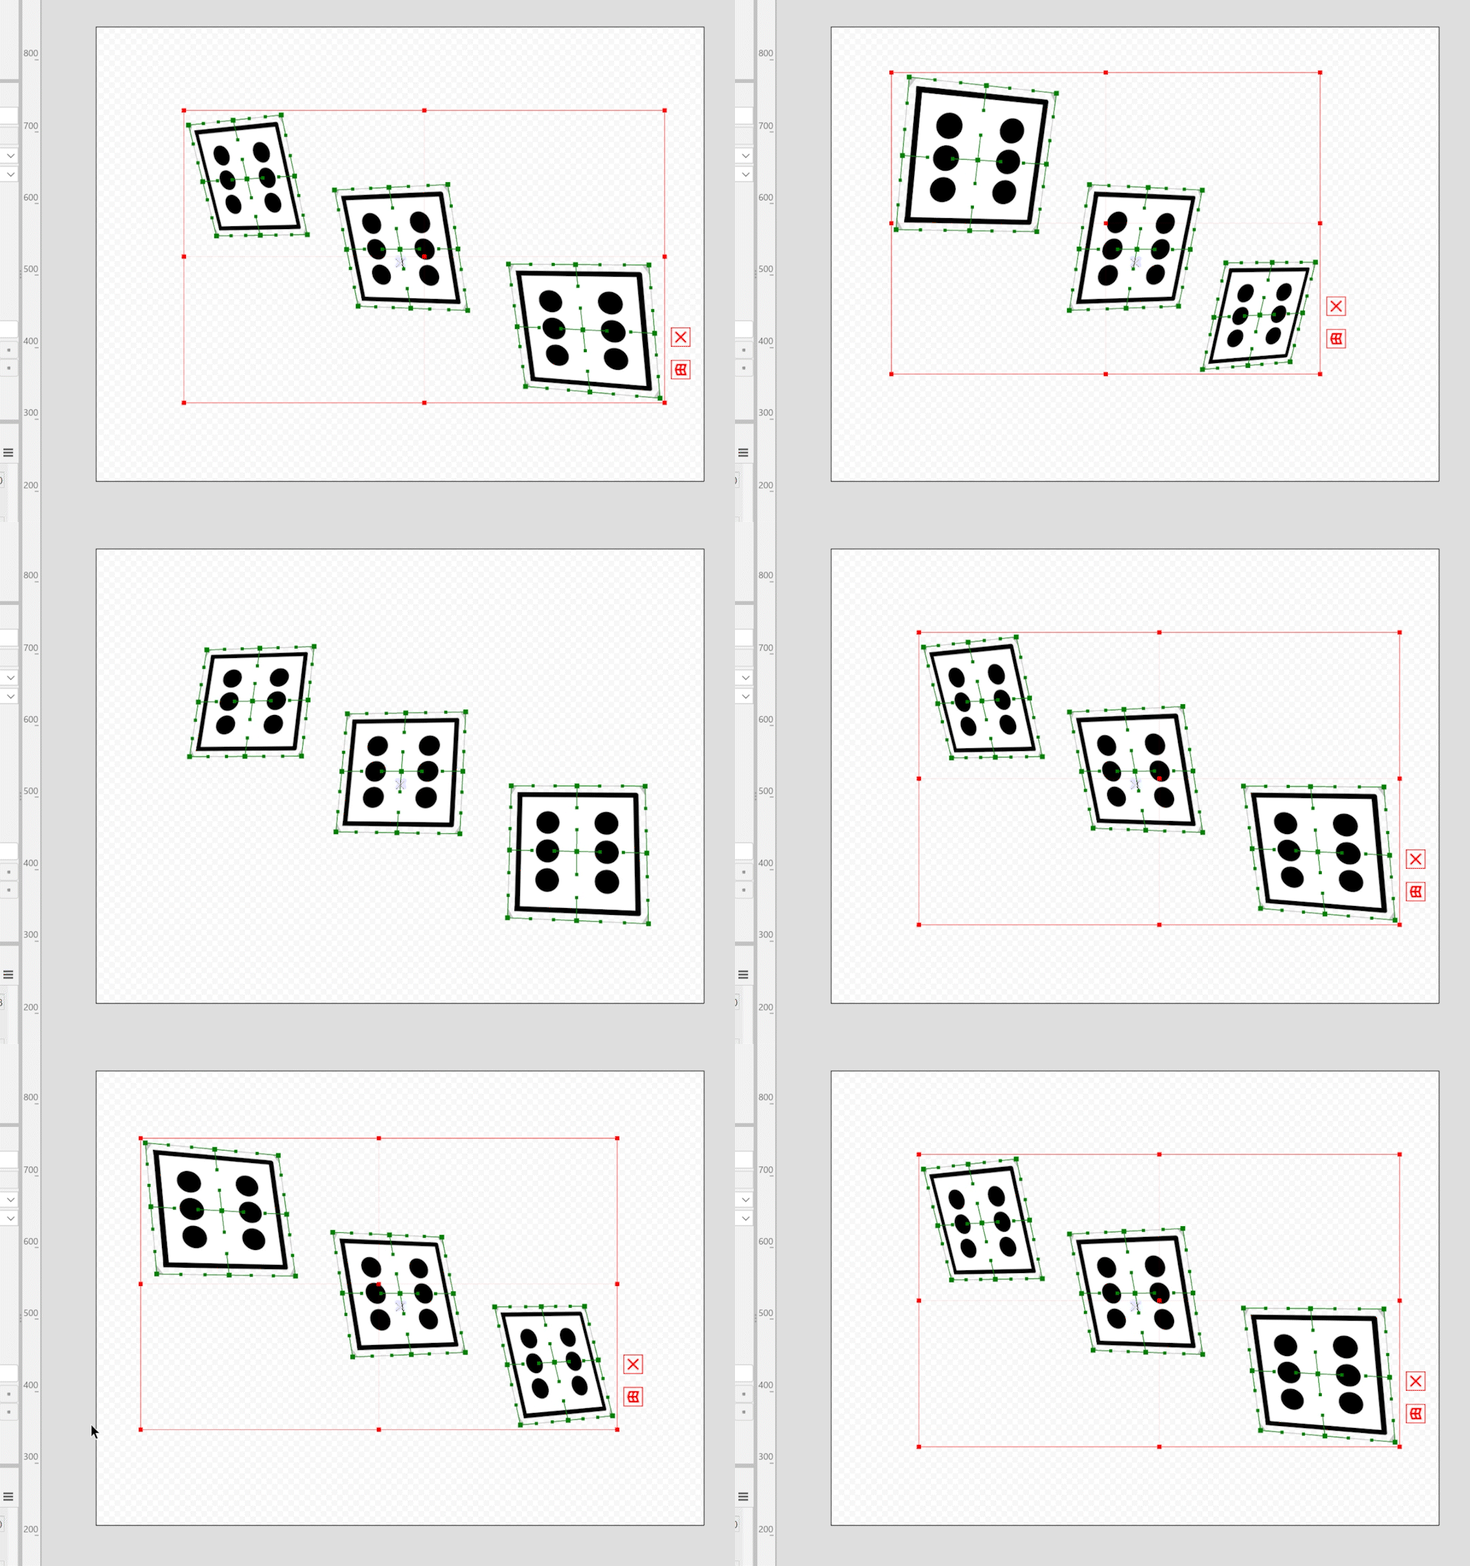
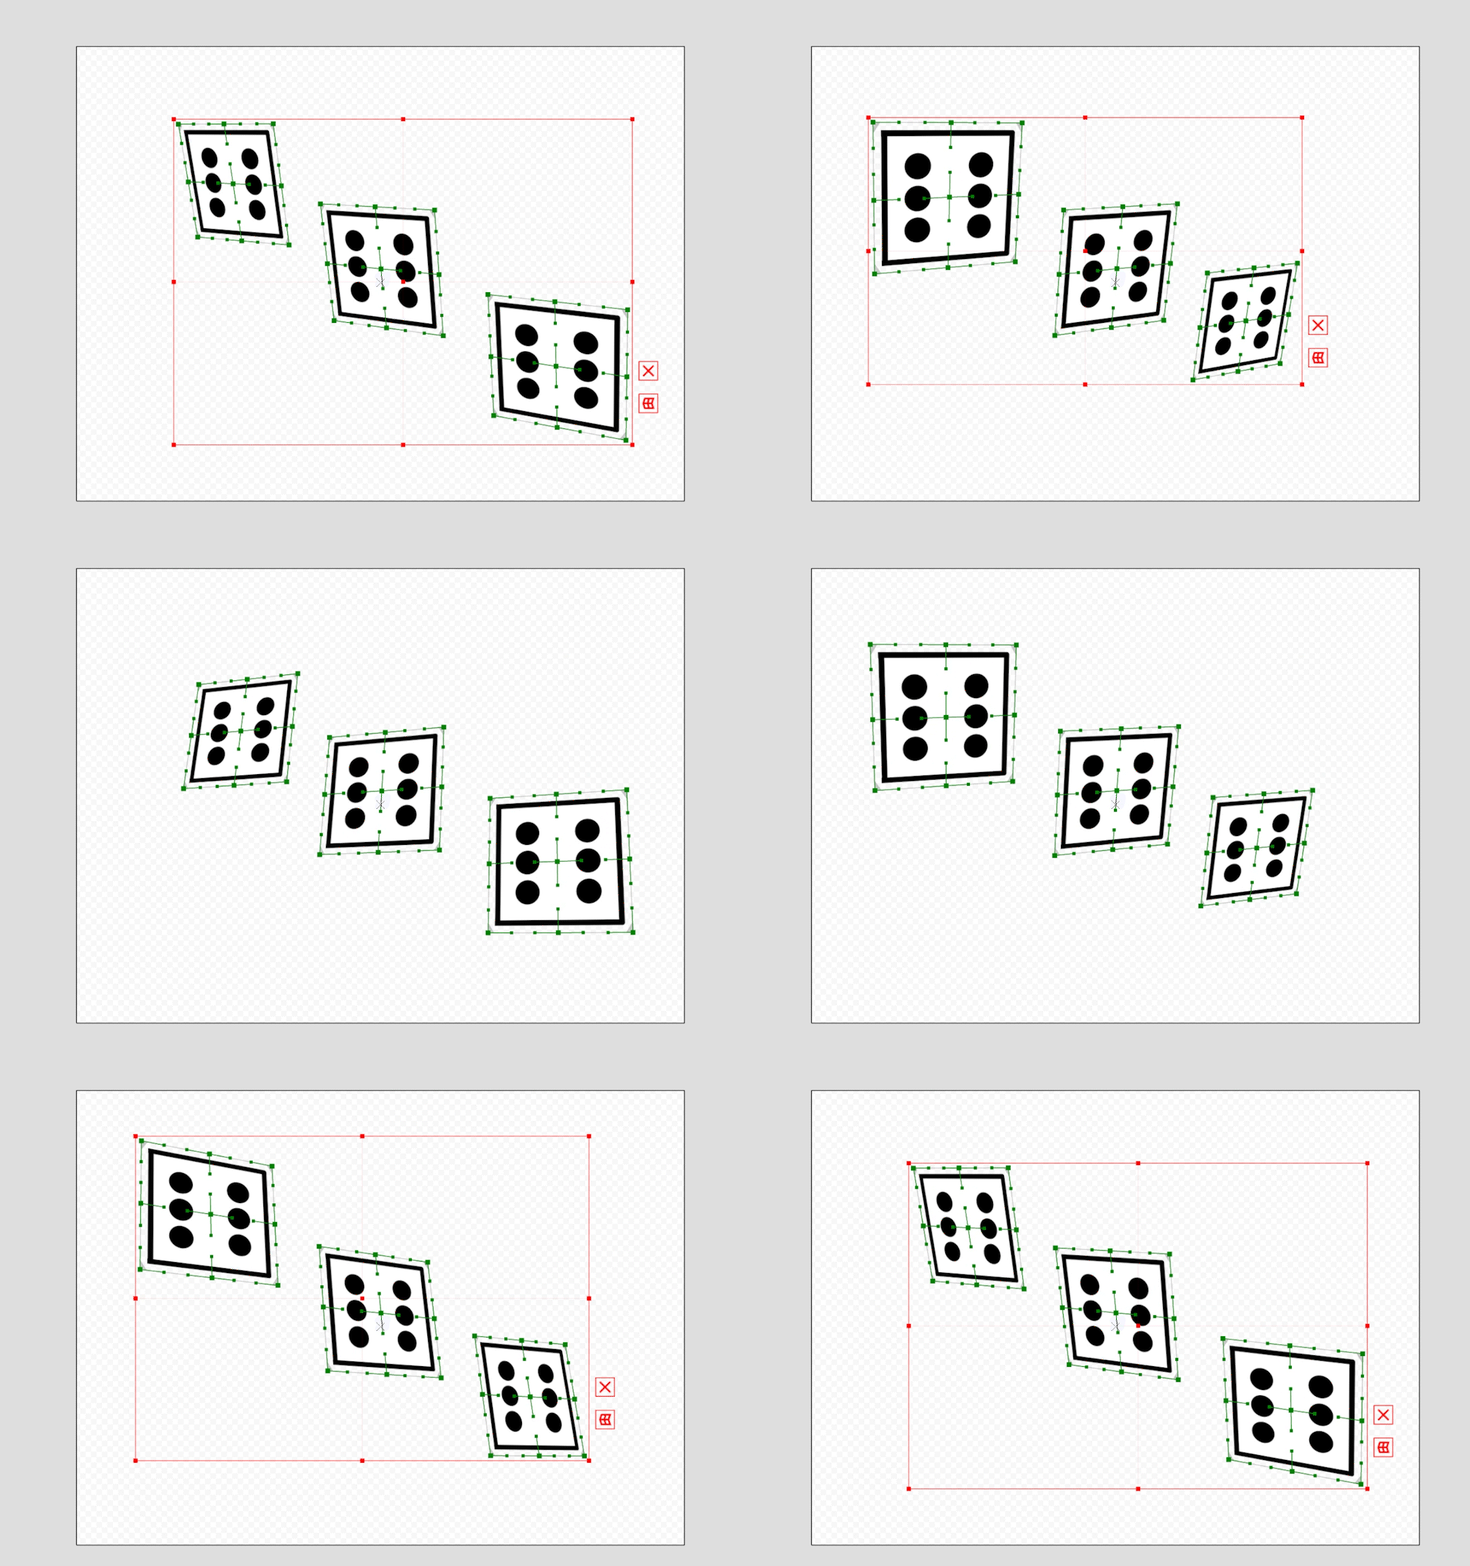
The [Rotation method] setting specifies the rotation calculation method. This setting mainly affects the appearance of the four corners.
The figure below shows the difference in appearance of rotation for the values of [X-direction – Y-direction in order], [Y-direction – X-direction in order], and [X/Y-directions simultaneously].
| X-direction – Y-direction in order | Y-direction – X-direction in order | X/Y-directions simultaneously |
|---|---|---|
 |  |  |
Bilaterally symmetrical/Vertically symmetrical (3D shape)
The “Bilaterally symmetrical” and “Vertically symmetrical” settings for Depth Estimation can be used to automatically make the estimated depth of warp deformers symmetrical.
Simply shape one side with keyform editing to create a bilaterally symmetrical or vertically symmetrical 3D curved surface.
The figure below shows the result of Depth Estimation with [Bilaterally symmetrical] enabled.
If you make a keyform edit on the right (left) side of the warp deformer, the other side will have the same depth.
| Result of Depth Estimation with [Bilaterally symmetrical] enabled |
|---|
 |
