Setting Up Parent-Child Hierarchies
Updated: 02/02/2023
There are many ways to set up a parent-child hierarchy.
On this page, you will learn three ways to set up the hierarchy.
Setting When Deformer is Created
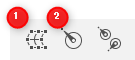
1. Click the icon (1) [Create Warp Deformer] or (2) [New Rotation Deformer].
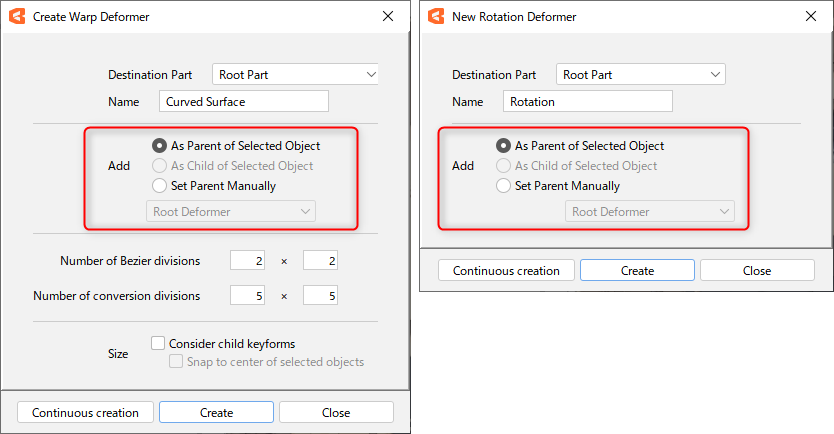
2. Select one of the following from [Add to].
- Set as parent of selected object
- Set as child of selected deformer
- Specify deformer directly
3. Select the object you wish to specify as the destination from the view area, the parts palette, or the deformer palette.
(This operation can be performed before or after step 1 and 2.)
4. Click [Create] to create a new deformer according to the settings selected in [Add to].
Setting on the Inspector Palette
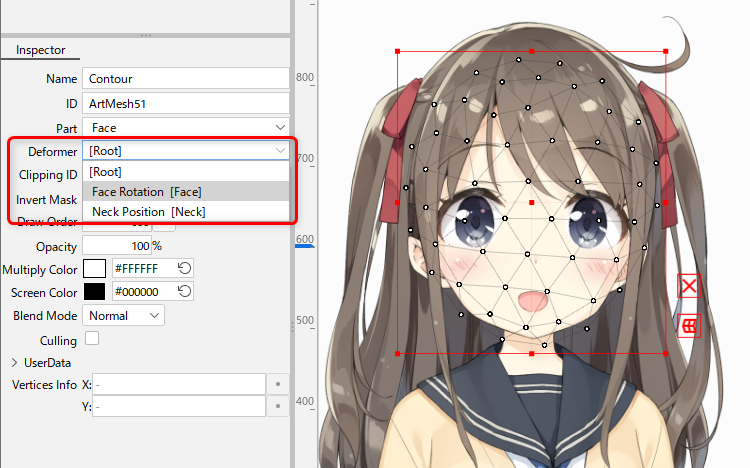
- Select an object
- Click [Deformer] in the [Inspector] palette
- Select the deformer to be the parent
Setting on the Deformer Palette
- Select an object
- Drag the object and drop it on the deformer you want to store

If you hover the mouse over the deformer while dragging the object you want to store, the deformer name turns orange while hovering.
Was this article helpful?
YesNo