Physics and Scene Blend Settings
Updated: 11/29/2022
The [Physics and Scene Blend] settings include two setting screens: [Physics] and [Scene Blending].
The settings screen can be switched using tabs.
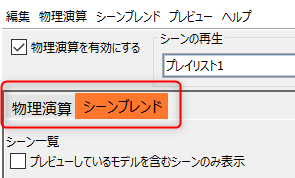
How to Switch Settings Screens
Click on the tabs in the red framed area of the image to switch screens.
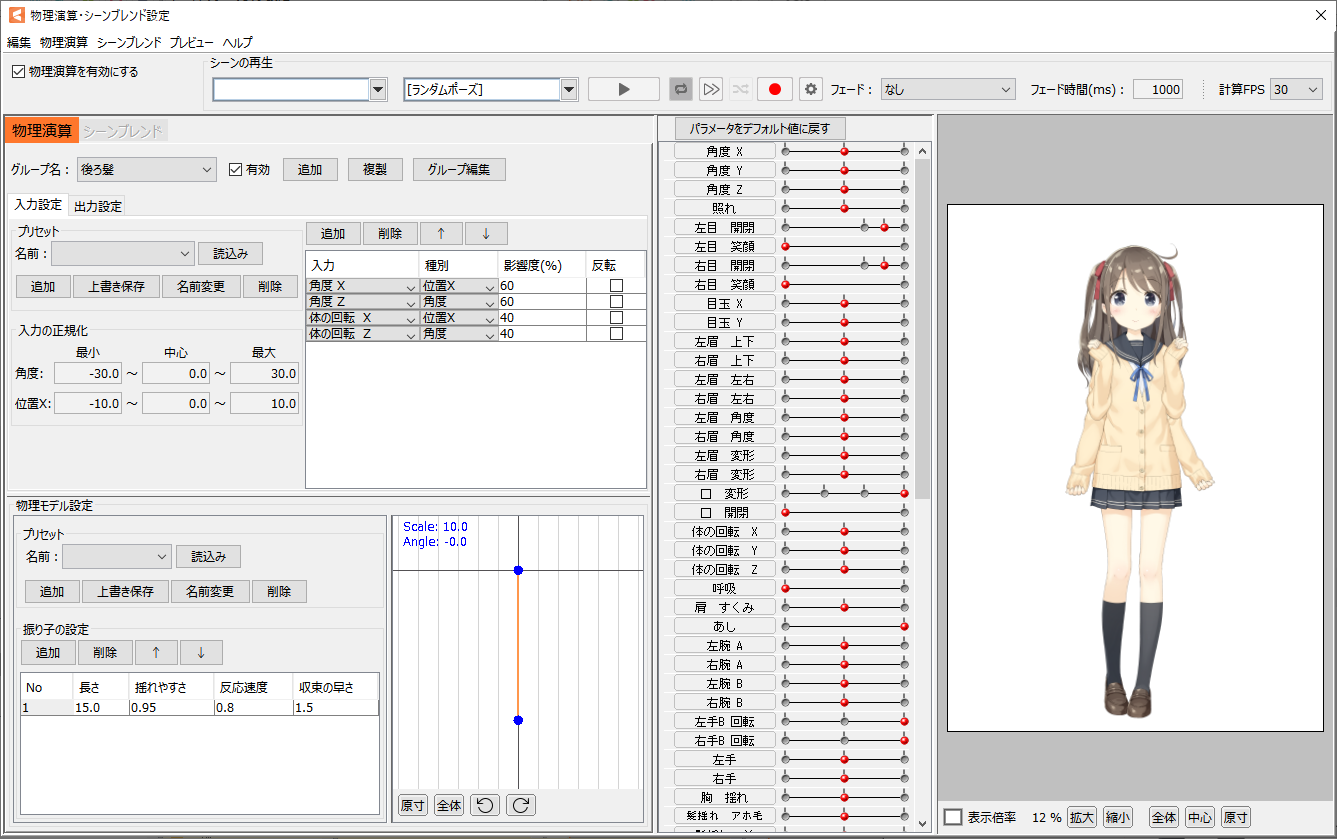
Physics settings screen
Set up the physics calculation settings for hair swaying, clothing swaying, and so on.
See the “Physics Settings” page for a detailed explanation of physics settings.
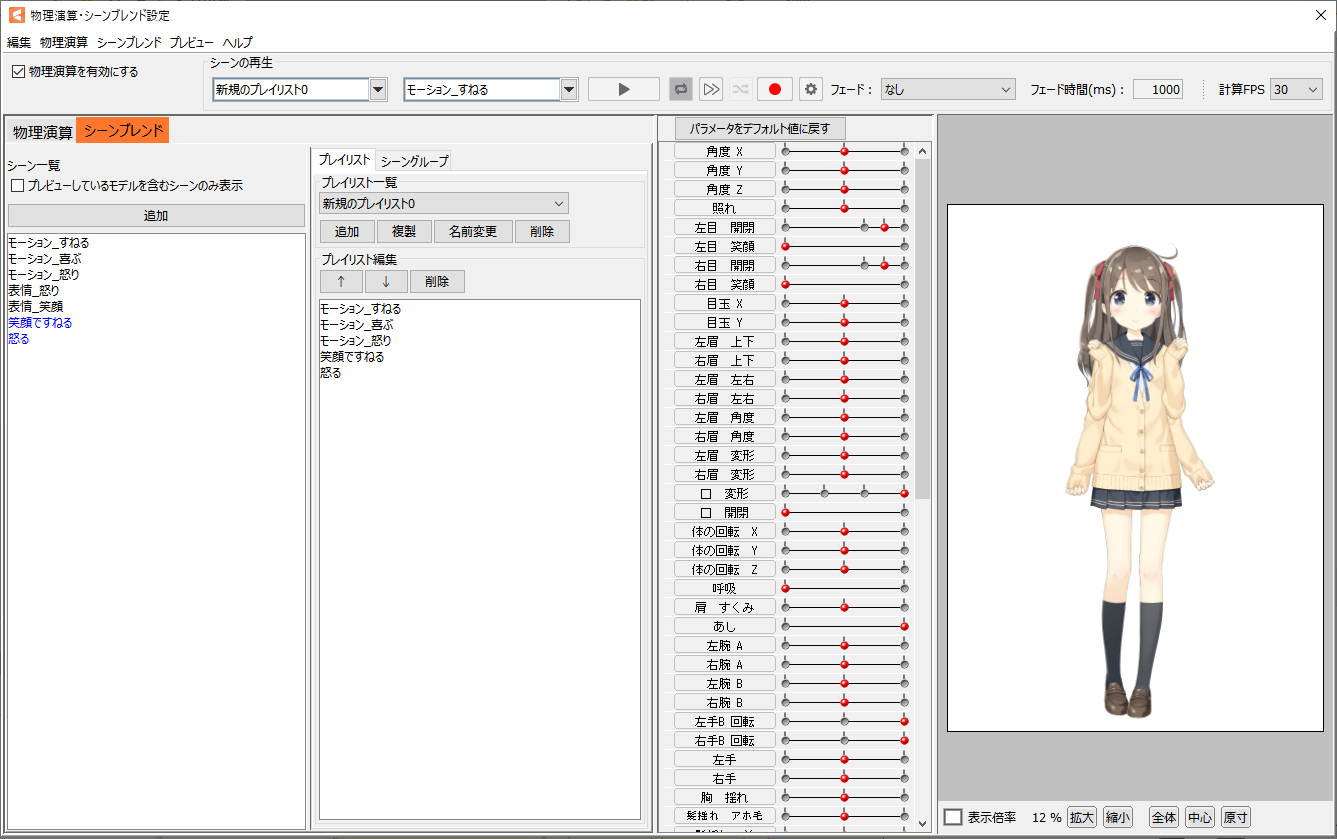
Scene blend settings screen
Scene blend settings allow you to play back scenes created with animation files.
In addition, multiple scenes can be blended together for playback.
See the “Scene Blend Settings” page for a detailed description of scene blend settings.
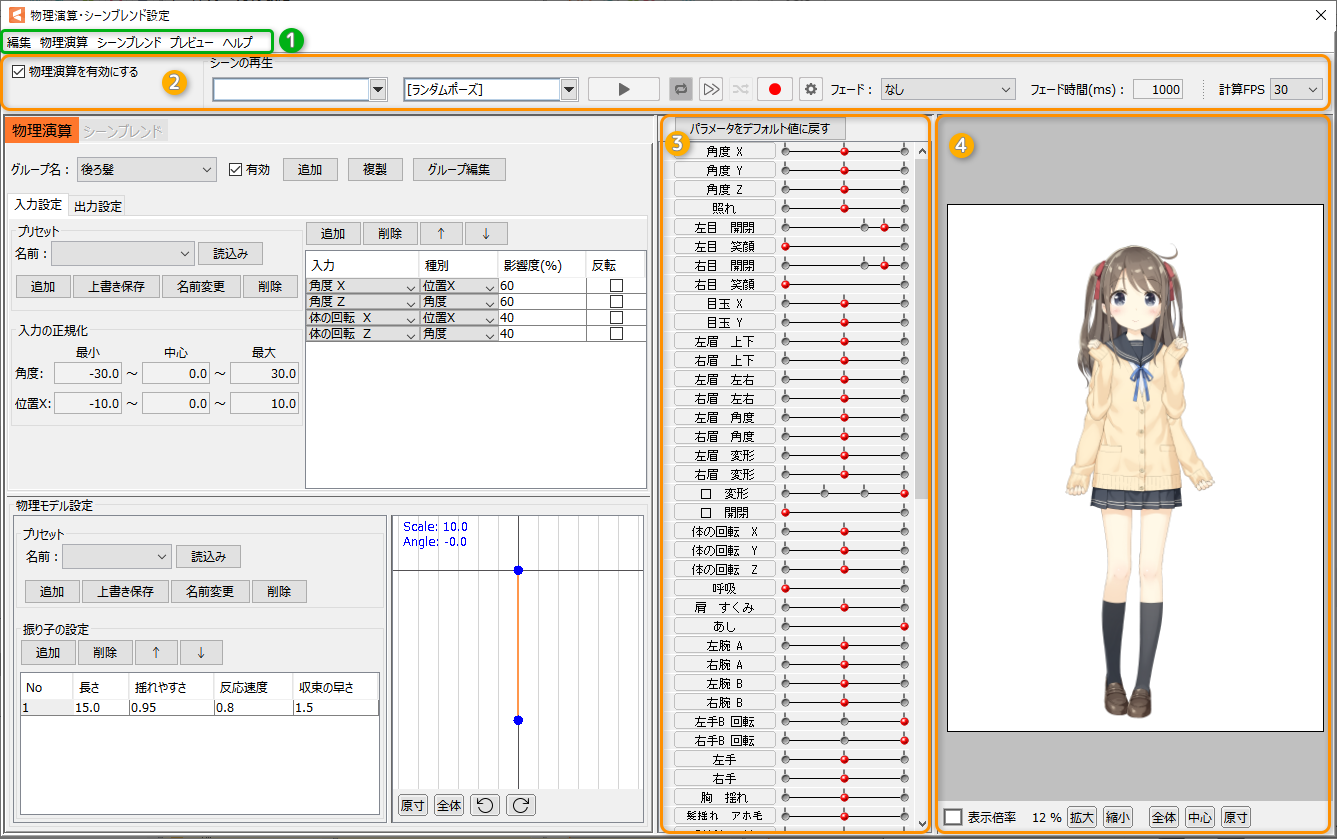
Screen Configuration for Physics and Scene Blend Settings
| Number | Item | Details |
|---|---|---|
| (1) | Menu | This is a menu item in the [Physics and Scene Blend Settings] dialog box. |
| (2) | Playback bar | This shows the playback status of playlists set in scene blending, fades during scene transitions, and FPS settings. |
| (3) | Parameter list | The parameters that have already been created for the model are listed. During cursor tracking and scene playback, the parameter values are reflected on the sliders in real time. If Physics is enabled, the calculated results are reflected on the sliders in real time. |
| (4) | View area | The model for which the physics calculation is configured is displayed. Background color and display magnification can be changed from the bottom of the View area. Use [Space] + drag to move the canvas. |
Menu
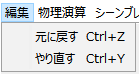
Edit menu
| Item | Details |
|---|---|
| Undo | Restores the state immediately before the last operation. Shortcut key [Ctrl] + [Z] |
| Redo | Executes the operation performed before going back one step. Shortcut key [Ctrl] + [Y] |
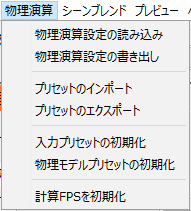
Physics menu
| Item | Details |
|---|---|
| Import Physics settings | Load the physics3.json file. |
| Export Physics settings | Write out the physics3.json file. See the “Data for Embedded Use” page for a detailed explanation of exported data. For FPS information: FPS information will be exported only when a confirmation dialog box appears and [Yes] is selected. 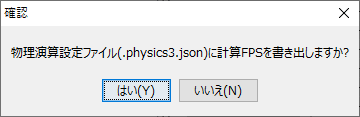 |
| Import Presets | Import the input and physical model setting presets. |
| Export Presets | Export the input and physical model setting presets. |
| Initialize input presets | Initializes the input preset. Please note that the custom presets you have created will also be deleted. |
| Initialize physical model presets | Initializes the physical model preset. Please note that the custom presets you have created will also be deleted. |
| Initialize FPS | Initializes the list of calculated FPS. |
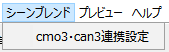
Scene blending menu
| Item | Details |
|---|---|
| Settings of the cmo3-can3 linkage | Set the linkage settings for the animation file (can3) to be loaded into scene blending. See the “How to Set Scene Blending” page for details on the linkage settings. |
Tips
In the settings of the cmo3-can3 linkage, it is not possible to load multiple can3 files at the same time.
For example, scenes in separate can3 files, such as “Expression.can3” and “Motion.can3,” cannot be combined for playback.
Prepare scenes within the same can3 file for the facial expressions and motions you want to combine in scene blending.
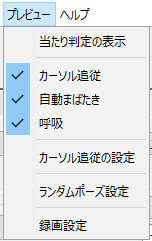
Preview menu
| Item | Details |
|---|---|
| Setting up collision detection | When checked, the set collision detection will be visualized with a red frame. See the “Preparation for Setting Up Collision Detection” page for more information on the collision detection settings. |
| Cursor tracking | When checked, the model will follow the cursor when dragging on the View. Note: Operates during scene playback. The direction and parameters for tracking can be set in [Cursor Tracking Settings] described below.  |
| Automatic Eye-blinking | When checked, the model will blink automatically. Eye blinking is applied to the parameters set for eye blinking in the model’s [Settings for Eye Blinking and Lip-sync]. |
| Breath | When checked, the model will breathe automatically. Breath applies values to parameters whose parameter IDs are “PARAM_BREATH” or “ParamBreath.” |
| Cursor tracking settings | Impact (%): The degree of influence can be set to affect the movement of the parameter. A stronger setting will result in a larger movement, while a weaker setting will result in a smaller movement. Reflect: The cursor tracking is inverted. Type: Set the type of parameter you want the cursor to follow. • In the case of left mouse dragging (Left mouse X: horizontal movement, Left mouse Y: vertical movement) • In the case of right mouse dragging (Right mouse X: horizontal movement, Left mouse Y: vertical movement) 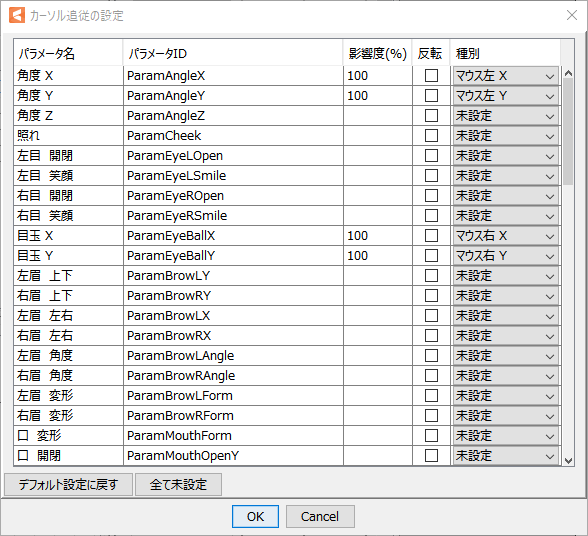 Cursor tracking settings are saved in the model data (cmo3) but are not exported to the embedded data. If you want the cursor to follow when embedding, configure the settings on the SDK side. Note: The cursor tracking setting can also be checked in [OW Viewer]. |
| Random pose settings | Opens the Random Pose Settings dialog box. See the “Random Pose” page for details on operations and settings. |
| Recording settings | You can select where to add scenes generated by the [Record] function.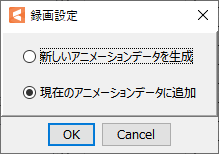 Generate new animation data: Create new animation data (can3). Add to current animation data: Add a scene to the animation data (can3) currently associated with it. |
Help menu
| Item | Details |
|---|---|
| Physics and Scene Blend Settings | Open this page. |
Playback Bar and View Area
Playback bar

| Number | Item | Details |
|---|---|---|
| (1) | Enable Physics | Unchecking the box temporarily turns off the Physics setting. See the “Physics Settings” page for more information on the Physics Settings Editor. |
| (2) | Playlist Selection | Playlists created on the Scene Blend Settings screen can be selected. |
| (3) | Scene Selection | A scene from the selected playlist can be selected. The following movements can also be confirmed. • Random A • Random B • Random Pose |
| (4) | Playback | Play the selected scene. |
| (5) | Repeat | When enabled, the scene playback is repeated. |
| (6) | Constantly Replay | When enabled, all scenes in the playlist are played back continuously. |
| (7) | Shuffle playback | If Shuffle playback is enabled while Constantly Replay is enabled, all scenes in the playlist will be played randomly. Note: [Random A], [Random B], and [Random Pose] are excluded. |
| (8) | Video recording | Records the state of the View and generates a scene. Recorded scenes are generated after the [Physics and Scene Blend Settings] dialog box is closed. |
| (9) | Recording settings | You can select where to add scenes generated by the [Record] function. |
| (10) | Fade | When repeat playback or constantly replay is enabled, a fade can be applied during scene transitions. None: Transitions to the next scene without fading. Linear: After the scene is played, a linear blending transition is made between the model state and the next scene during the scene’s fade time. Easing (2.1 method): After the scene is played, during the fade time of the scene, a curved blending transition is made between the state of the model and the next scene. Blending can be set not only between motions, but also individually for each parameter. Easing is applied to the weight when blending, resulting in a smooth transition impression. Note: Unity can also disable Cubism fades. |
| (11) | Fade time (ms) adjustment | When fade is enabled, you can set the time to apply the fade. (1 second is 1000 ms) |
| (12) | Calculate FPS | Sets the frame rate at which physics operations are performed. You can choose from the following four FPS settings. 15 / 30 / 60 / 120 Also, entering a numerical value allows the FPS to be set to a desired value and saved in the list. To reset the list to its initial state, use [Initialize FPS] in the Physics menu. By creating physics settings that match the FPS of the scene being used, it is possible to reproduce the scene without any sense of discomfort. |
For calculate FPS:
FPS information is set in the model file by opening [Physics and Scene Blend Settings].
(The value of [Calculate FPS] will also be set in the model file at the time it is changed.)
FPS information is now stored in the model file starting with Cubism Editor version 4.1.02.
Model files created prior to 4.1.01 may not have FPS information set.
See the “SDK Compatibility with Cubism 4.2 Features” page of the SDK manual for more information on setting FPS information for model files.
Notes on Unity fades:
Mecanim in Unity uses the concept of layers to further blend the results, including motion fades.
Playback results in the Viewer are not a perfect reproduction of the Unity mechanism, so playback results may vary.
Parameter list
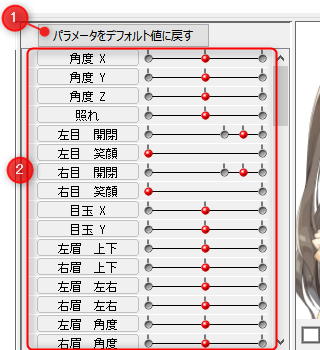
| Number | Item | Details |
|---|---|---|
| (1) | Restore parameters to default values | Click to return the parameters to their default values. |
| (2) | Parameters | The parameters that have already been created for the model are listed. During cursor tracking and scene playback, the parameter values are reflected on the sliders in real time. If Physics is enabled, the calculated results are reflected on the sliders in real time. You can also directly move the sliders of the parameters set in the [Input Settings] to check the degree of shaking of the physics operations you have set. |
View area
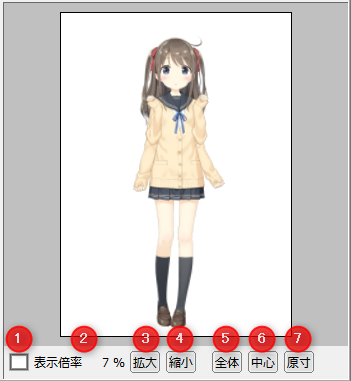
Use [Space] + drag to move the canvas.
| Number | Item | Details |
|---|---|---|
| (1) | Background color setting | You can change and adjust the background color and opacity of the canvas. |
| (2) | Display Magnification | The current canvas display magnification is shown in %. |
| (3) | Zoom In | Enlarge the canvas. |
| (4) | Zoom Out | Shrink the canvas. |
| (5) | Overall | Display the entire canvas. |
| (6) | Center | Center the canvas. |
| (7) | Full Scale | Set the display magnification to 100%. |