Model Display
Updated: 10/29/2020
This section explains how to display Cubism models directly in Adobe After Effects.
Model Display
[STEP 1] Install
Install “Cubism AE Plug-in.”
- Download the installer.
- Install the Cubism AE plug-in.
TIPS
You can select the version of After Effects to be installed by the installer.
[STEP 2] Export model data in Cubism Modeling View
Export the target model data (.moc3).
See “Data for Embedding” for details.
[STEP 3] Import the Cubism model in After Effects
Move to After Effects.
There are two ways to load a Cubism model.
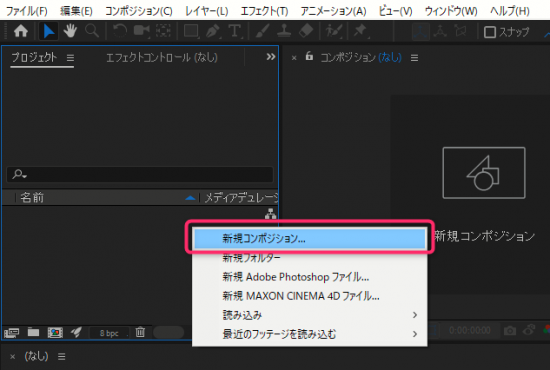
(1) Load from the project panel
Create a new composition.
(Project panel -> Right-click -> Create New Composition)
TIPS
If you perform the “Cubism model loading” described below without creating a new composition, compositions are created with the model’s canvas size.
Load Cubism models.
Project panel => Right-click => Import => Import Live2D Cubism Model
Select the [.model3.json] file you just exported and load it into the project panel.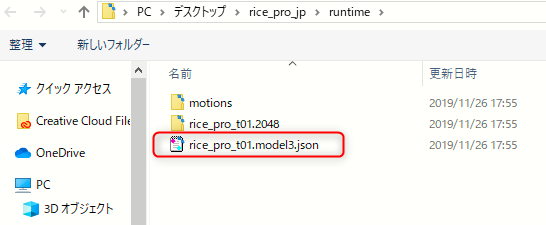
After loading the [.model3.json] file, a [.cae] file will be generated in the project panel.
TIPS
The [.cae] file is a management file that allows Cubism model files to be handled in After Effects.

(2) Load using drag and drop
Drag and drop the [.model3.json] file you just exported directly into the project panel.
After loading the [.model3.json] file, a [.cae] file will be generated in the project panel.
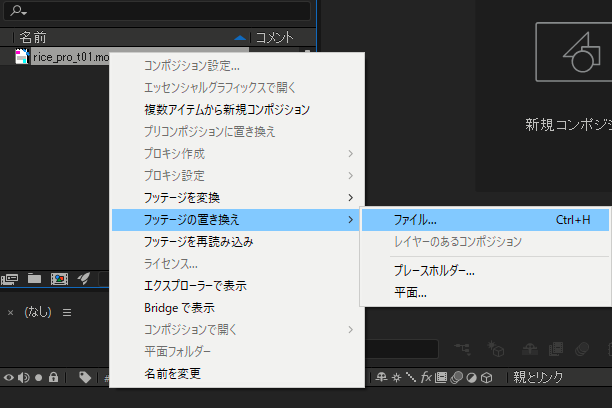
TIPS
Using the undo function immediately after the above state will return the [.cae] file to the state before conversion, so right-click and select Replace Footage to load the [cae] file again.
(Generated in the folder where the [.model3.json] file is located)
[STEP 4] Display the Cubism model in the composition panel
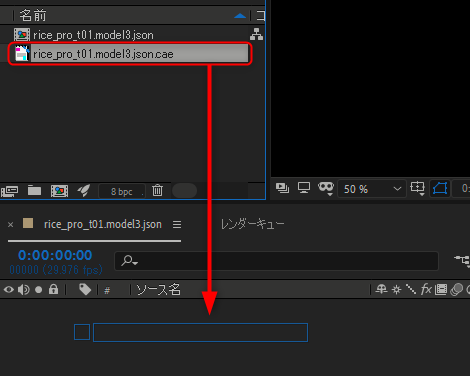
Drag and drop the [.cae] file into the timeline panel.
Select the layer loaded in the timeline and click on [Live2D Cubism Renderer] from the Effects.
Effects menu -> Live2D -> Live2D Cubism Renderer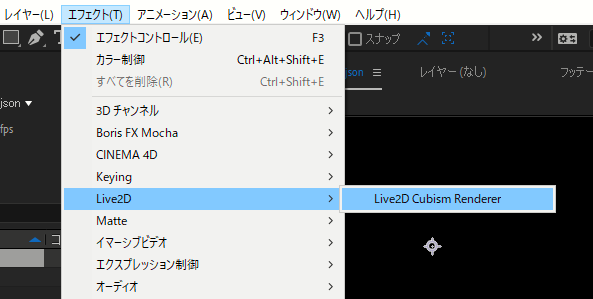
The Cubism model appears in the composition panel of After Effects as shown below.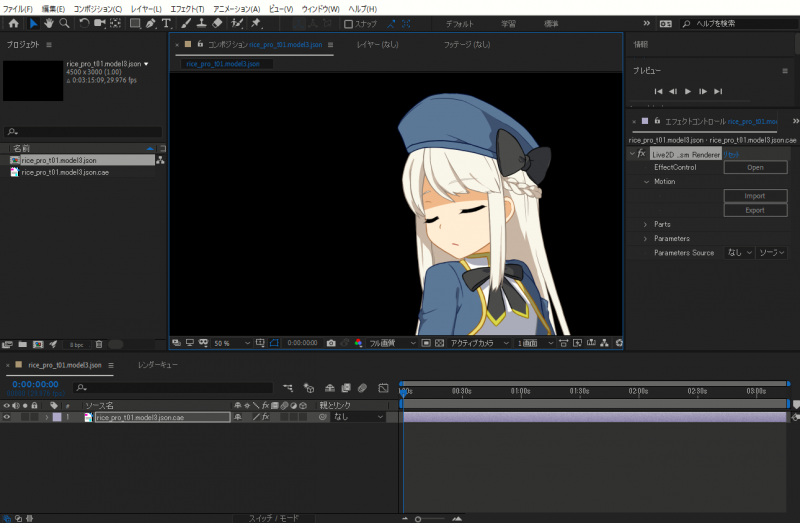
Notes when loading the .model3.json file
Effects such as [Lip-sync] and [Eye blinking] cannot be reproduced in After Effects.
When exporting motion data, check the [Burn Lip-sync and Blink into Motion] checkbox.
Utilize Environment Building Scripts
Note: Since the “AutoFit” function was implemented in Live2D Cubism 4 AE Plugin R3 beta1, the script for environment building was discontinued.
The current plug-in does not draw the model outside the range of the layer after the effect is applied.
If you encounter this problem, take advantage of the environment building scripts to have the model drawn outside the scope of the layer.
How to apply the environment building scripts
Note: Since the “AutoFit” function was implemented in Live2D Cubism 4 AE Plugin R3 beta1, the script for environment building was discontinued.
Drag and drop the [.cae] file into the timeline panel.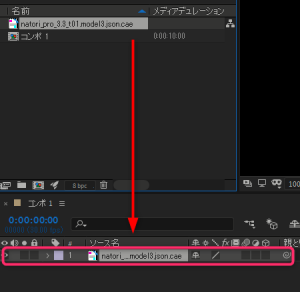
With the target layer selected as shown above, apply the script for building the environment.
File menu -> script -> apply_Live2D_fx.jsx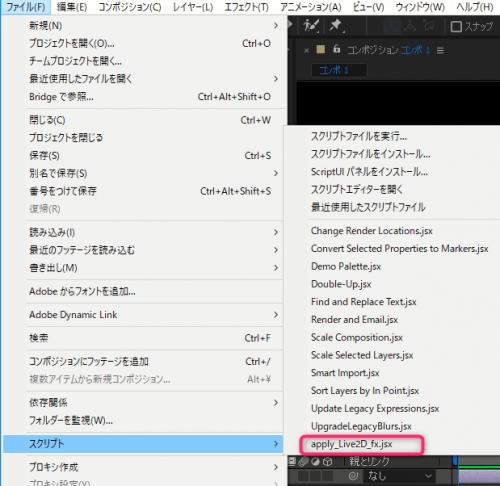
When the script is applied, the [Extended Range] effect is automatically created.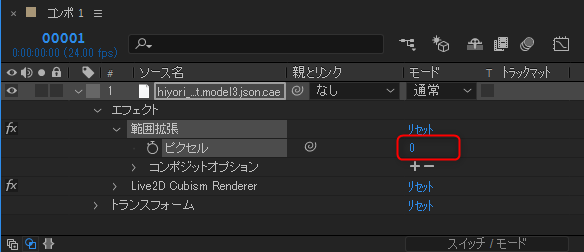
Immediately after application, the value of the range extension pixel is set to 0, so let’s increase the value to the point where the entire layer is drawn.
Notes on using the environment building scripts
Please note the following points when using the environment building scripts.
- The more pixels handled by the range extension effect, the heavier the rendering will be.
It is recommended that Cubism models be created in such a way that they do not extend beyond the basic layer, even when motioned. - When using adjustment layering, other effects may not be applied to the Cubism layer.
When using an adjustment layer, the range extension effect will be disabled, so be careful that the model does not extend beyond the drawing area.