Masking Function
Updated: 06/20/2023
This page describes the masking function of Cubism 4 AE Plugin.
The masking function was introduced in R9 beta1.
Masking Function
The masking function allows you to easily extract a specific part of the model in grayscale and use it as a “mask.”
This function extracts a part of the displayed part or ArtMesh as a mask.
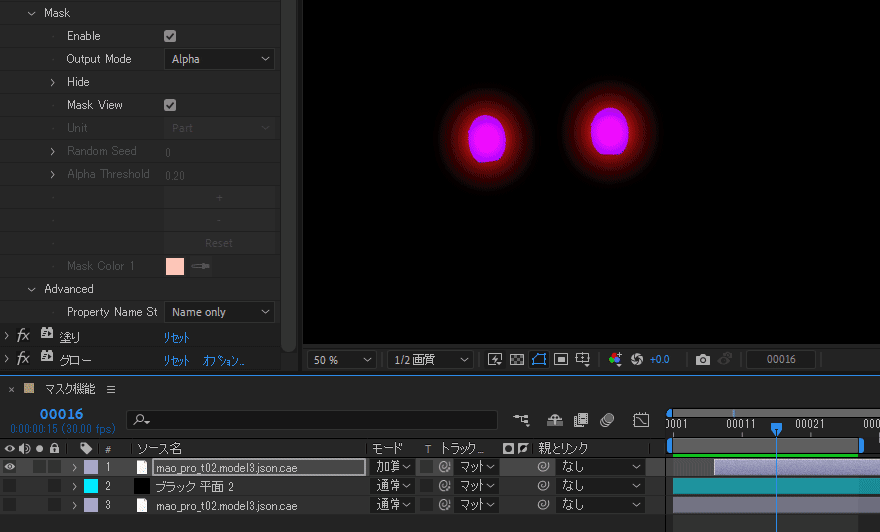
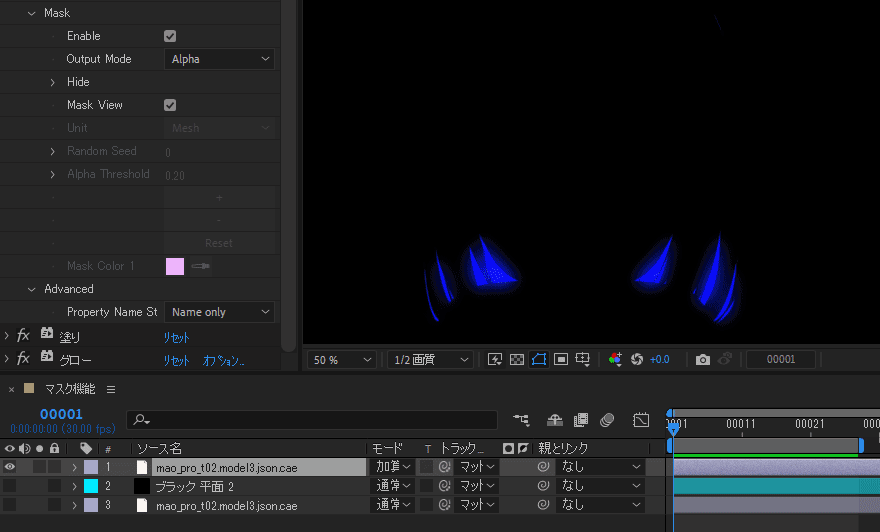
When you want to illuminate only the model’s eyes, for example, you can add effects that take blinking into account.
Enabling the Masking Function
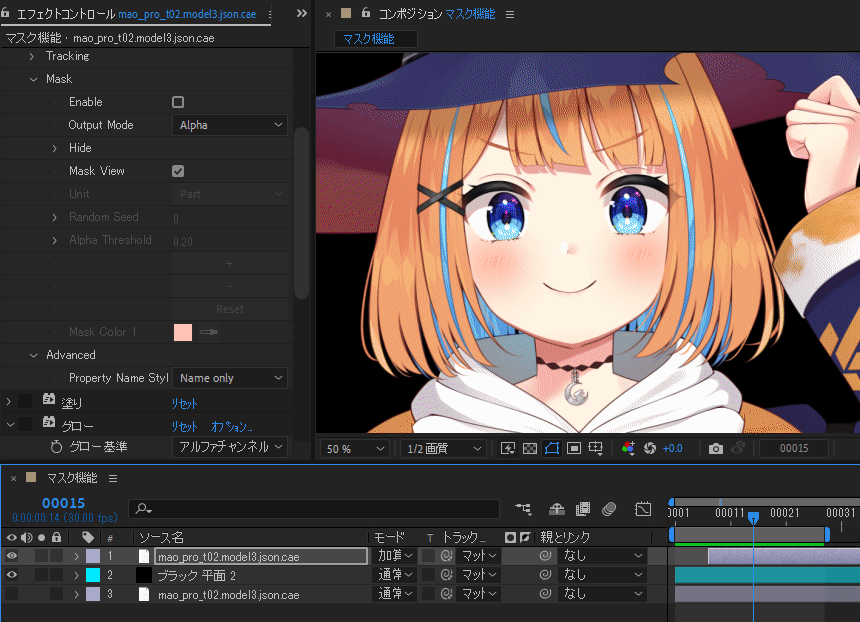
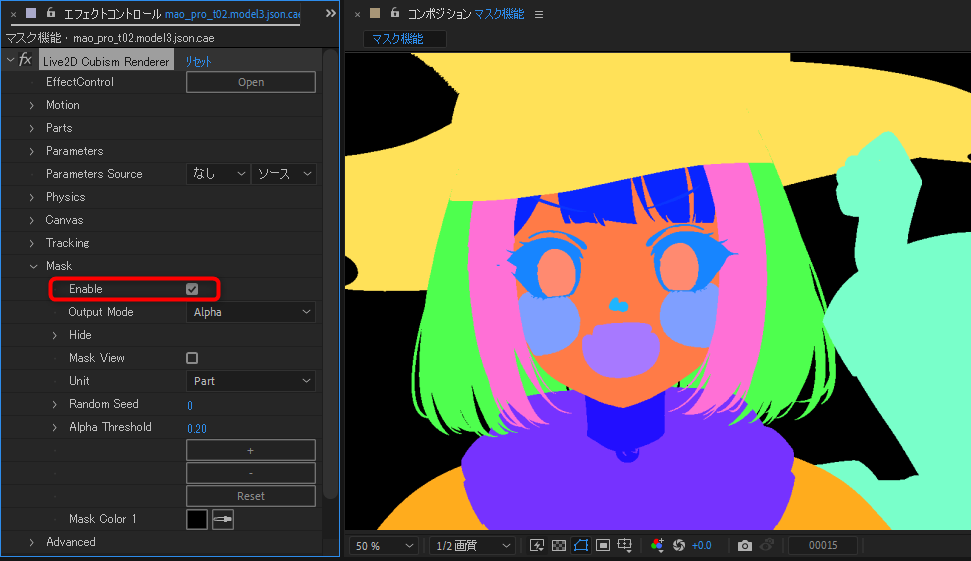
Open the [Mask] menu in the [Live2D Cubism Renderer] effect on the model layer where the animation was set.
Select the [Enable] checkbox to enable the masking function. A color-coded model is rendered for each part.
Clear the checkbox to return to normal rendering.
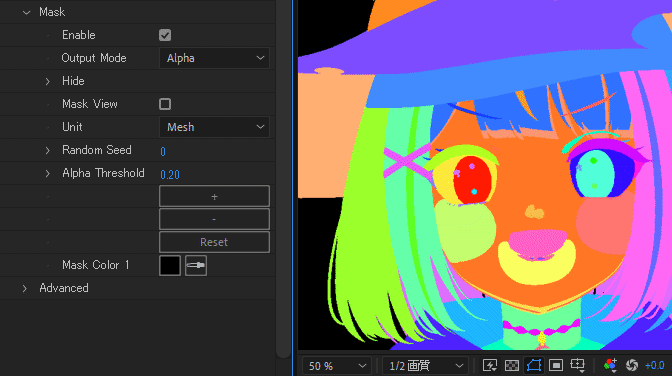
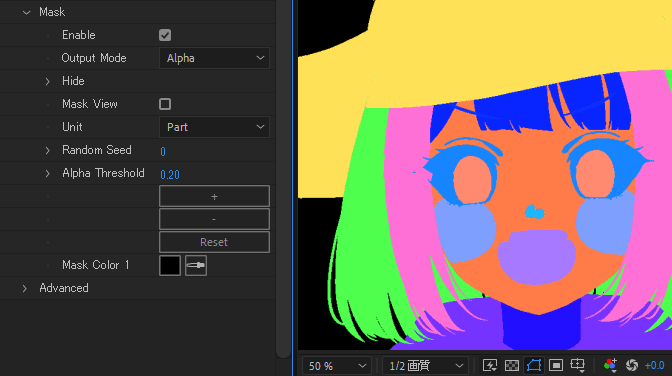
Selecting the Target for the Mask
Masks can be selected by “part” or “ArtMesh.”
Selection is made from the combo box under [Unit].
| Part | Mesh |
|---|---|
| Select the mask target for each part of the model. | Select the mask target in units of the model’s ArtMesh. |
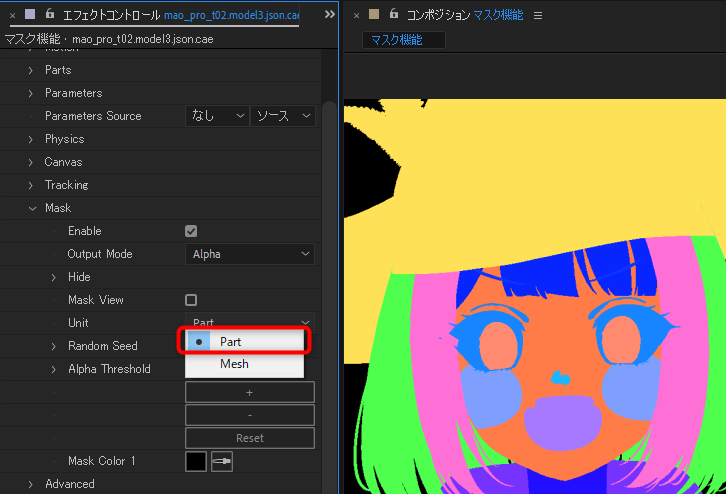 | 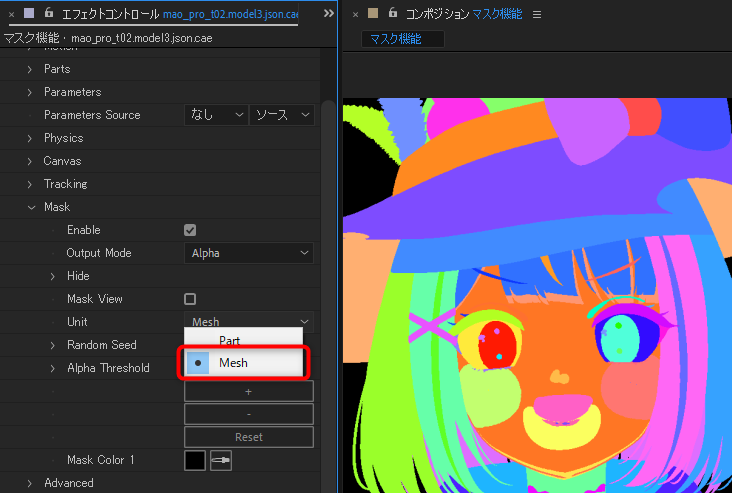 |
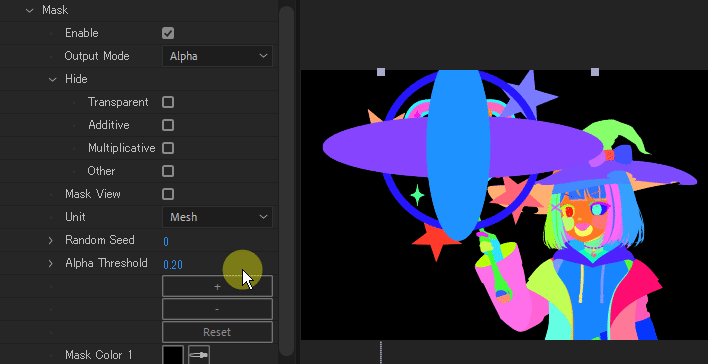
Using the color picker, click the area you want to mask.
The color that you have selected with the eyedropper is added to the [Mask Color], and the color of the area to be masked changes to white.
[Mask Color] can be increased with the [+] button and removed from the bottom with the [-] button.
Clicking the [Reset] button returns the color to the default state.

Tips
Up to 256 [Mask Colors] can be added.
If it is difficult to see the color when using the eyedropper, you can change the color randomly by changing the value of [Random Seed].
For areas where the boundaries are difficult to distinguish, such as the falling shadow of a hat or the redness of cheeks, use [Alpha Threshold] to adjust the region.
Switching to Mask Rendering
After selecting the mask target, select the [Mask View] checkbox to switch to mask rendering. Only the mask target will be displayed.
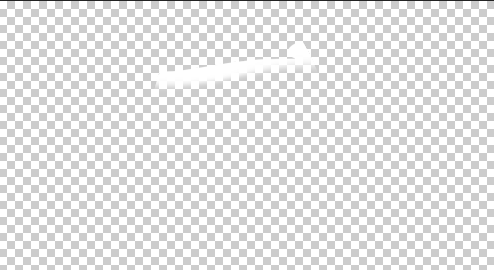
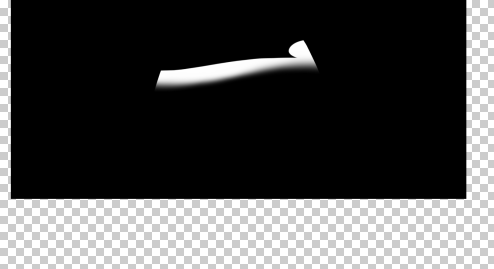
You can use [Output Mode] to switch the mask rendering between [Alpha] and [Grayscale].
| Alpha | Grayscale |
|---|---|
| Renders the mask in the alpha channel. | Renders the mask in grayscale. |
 |  |
You can hide the ArtMeshes of the type checked in the [Hide] menu.
| Menu | Hidden object |
|---|---|
| Transparent | ArtMesh with transparency set (= ArtMesh with alpha value less than 1.0) |
| Additive | Additive composited ArtMesh |
| Multiplicative | Multiplicative composited ArtMesh |
| Other | ArtMeshes other than those listed above |
Tips
The [Hide] menu can also be used to select the mask target.
Example of Utilizing Masks
Various effects can be added by applying effects to the extracted area as a mask.
In mask rendering mode, only visible areas are extracted as a mask, making it easier to add effects in accordance with the animation.