Use the Pose Function (SDK for Cocos Creator)
Updated: 03/14/2023
This page describes the procedure for having Cubism models control the display state of parts.
The following explanation is based on the assumption that the project is the same as the project for which the “Import SDK” was performed.
See “Pose Settings” for information on how to set up Pose, and see “Pose” for the SDK’s Pose specifications.
Summary
If the model was imported with “Live2D/Cubism/OriginalWorkflow/Should Import As Original Workflow” checked in the Cocos Creator Editor menu, Pose will be set on the model.
If you want to apply the Pose function to a model that has not been configured above, you can do so by following the procedure described in this article.
- Clear AnimationClip curves
- Re-import models in OW Mode
Note: When a model is reimported in OW Mode, components for OW other than Pose settings such as “CubismUpdateController,” “CubismParameterStore,” and “CubismExpressionController” will be added at the same time.
Clear AnimationClip curves
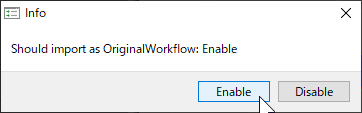
1. Select “Live2D/Cubism/OriginalWorkflow/Should Import As Original Workflow” from the Cocos Creator Editor menu and set to Enable in the dialog box that appears.

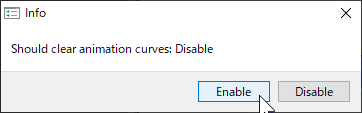
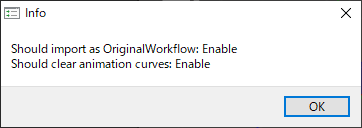
2. Select “Live2D/Cubism/OriginalWorkflow/Should Clear Animation Curves” from the Cocos Creator Editor menu and set to Enable in the dialog box that appears.

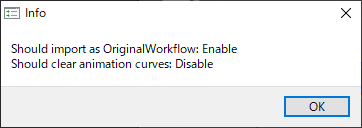
If the display looks like the following, it is OK.
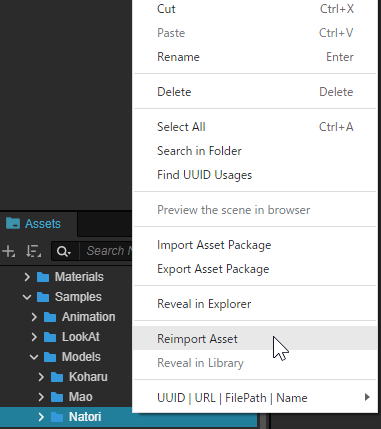
3. In the Project window, right-click on the folder of model data to be configured and click “Reimport.”
Re-import models in OW Mode
1. Select “Live2D/Cubism/OriginalWorkflow/Should Clear Animation Curves” from the Cocos Creator Editor menu and set to Disable in the dialog box that appears.
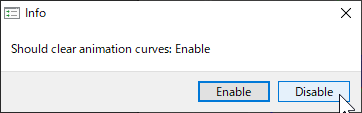
If the display looks like the following, it is OK.
2. In the Project window, right-click on the folder of model data you want to re-import and click “Reimport.”