2. Preparing to Move the Illustration
You can download the latest Cubism Editor here.

Load the PSDs created in the previous section Illustration Processing into the Editor and prepare to add movement to them.
The video explains the operational procedures and things to be aware of when dividing a mesh.
Basic Tutorial List
- Illustration processing
- Preparing to move the illustration
- Adding facial expressions
- Adding body movement
- Adding XY facial movement
- Creating animations
Tutorial Video
Below are links to the pages in a manual that explains in more detail the items described in the video.
- PSD Import [0:15]
- About ArtMeshes [0:40]
- Mesh Editing [1:21]
The data for the broken mesh created in the video can be downloaded here. Use the data as a reference.
Note: Please be sure to read the Free Material License Agreement before downloading.
The completed sample model of “Hiyori Momose” appearing in the video => Click here to download
Note: Some browsers may not allow you to download the file even if you click the link.
In that case, please right-click and save the link.
Video Review
In this example, the processed illustration data is loaded into Editor to prepare for moving the illustration.
PSD Import
Select [Open] from the [File] menu and select the PSD you want to load.
PSDs can also be loaded by dragging and dropping them directly into the View area.
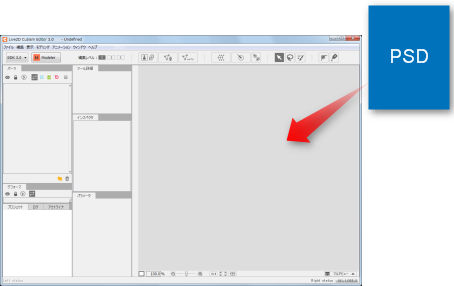
Once loaded, the illustration will appear on the canvas.
Information about the loaded illustration is displayed in the Parts palette in the upper left corner of the screen.
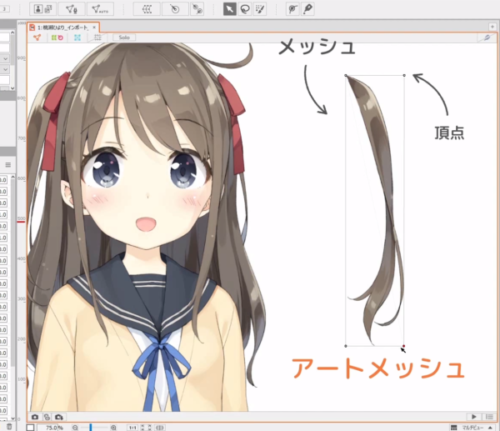
About ArtMeshes
Click on the loaded illustration to see white dots and gray lines. This is called a “mesh.”
A texture to which a “mesh” is assigned is called an “ArtMesh.”
The white dots in the “mesh” are called vertices, and by moving these vertices, the texture can be deformed.
See Live2D Glossary for a detailed explanation of terms.
Mesh Editing (Automatic)
When first loaded, only four vertices are struck for the ArtMesh.
The number of vertices is too small to deform and it is difficult to get the desired deformation, so it is necessary to break the mesh a little finer.
Since adjusting everything one by one would be a difficult task, all meshes are automatically reassigned once.
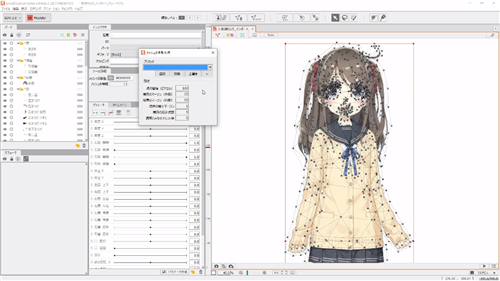
After selecting all ArtMeshes with Ctrl + A, click [Automatic Mesh generator] from the menu above.
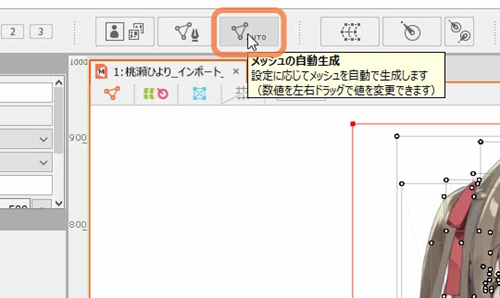
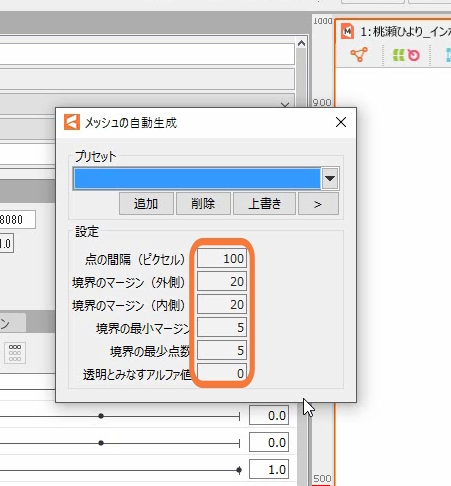
A settings dialog box will then appear.
The size and width of the mesh can be adjusted by changing the values from the settings dialog box.
Here, break the mesh with the default settings.
Click on a value and press Enter to apply the mesh.
Mesh Editing (Manual)
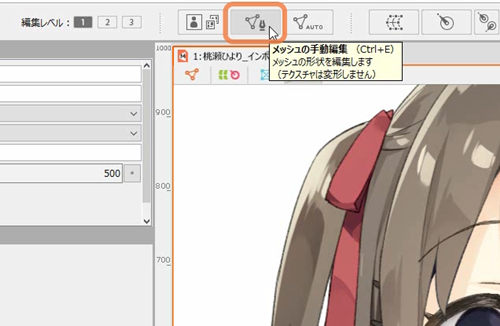
The eyebrows, eyelashes, and mouth are the most common parts to be deformed significantly, so it is better to manually mesh them to create a clean shape.
With the ArtMesh you want to edit selected, press [Manual Mesh Edit] to enter Mesh Edit mode.
Ctrl + E will take you to the same screen.
From here, you can add or delete points.
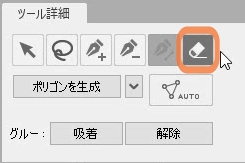
First, select the Eraser Tool in the Tool Details palette to erase all the points you want to erase.
The size of the Eraser Tool can be changed by dragging it on the canvas while pressing B.
Even with a non-Eraser Tool selected, you can hold down Ctrl and drag on the canvas to select multiple vertices for erasing.
 |  |
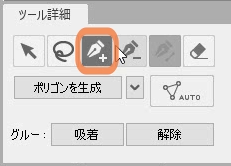
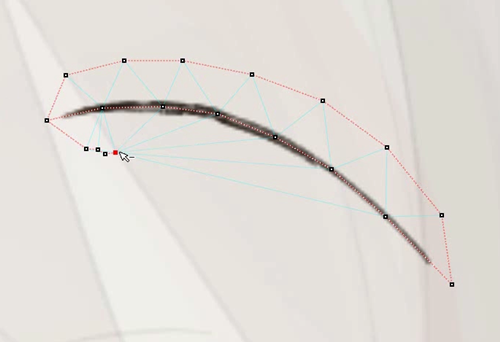
To add a vertex, select the icon with the plus sign, then click on the canvas. Now you can hit a vertex.
When the next point is struck, the line is automatically connected from point to point.
 |  |
If you hit a point by mistake, you can erase the vertex by selecting the icon with the minus sign and clicking on the one you want to erase.
While in the Add Tool, it is possible to erase a point in the same way by pressing Alt.
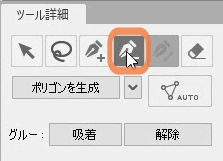 | 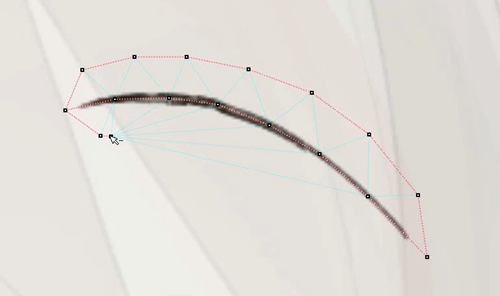 |
If you want to connect points with lines after hitting the points, press [Generate Polygons] to automatically connect the points.
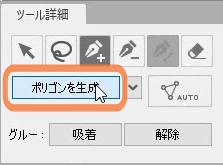 |  |
Once the desired shape is achieved, press the check button on the canvas to complete the adjustment.
If the adjustment is completed while the mesh does not fully enclose the texture, the texture outside the mesh will not be visible.
Divide the mesh so that it completely encloses the texture.
Recommended Division by Parts
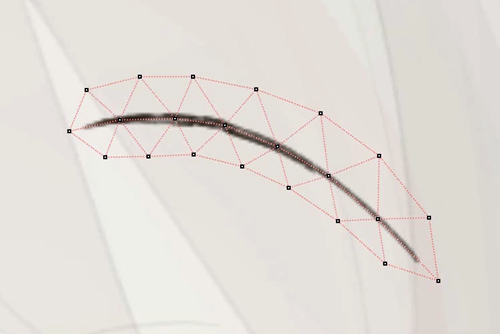
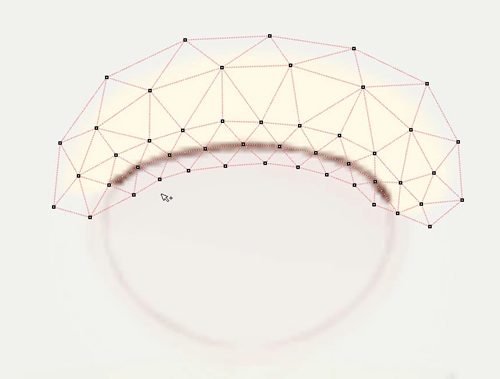
How to divide an eyebrow
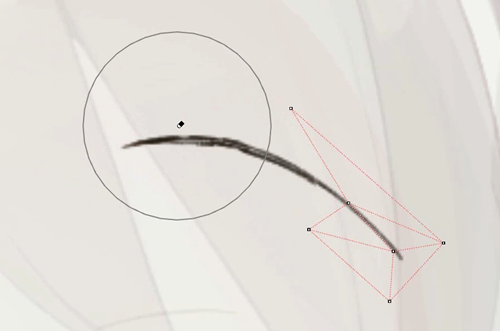
For each eyebrow, we recommend that you create triangles that enclose it.
Another method is to draw a line through the middle of the eyebrow.
It is recommended that the line width be uniform.
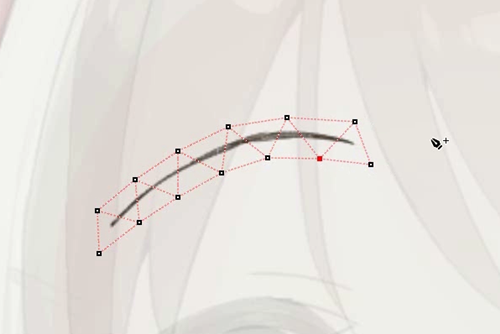
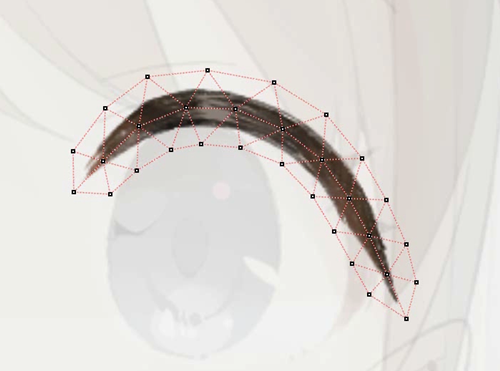
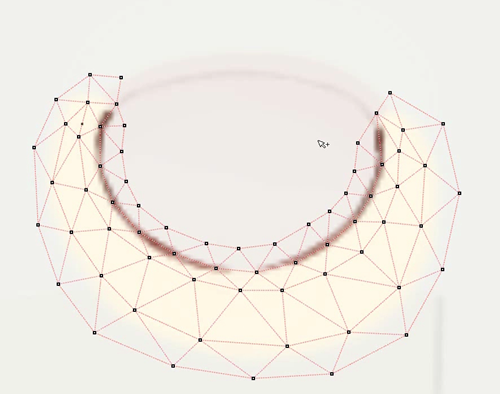
How to divide an eyelash
The eyelashes deform greatly, so divide the mesh a little finer.
As with the eyebrows, the line should be drawn through the middle of the eyelash.
How to divide a mouth
Draw a line across the top of the lip line and enclose the border in the skin tone area.
Do not forget to re-strike not only the upper lip but also the lower lip.
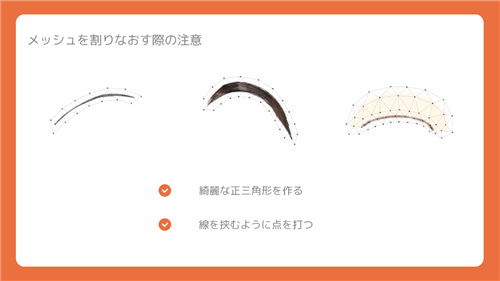
Points to keep in mind when creating meshes manually
Although these are the only three we will introduce here, typically, the following points should be kept in mind when creating meshes manually in order to create beautiful deformations.
• Make a nice equilateral triangle
• Add a point across the line
If you have trouble deforming parts other than those introduced here, please refer to the sample models.
The next step is to actually deform the ArtMesh to give facial expression.
Previous section “1. Illustration Processing” | Next section “3. Adding Facial Expressions”