反转蒙版
最終更新: 2019年9月4日
此页面适用于Cubism 4.2及更早版本的旧版本。 点击此处查看最新页面
本节介绍反转蒙版。
关于反转蒙版
您将能够反转剪贴蒙版并将其隐藏。
反转蒙版的步骤
在指定用作蒙版的物体ID之前,它与“剪贴蒙版”相同。
选择要遮罩的图形网格并复制它。
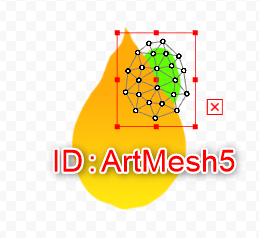
选择要剪贴的图形网格,并将ID贴上到[检查器]面板的[剪贴]栏中。
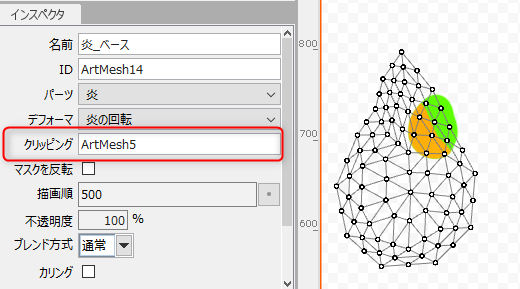
将要遮罩的图形网格ID(ArtMesh5)贴上[剪贴]中,物体将被剪贴。
到此为止的过程是正常的剪贴蒙版步骤。
选中[检查器]面板上的[反转蒙版]。
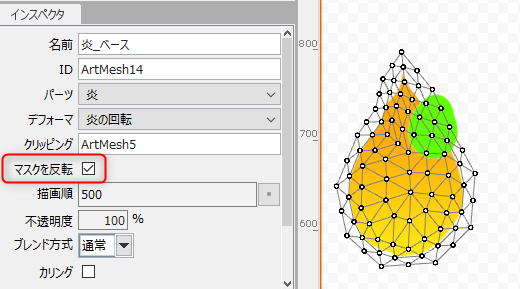
通过打开反转蒙版,可与通常的剪贴蒙版相反,
使用指定的图形网格进行隐藏。
Tips
您可以通过用逗号分隔多个图形网格来进行指定(例如,ArtMesh1,ArtMesh2…)
Point
在SDK以外的视频作品等中使用时,即使使用很多剪贴蒙版也没有问题。
反转蒙版使用示例
将刘海剪贴成半透明图片 ⇒ 通过[反转蒙版],
可以表现头发的纯粹度。

您可以使用反转蒙版隐藏指定的物体,因此,
即使半透明物体重叠,颜色也不会重叠。
使用SDK时的剪贴注意事项
SDK版本指定的限制
使用反转蒙版时,请将Editor的SDK目标版本设置为[SDK4.0/Cubism4.0]或更高版本。
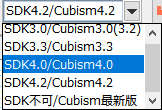
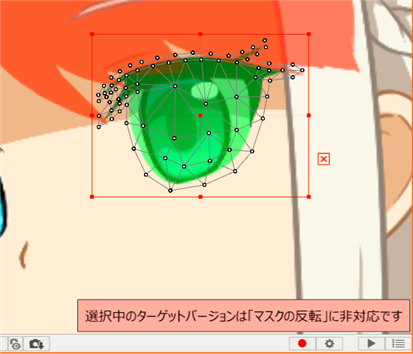
3.3之前的目标不支持反转蒙版,因此不会反映在视图显示中。
(它会变红,且会发出警告)
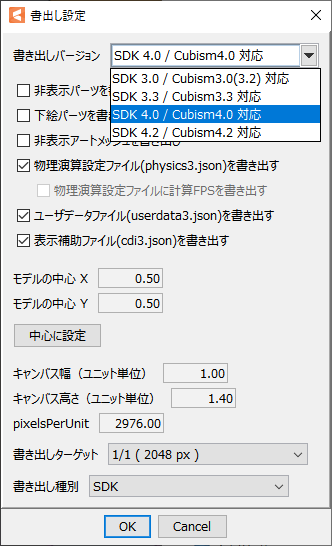
关于输出moc3文件
在SDK 4.0中使用含反转蒙版的模型时,
请在输出版本设置为[支持SDK4.0/Cubism4.0]或更高版本的情况下输出。
选择3.3之前的版本时,则在开启反转蒙版时不会输出剪贴ID和反转蒙版标志。
请问这篇文章对您有帮助吗?
是否