How to add Live2D models (nizima LIVE TRACKER)
Updated: 01/29/2026
The embedded Live2D model data is required for new imports. Search on the nizima Live2D official market or use Live2D Cubism Editor to create the data yourself.
Point
The output data from nizima is the embedded Live2D model data.
How to Send Models from nizima LIVE
Operation with nizima LIVE (PC)
1. Connect nizima LIVE to nizima LIVE TRACKER. Click here to see how to connect.
2. Open the model list and click “Send the selected model to iPhone” from the “…” menu.
3. Check the pop-up for the contents to be sent, select the destination, and click the “Send” button.
Operation with nizima LIVE TRACKER (iPhone)
4. If reception is successful, the reception dialog box appears.
5. After you review the contents and tap “Save and display,” the model is added to the model list and is automatically displayed.
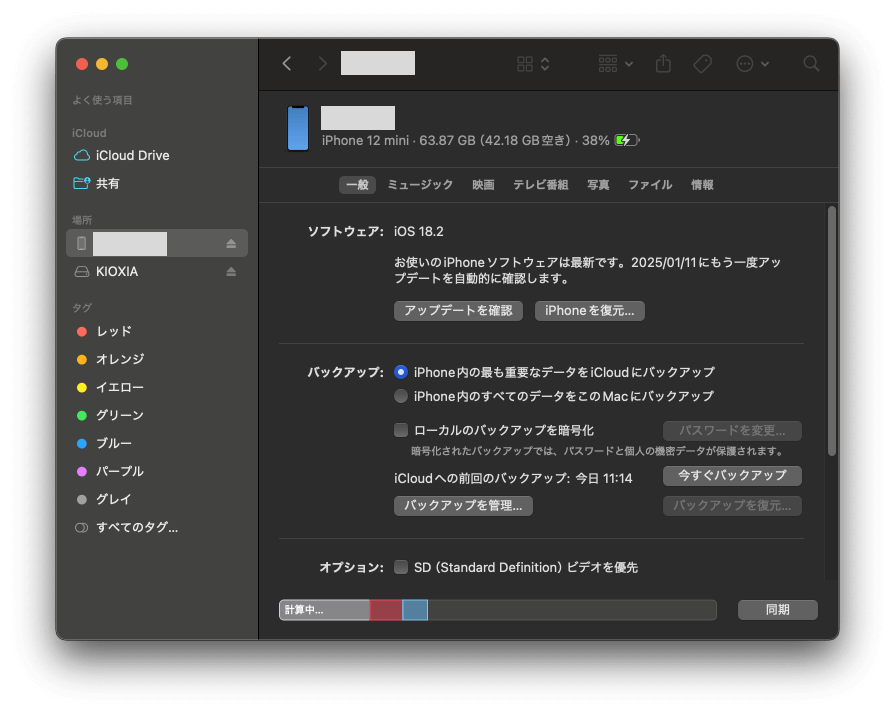
Adding Models Using an Apple Device or iTunes
- 1. Install Apple device or iTunes on your PC.
- 2. Use a USB cable to connect your PC and iPhone.
- 3. Open Apple device or iTunes on your PC and click the smartphone icon at the top of the screen.
- For “iTunes” only
- Click the smartphone icon at the top of the screen.
- Common for both “Apple Devices” and “iTunes
- From the settings that appear on the left side, select [File Sharing] and then [nizima LIVE TRACKER] from the list of apps that appears.
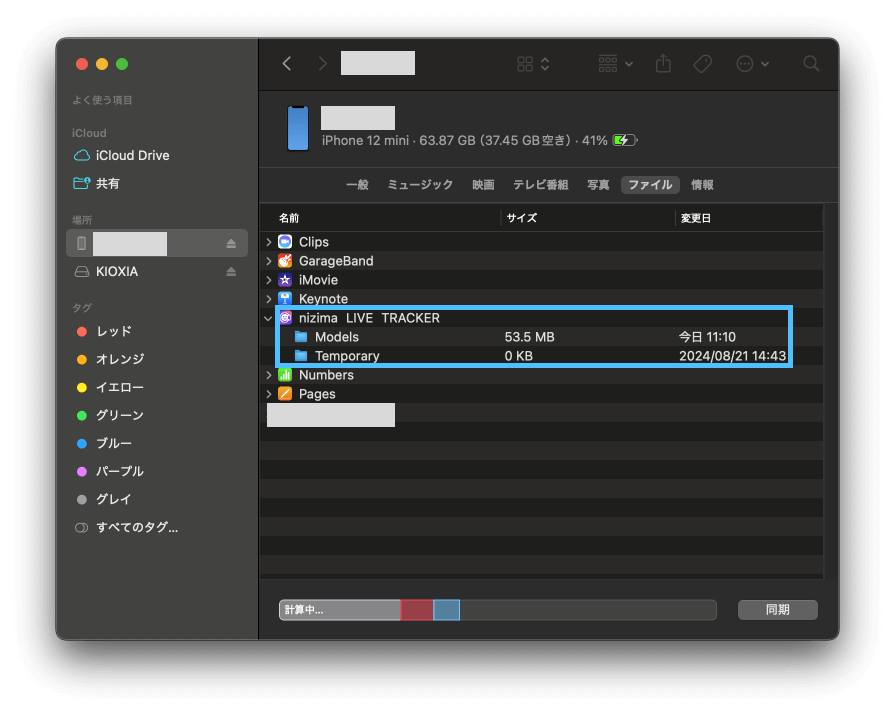
- 4. From [nizima LIVE TRACKER Documents] on the right side of the screen, select [Models] and click [Save].
Point
If you do not see [Save], you may need to scroll the screen down.
- 5. A window for saving the folder appears. Specify your desktop and click [Select Folder].
- A folder titled “Models” is created in the specified location.
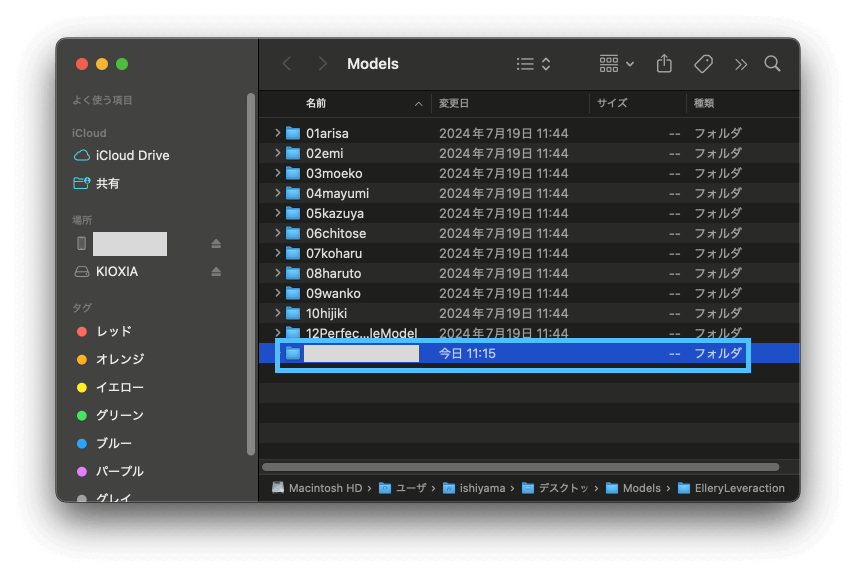
- 6. Add the model data to the created “Models” folder.
Point
- Add the entire folder containing the embedded data.
For the folder configuration, please see “Data for embedded use” in the Editor manual. - Loading is not possible if the model texture size is larger than 8192 × 8192. Correct this by reducing the texture size.
- Add the entire folder containing the embedded data.
- 7. Drag & drop the “Models” folder where the model data was added to “nizima LIVE TRACKER Documents” in Apple device or iTunes.
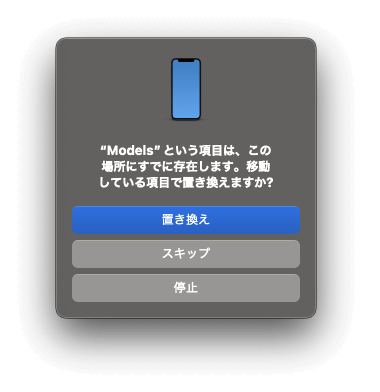
- 8. An overwrite confirmation window appears. Click [Replace].
- 9. Click [Sync] in the lower-right corner of Apple device or iTunes to synchronize your iPhone.
- 10. Restart nizima LIVE TRACKER on your iPhone and check that the new model has been added to [Model list] in the menu.
Point
To delete a Live2D model, perform steps 1 – 5 above in the same way and then delete the appropriate model data from the “Models” folder in step 6.
The remaining steps 7 – 9 are the same as above.
Adding Models Using Cloud Storage
1. Connect your iPhone to your Mac and open the Finder.
2. Select iPhone from the location on the left and open the File tab.
3. Open nizima LIVE TRACKER and drag and drop the Models folder to your desktop or other location.
4. Copy the model you want to add to the Models folder copied to the desktop or other location. At this time, the model data should be extracted, not zipped.
5. In the reverse operation of step 3, drag and drop the Models folder to which the models were added in step 4 to nizima LIVE TRACKER.
6. When the following dialog box appears, click Replace to complete copying.
7. Restart nizima LIVE TRACKER and the model will be added.
[macOS Only] Adding Models Using Finder
- 1. Download the ZIP file of Live2D model data to your iPhone via iCloud, email, Dropbox, Google Drive, transfer tools, etc.
- 2. Select the prepared ZIP file from the + mark in the model list of nizima LIVE TRACKER and import it.
Point
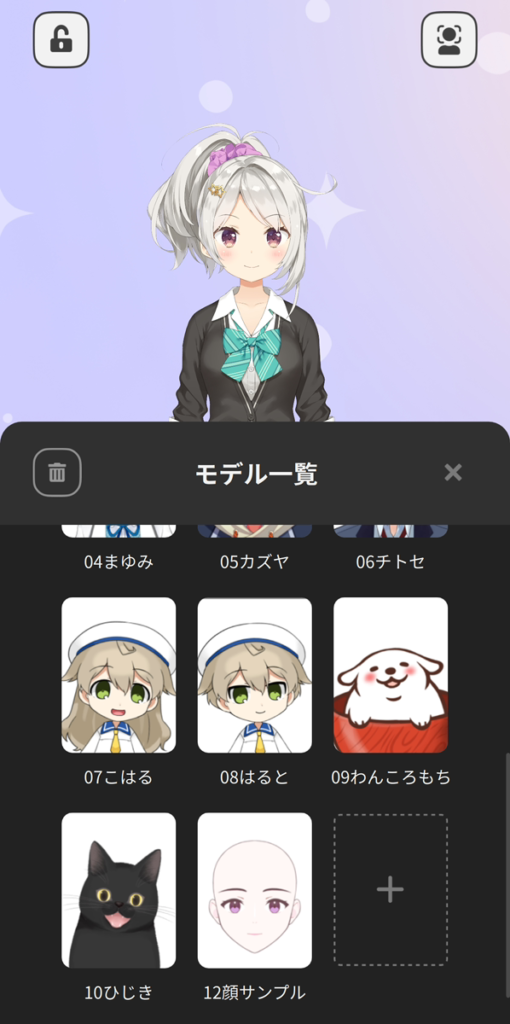
Note that it is possible to display a sample model and use TRACKER as a camera by connecting it to the PC version of nizima LIVE without loading your own model.
Notes
Reference: Sample model (Alisa) Total number of polygons: 6464, number of clippings: 19