How to Register Items
Updated: 11/06/2024
Point
- For detailed specifications of Live2D items, see Live2D Item Specifications.
- If you want to register a large number of items at once, we recommend that you copy the data directly into the item folder. Batch copy the data of the items you want to add to the location opened by selecting “Option” > “Item location” > “Open folder” and restart nizima LIVE.
- 1. Click on “Item list” from the menu on the left side of the main window.
-

- 2. The Item list window will open.
-

- 3. Click the “+” button.
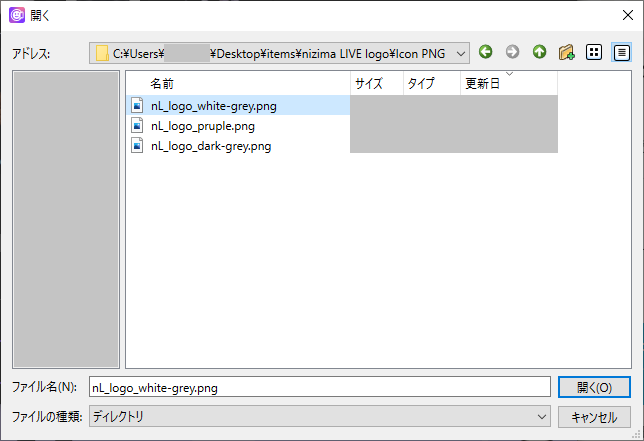
- 4. Select the file for the prepared item and click “Open.”
-
List of supported formats by item
| Item type | Supported formats |
|---|---|
| Live2D items | model3.json |
| Animation items | gif, sequentially numbered png folder, sequentially numbered jpeg folder (png or jpeg files that you want to play back in sequence in one folder) |
| Still image item | png, jpeg |
- 5. The loaded item is added to the Item list.
Point
The item’s icon is displayed by selecting ico_xxx.png from the hierarchy where the item is located.
Note: When there is no ico_XXX.png
For Live2D items (only those registered on nizima LIVE), animation items (all), and still image items (all), the item image is automatically cropped to a square and displayed as an icon.
Even when ico_XXX.png is not a square, it is automatically cropped to a square and displayed.
Was this article helpful?
YesNo