How to add Live2D models
Updated: 11/06/2024
The embedded Live2D model data is required for new imports.
Search on the nizima Live2D official market or use Live2D Cubism Editor to create the data yourself.
Point
Products sold in nizima’s “Live2D category” are available as embedded data.
- 1. Click on “Model list” from the menu on the left side of the main window.
-
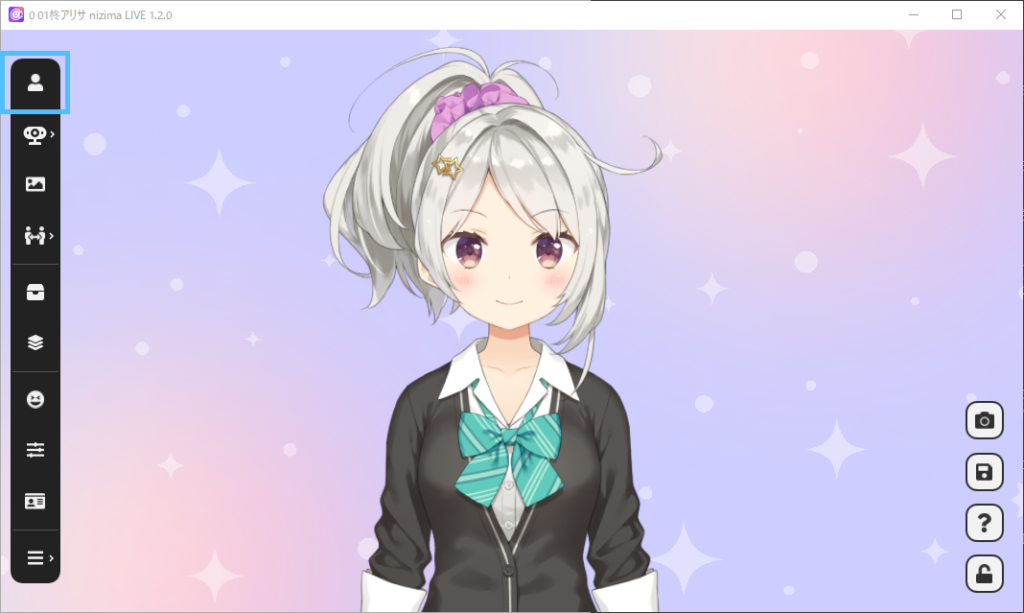
- 2. The Model list window opens on nizima LIVE.
-
- 3. Click the “+” button.
-
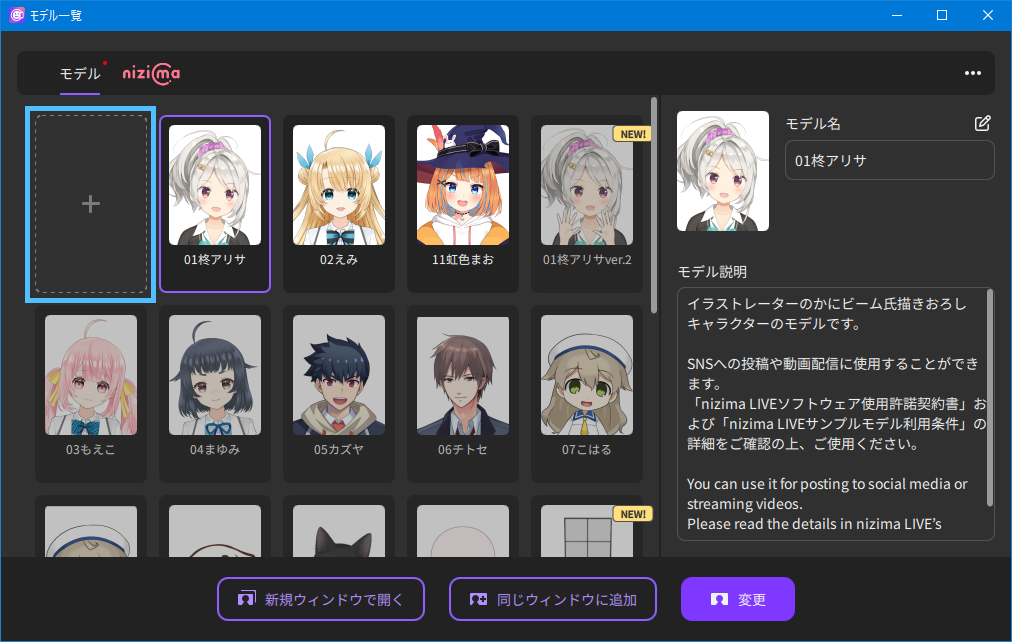
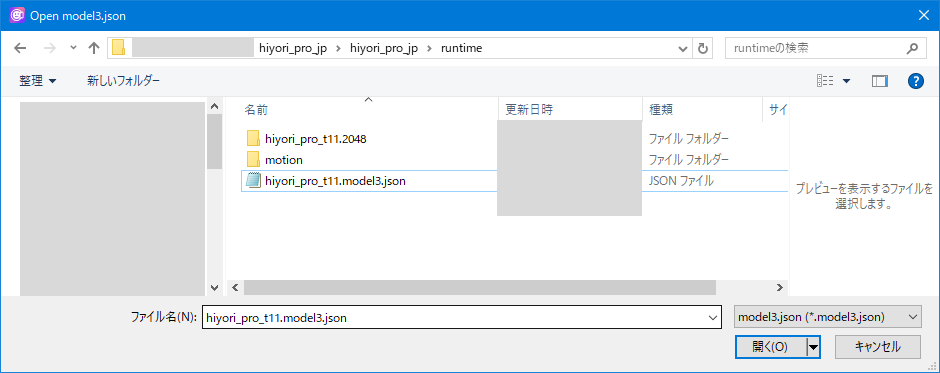
- 4. Select the prepared Live2D model file (format: .model3.json) and click “Open.”
-
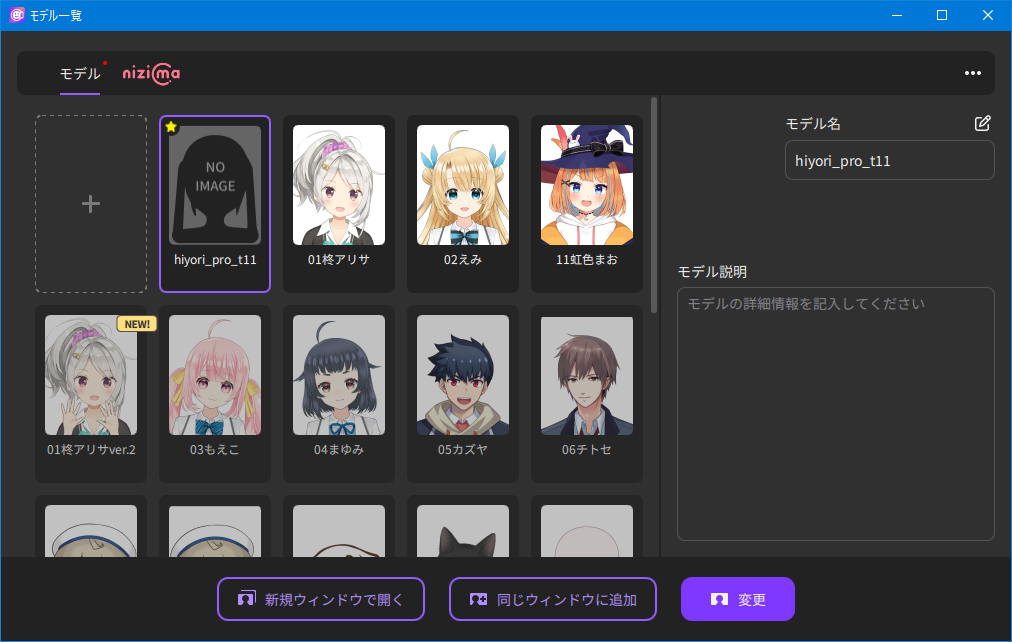
- 5. The loaded Live2D model is added to the model list.
-
The icon of the Live2D model is displayed by selecting ico_xxx.png from the hierarchy where .model3.json is located. If there is no data, the icon will be “NO IMAGE.”
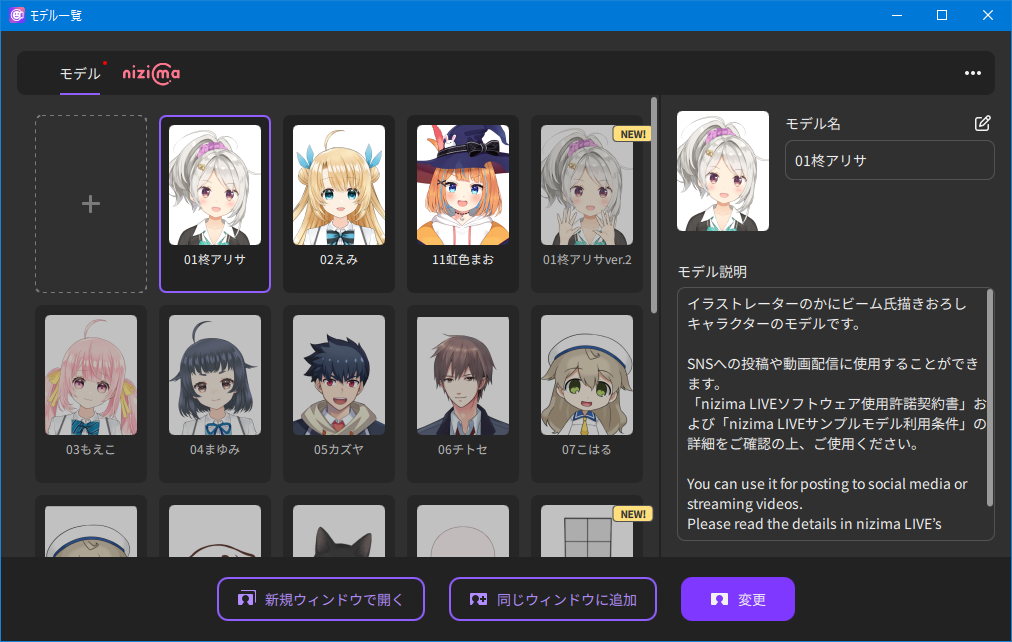
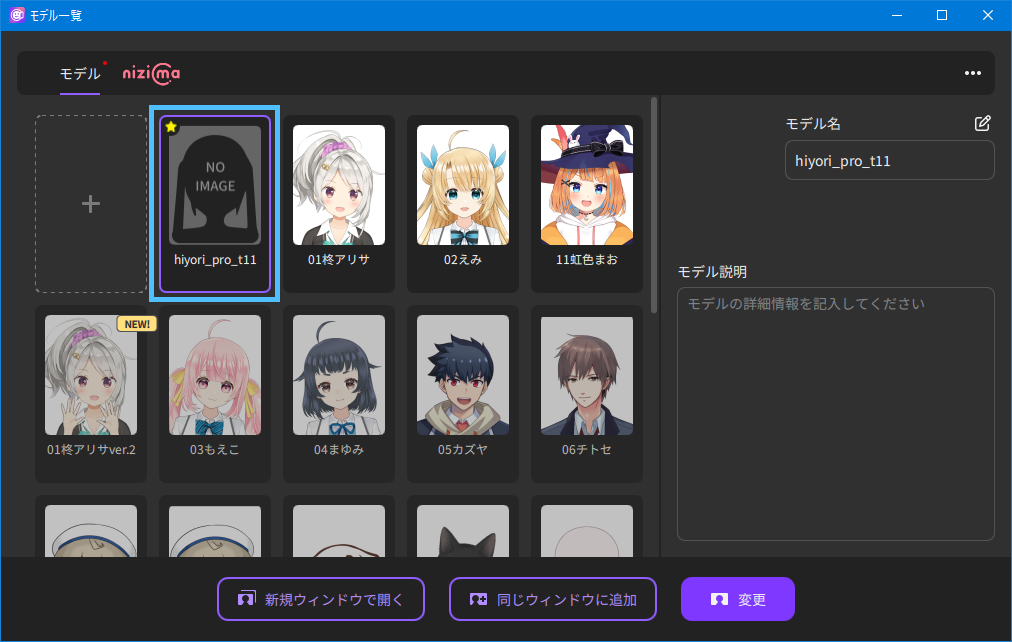
- 6. Select the added model (1) and click “Change” (2) (or “Open in New Window” or “Add to Same Window”).
-
Open in New Window
Opens the currently selected Live2D model in a new window.
Use this function when you want to display two or more Live2D models or use the collaboration function.Add to Same Window
Adds the currently selected Live2D model to the current window.
The model is displayed on the right side of the currently displayed model at approximately the same size as the first model. Up to 8 bodies can be displayed.Change
Opens the currently selected Live2D model in the current window.
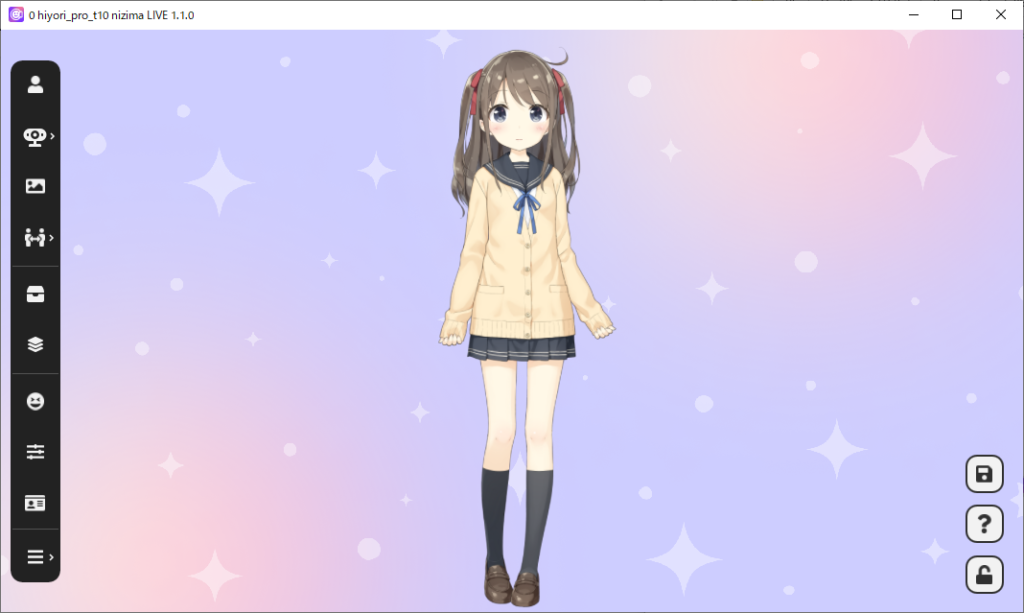
If a Live2D model is already displayed, the Live2D model will be changed. This is recommended when you want to display only one Live2D model. - 7. The added Live2D model will be displayed.
-