nizima LIVE Item Specifications
Updated: 12/25/2024
With nizima LIVE, you can display items such as small objects using still images, animations, or Live2D models.
This page contains item specifications for nizima LIVE. Please refer to this page when producing items or selling them on nizima.
Specifications common to each item
About nizima LIVE settings files
When selling items that include configured nizima LIVE settings, you must first register the items in nizima LIVE and then export the settings file and include it with the work you are selling.
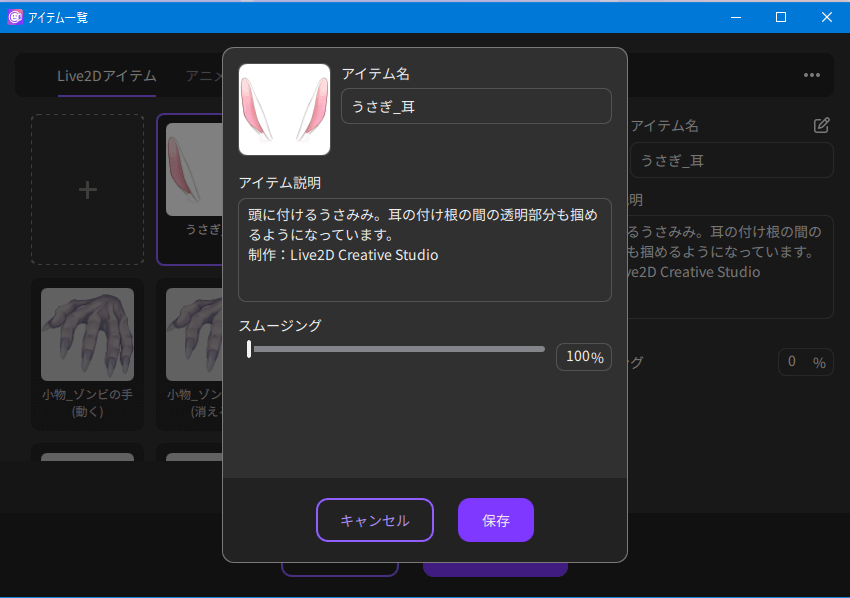
Including a settings file makes it possible to display the item name, specific method of use, restrictions, and other settings in the nizima LIVE item list window.
Point
Works can be loaded in nizima LIVE and sold on nizima even without including the nizima LIVE settings file.
The settings file is saved in the original nizima LIVE “.live.json” format.
The information that can be saved for each item is listed below. For details about item information, please see Registered item settings.
| Item type | Information that can be saved in a .live.json file |
|---|---|
| Live2D item | • Item name • Item description • Physics scale • Breathing speed |
| Animation item | • Item name • Item description • Animation FPS |
| Still image item | • Item name • Item description |
Creating a nizima LIVE settings file
- Open nizima LIVE and register the created item in nizima LIVE.
- Set various information about the item from the pencil icon to the right of the item name.
- When settings are complete, press Save. A setting file (.live.json) is exported to the items folder.
- Include the exported settings file (.live.json) in the folder of the item to be sold on nizima.
Thumbnails
If there is a file with the name “ico_xxx.png” in an item folder, that image is displayed.
(Supported formats: .png, .jpeg, Recommended size: 184 × 184 px)
When “ico_xxx.png” is not present, an automatically generated thumbnail is displayed in nizima LIVE by default for Live2D items (only items registered in nizima LIVE), animation items (all items), and still image items (all items).
Standard for item display position
When producing an item, it is recommended that you avoid having excessive transparent areas around the item whenever possible. With nizima LIVE 1.1.0, the item is displayed in a position and size based on the canvas. As such, if there are excessive transparent areas around the item, or if the item is positioned toward the canvas edge, the item may be displayed outside the window when placed in nizima LIVE.