Scene settings
Updated: 06/18/2025
The location and information of models and items on the screen can be saved as scenes, allowing easy switching from the current scene to another.
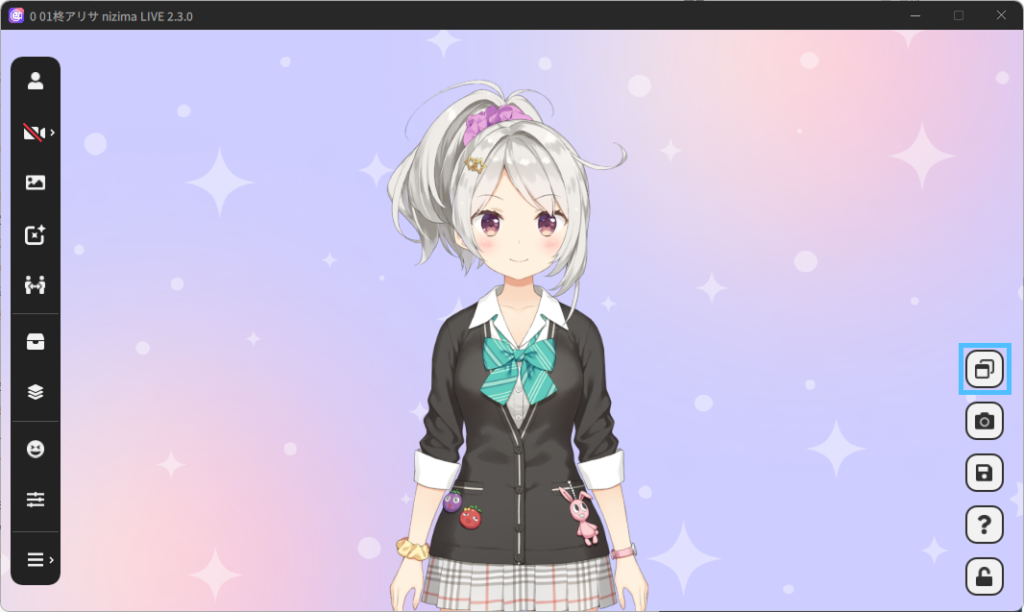
You can save/set the scenes from the Scene Settings on the right side of the screen.
The default field is blank, but when you add a scene, the currently stored scenes will be listed.
Click the ▽ button to the right of each item to set shortcut keys and other settings.
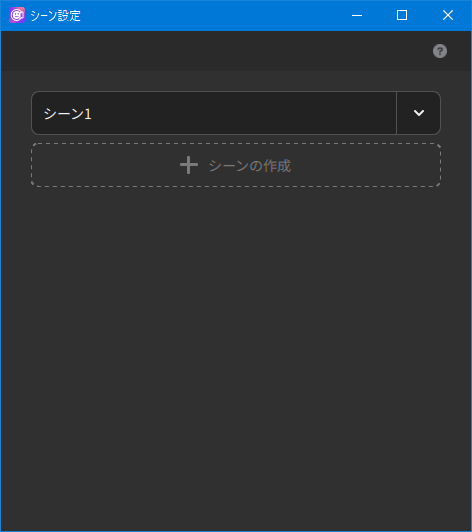
- Creating a scene
- Save the current screen information as a scene.
- Clicking on a scene name
- Import a saved scene.
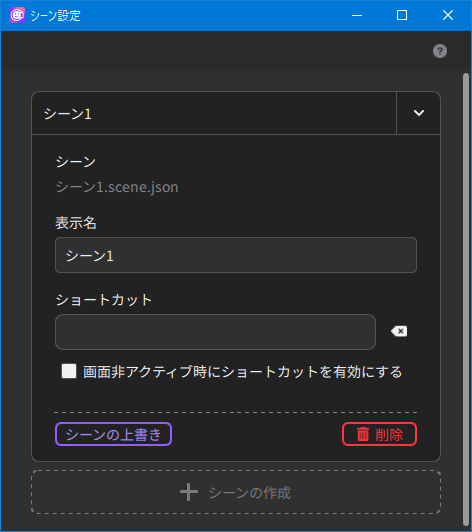
- Scene
- The name of the JSON file in which the scene is stored is displayed.
- Display name
- You can change the display name on nizima LIVE.
- Shortcut
- By entering a shortcut key, you can import a scene by simply pressing the specified key on the keyboard. Press the × next to this field to reset it.
- Enable shortcuts when screen is inactive
- If this checkbox is selected, this shortcut is enabled even when the screen is inactive.
- Scene overwrite
- Overwrite and save the scene with current screen information.
- Delete
- Delete a scene from the list.
Items to be saved
| Model | Location in screen |
| Device usage | |
| Expression/motion mode and playback status | |
| Item | Same as model |
| Settings on how to attach to the model | |
| Insertion and other settings in the item operation window | |
| Script | |
| Other main window information | Window size |
| Effects | |
| Background | |
| Rendering resolution |
Was this article helpful?
YesNo