Model List
Updated: 01/09/2026
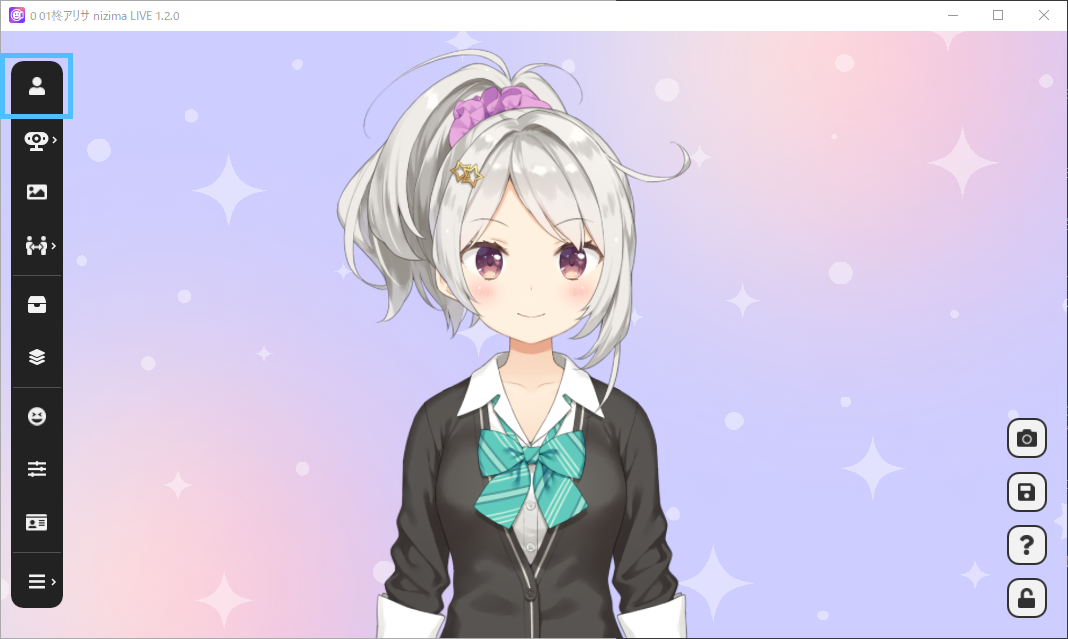
Click the Model list icon to display the following screen.
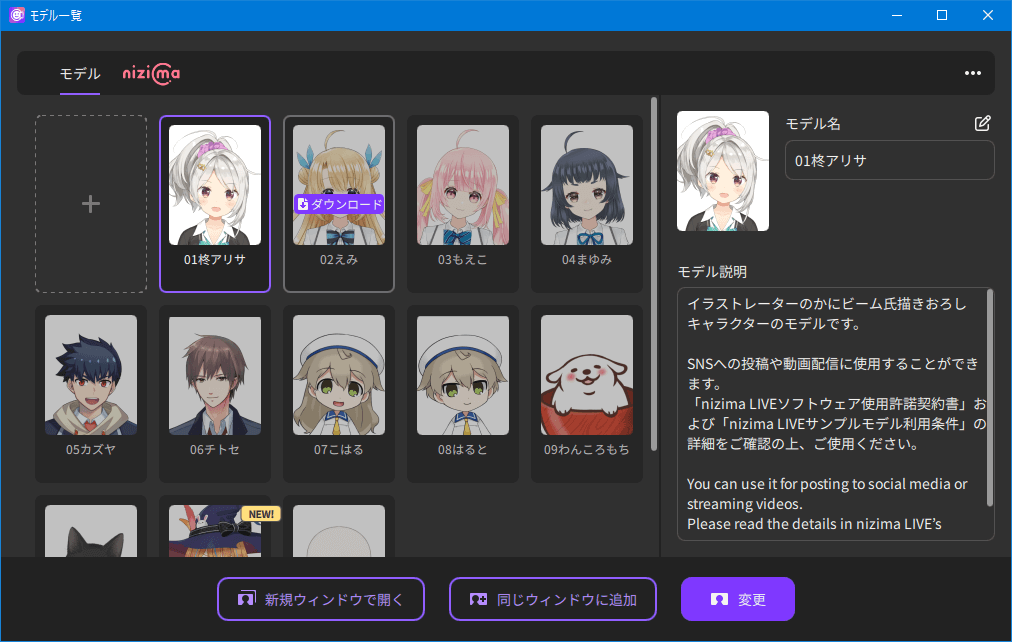
Model
By default, sample models are displayed and model information, including the model names, is shown on the right side of the screen.
After selecting the icon of the Live2D model to be used, you can click the “Open in new window,” “Add to same window,” or “Change” button.
- + mark
-
You can register your own Live2D models by adding Live2D model data for embedding.
Point
Products sold in nizima’s “Live2D category” are available as embedded data.
- Upper right “…” menu
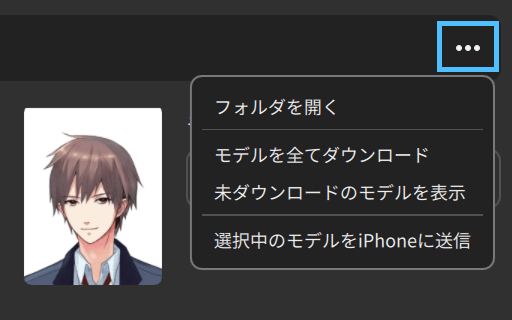
- Open folder
- Open the folder where the models are stored.
- Download all models
- If there are sample models that have not been downloaded, you can download all the models at once from the “…” menu in the upper right corner.
- Hide models not yet downloaded
- If there are sample models that have not been downloaded, you can toggle between showing and hiding the undownloaded models from the “…” menu in the upper right corner.
- Send the selected model to iPhone
- The model selected in the model list can be sent to nizimaLIVE TRACKER on an iPhone. For detailed instructions, please check the tutorial.
- Functions other than those in the menu
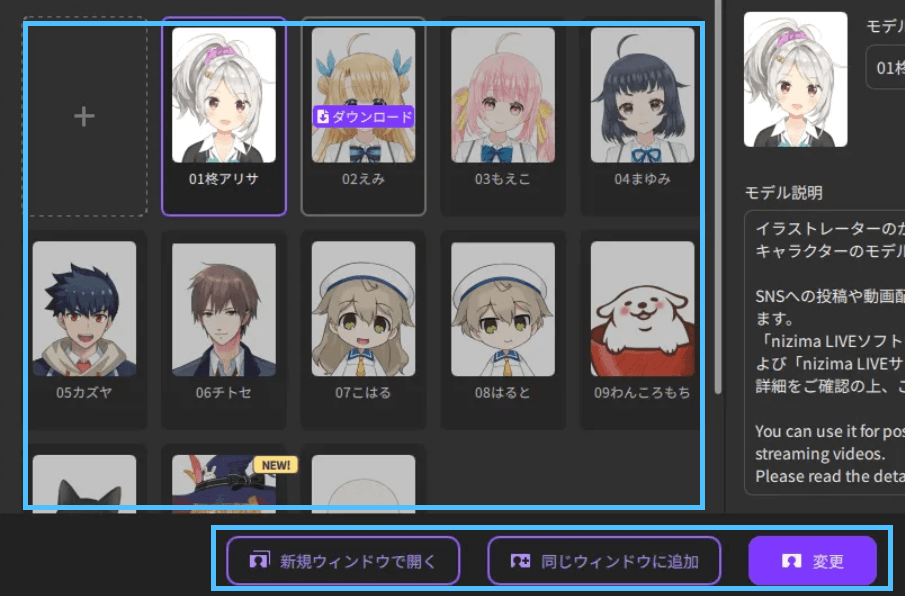
- Download sample models
- Hover the mouse over the grayed-out model icon to show the download, and click to start the download.
- Sample model update
- If there is an update to a sample model that has already been downloaded, hover the cursor over the model icon to see the update and click to begin downloading.
- Favorites
- Click the star in the upper left corner of the registered model icon to toggle the favorite setting on and off.
Register it in your favorites and it will appear at the top of the list.
When a user adds a model via the + button, it is automatically set as a favorite. - Open in New Window
- Opens the currently selected Live2D model in a new window. Use this function when you want to display Live2D models in separate windows.
- Add to Same Window
- Adds the currently selected Live2D model to the current window.
The model is displayed on the right side of the currently displayed model at approximately the same size as the first model.
Up to 8 bodies can be displayed. - Change
- Opens the currently selected Live2D model in the current window. If a Live2D model is already displayed, the Live2D model will be changed.
This is recommended when you want to display only one Live2D model.
Modifying model properties
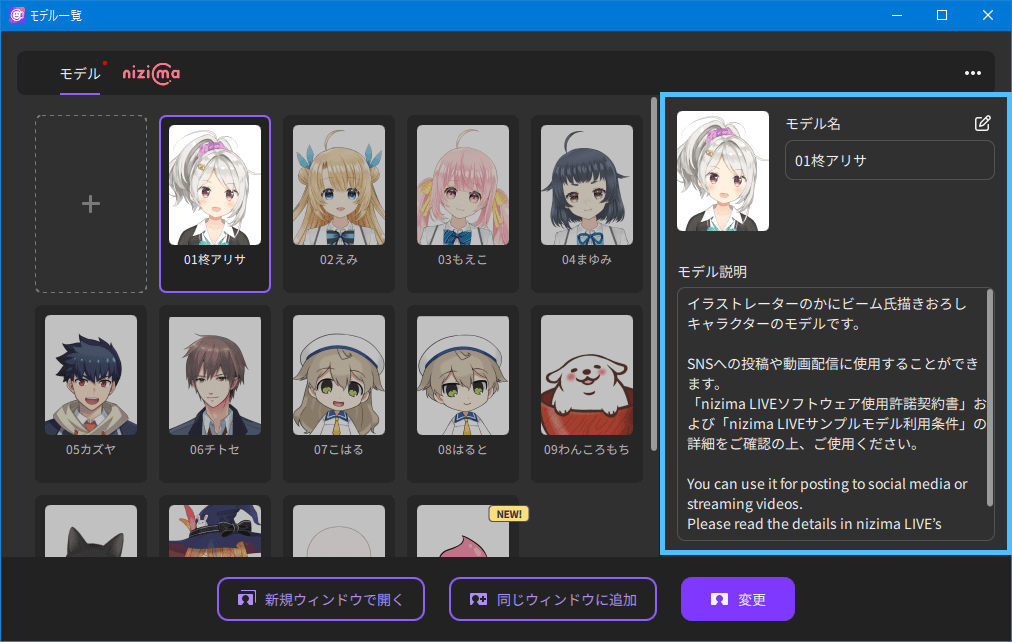
To change them, click the pencil icon in the upper right corner of the model name.
- Model Name
- The name of model3.json is set by default and can be changed. If changed, only the notation in nizima LIVE will be changed.
- Change Thumbnail
- You can change the thumbnail image displayed in the model list.
(File format: PNG, JPG Recommended size: 184×240px) - Model Description
- You can include a description of the model.
- Save
- Saves the above settings in live.json.
nizima
Notes
This function is only available in the Japanese version, as nizima cannot be used from overseas.
Models for sale tagged with “#nizimaLIVE” in the Live2D market nizima will be displayed.
Clicking on anything other than a thumbnail will display details on the right.
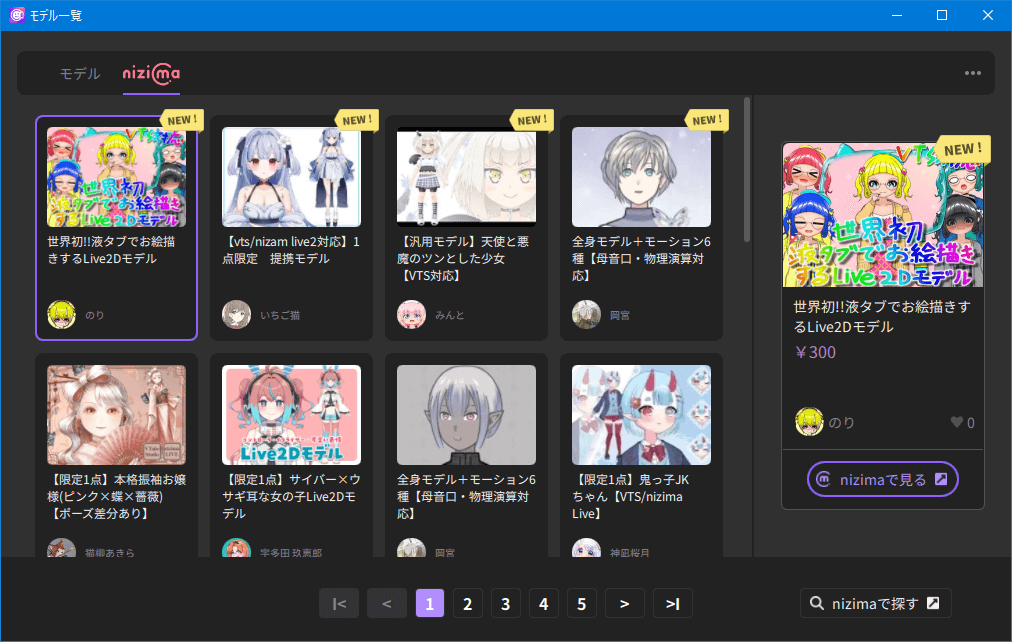
- Thumbnail / View at nizima
- You will be directed to the nizima sales page for the selected work.
For more information on how to make a purchase at nizima, please refer to the Purchasing guide. - Find models at nizima
- You will be directed to the result page searched with #nizimaLIVE at nizima.
