How to edit ArtMeshes
Updated: 01/09/2026
Edit ArtMesh allows you to select any ArtMesh to show/hide it.
Notes
Unauthorized modification may infringe on rights. Be sure to obtain permission from the model’s rights holders before editing the ArtMeshes, such as showing or hiding them.
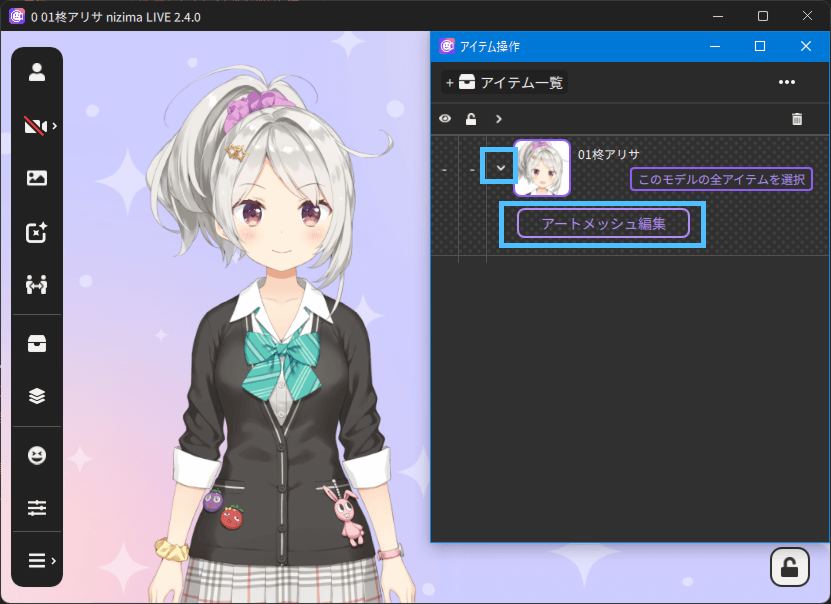
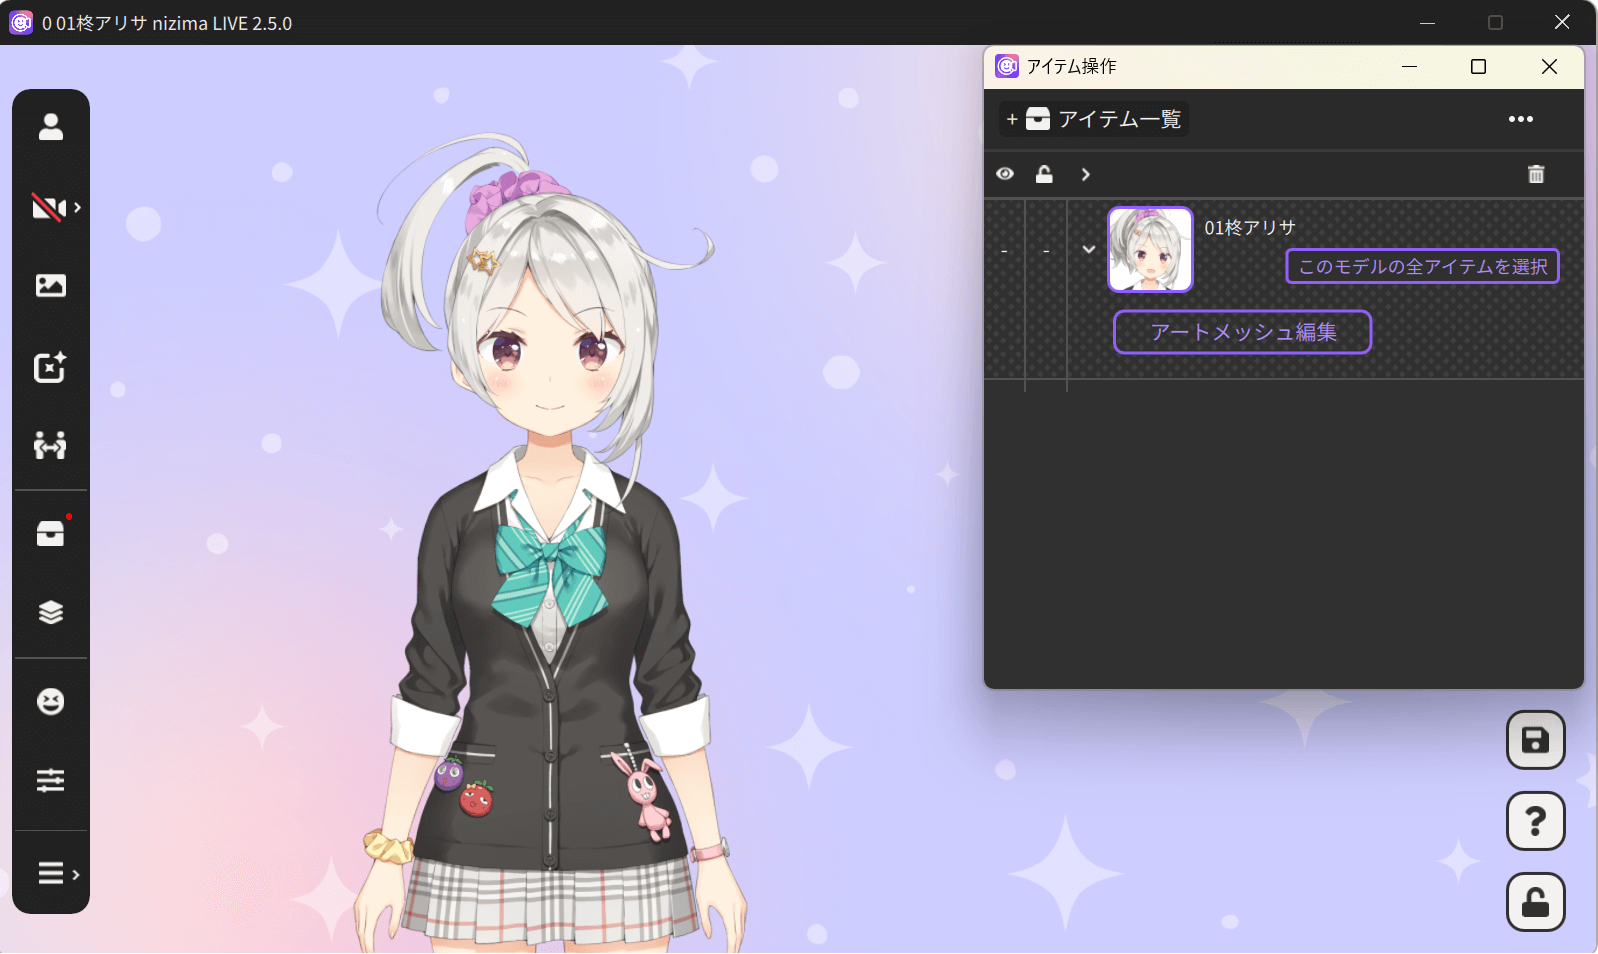
Select the Edit ArtMesh button that appears when you click the v icon to the left of the model icon in the Item List.
How to select from the Parts tab

Turning off the display icon in the header section of the parts list allows you to hide all ArtMeshes at once.
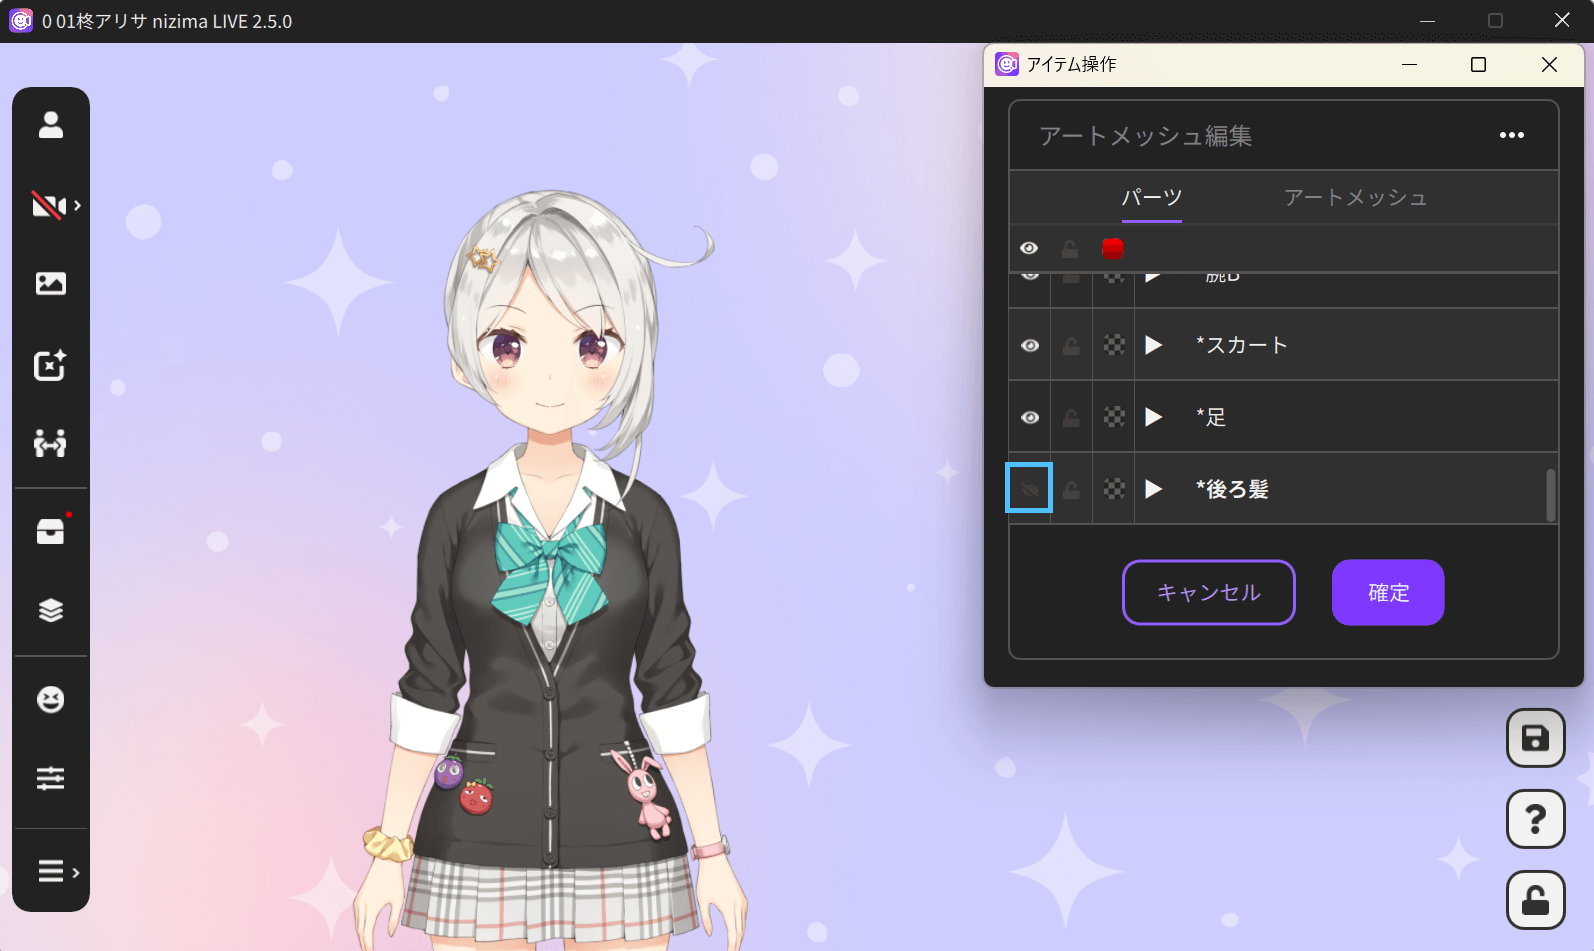
Turning off the display icon next to a part hides that part folder.

If you want to switch the display of a part in more detail, click the triangle icon next to the part. ArtMeshes in the parts folder are displayed and can be shown/hidden individually.
How to select from the ArtMesh tab
With the ArtMesh tab open, select any ArtMesh you wish to hide. You can select an ArtMesh by clicking it directly on the model in the main window.
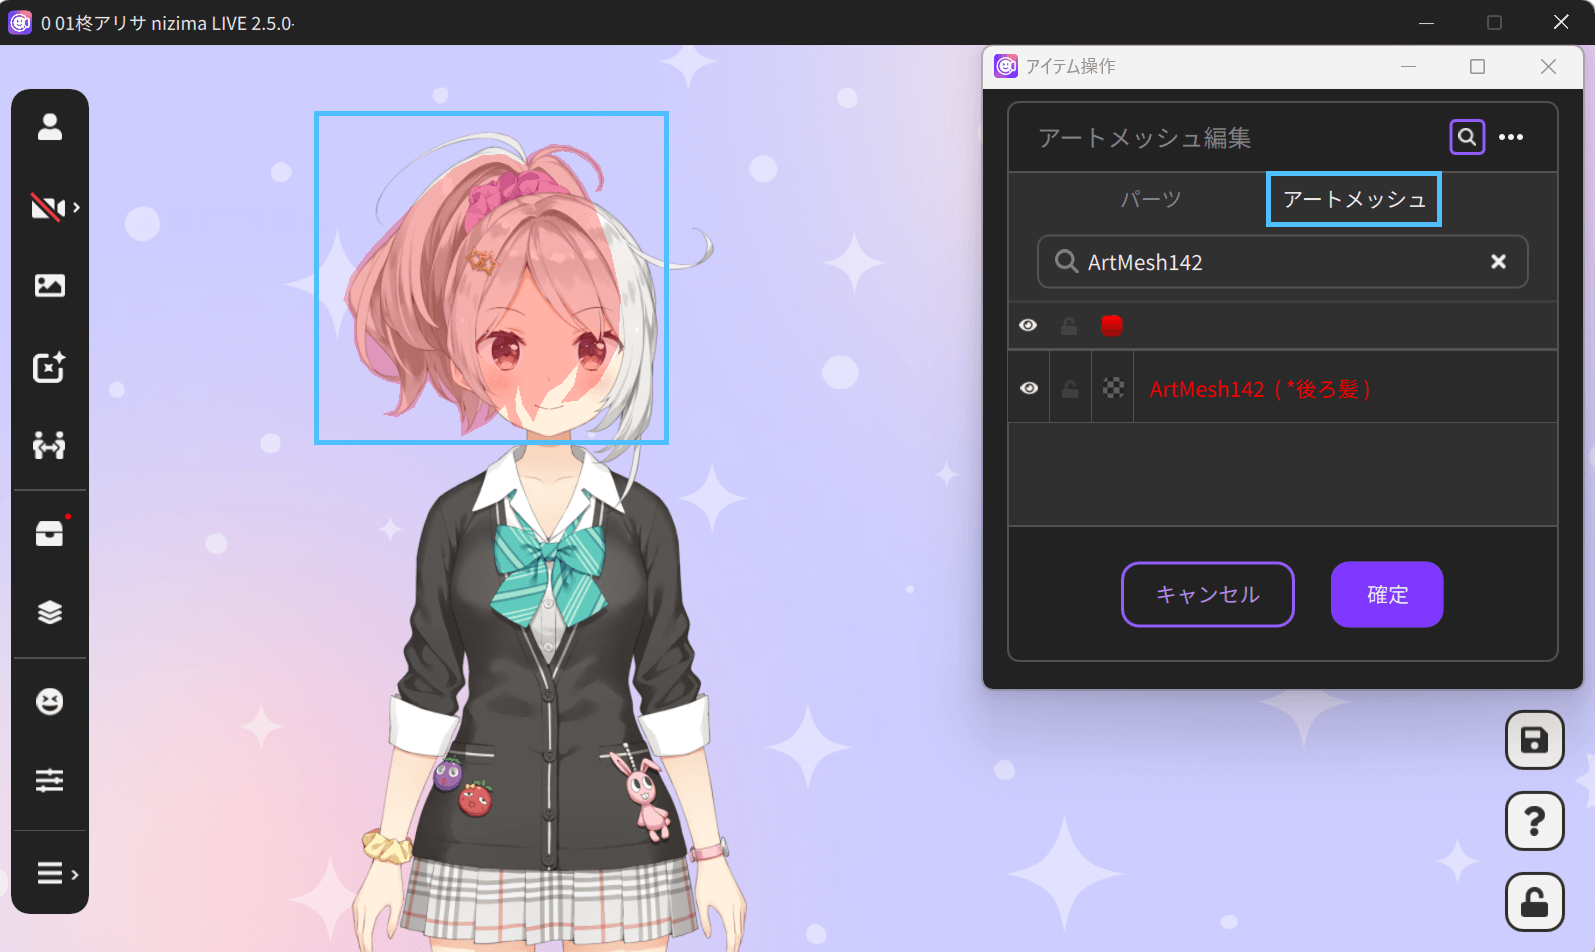
The currently selected ArtMesh will be displayed, and turning the display icon off will hide the ArtMesh.

Pressing Confirm in this state completes the process.
Changing the color of parts

Click the color change icon in the header section of the parts list to change the color of all ArtMeshes at once.
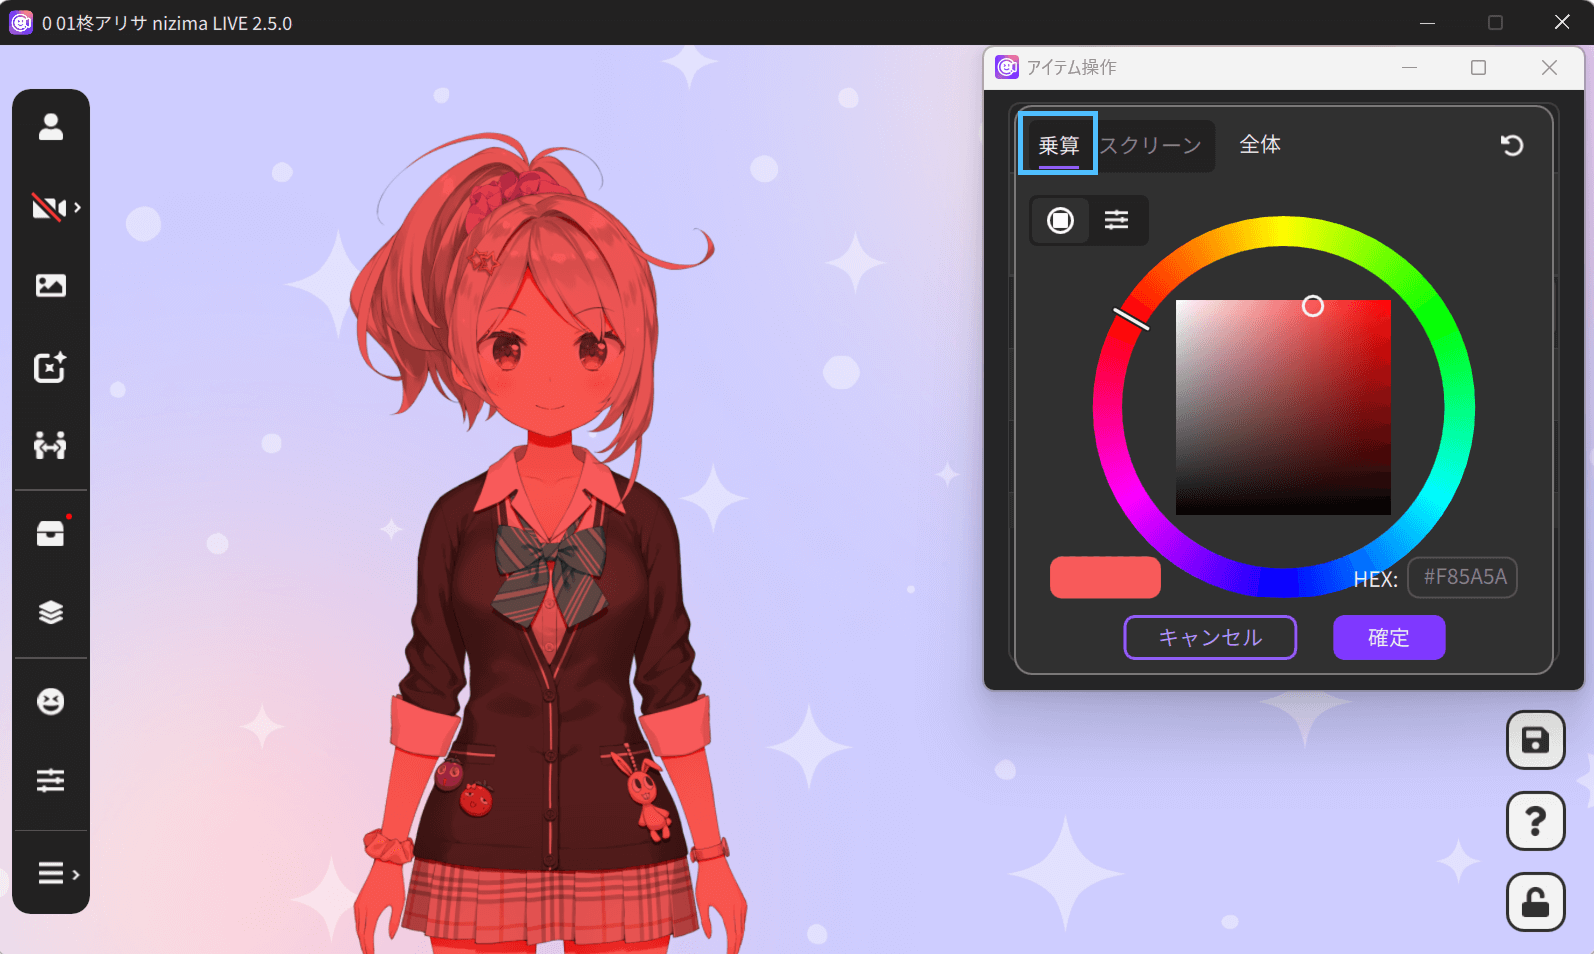
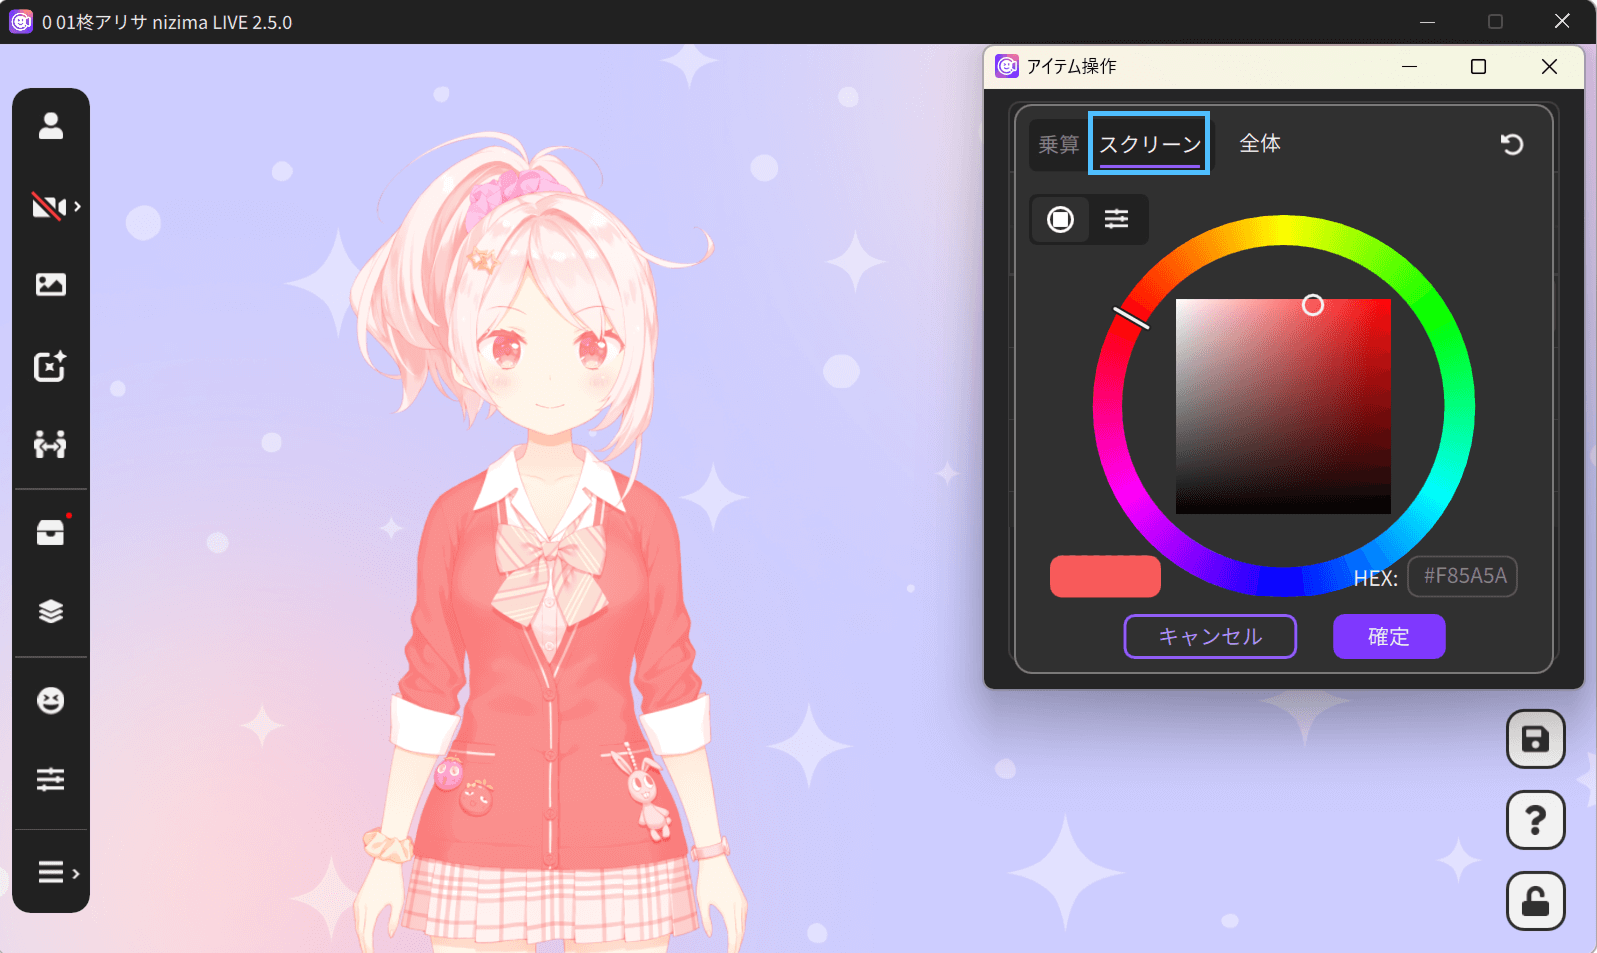
You can select the color layering from [Multiply] and [Screen].
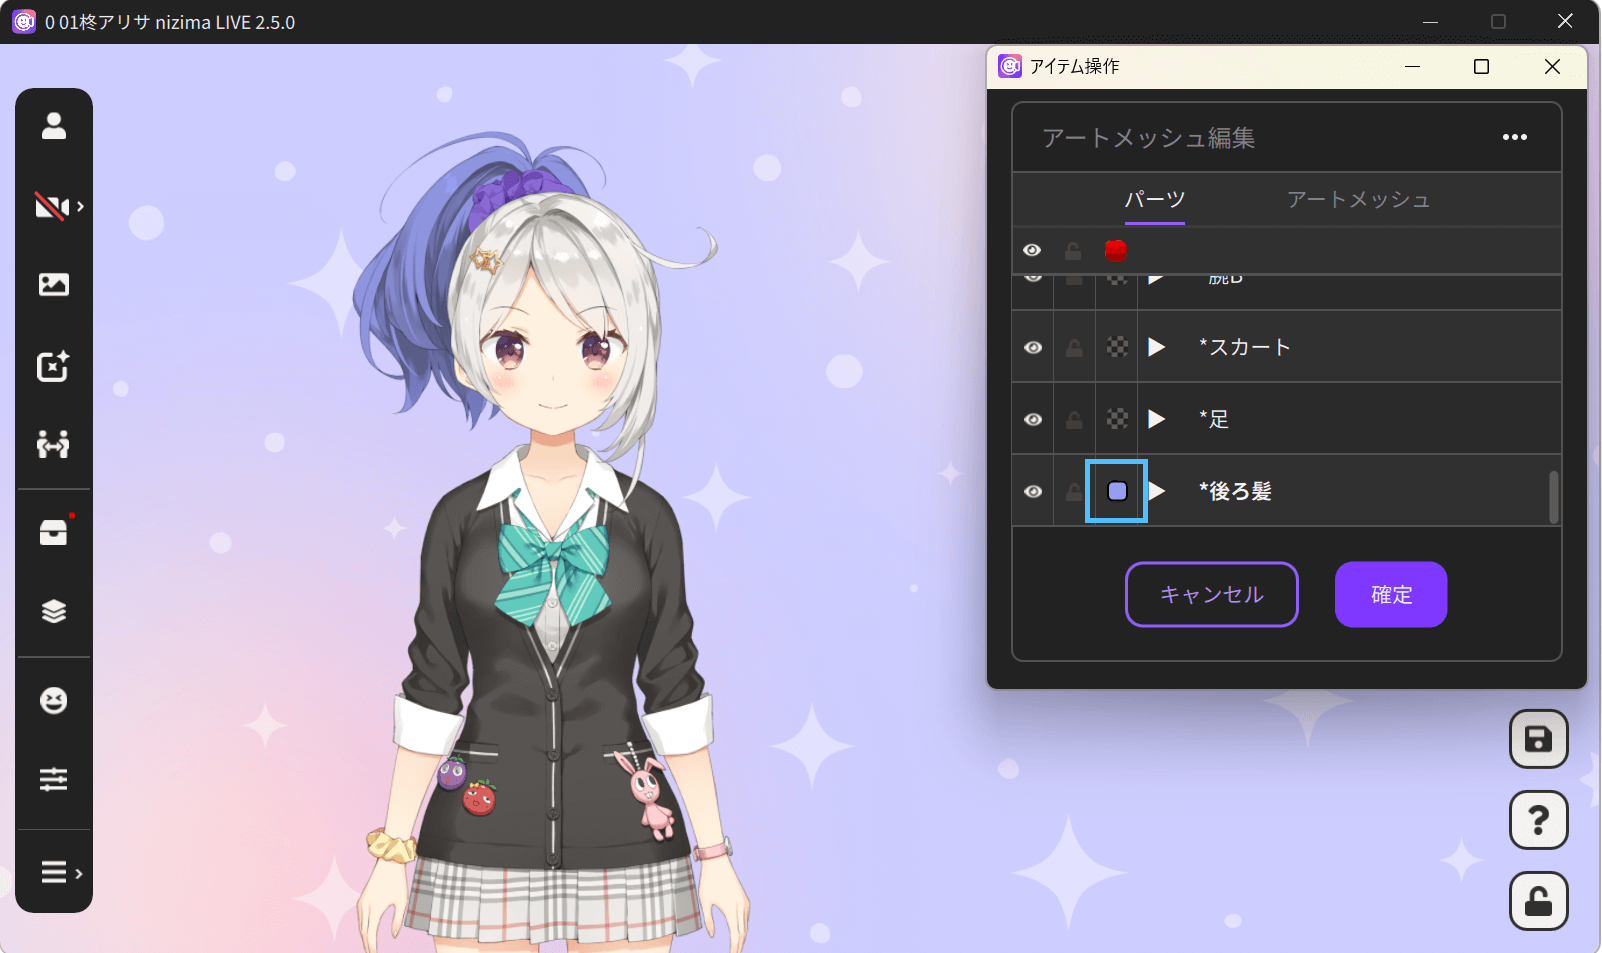
Click the color change icon next to a part to change the color of the ArtMeshes in that parts folder.
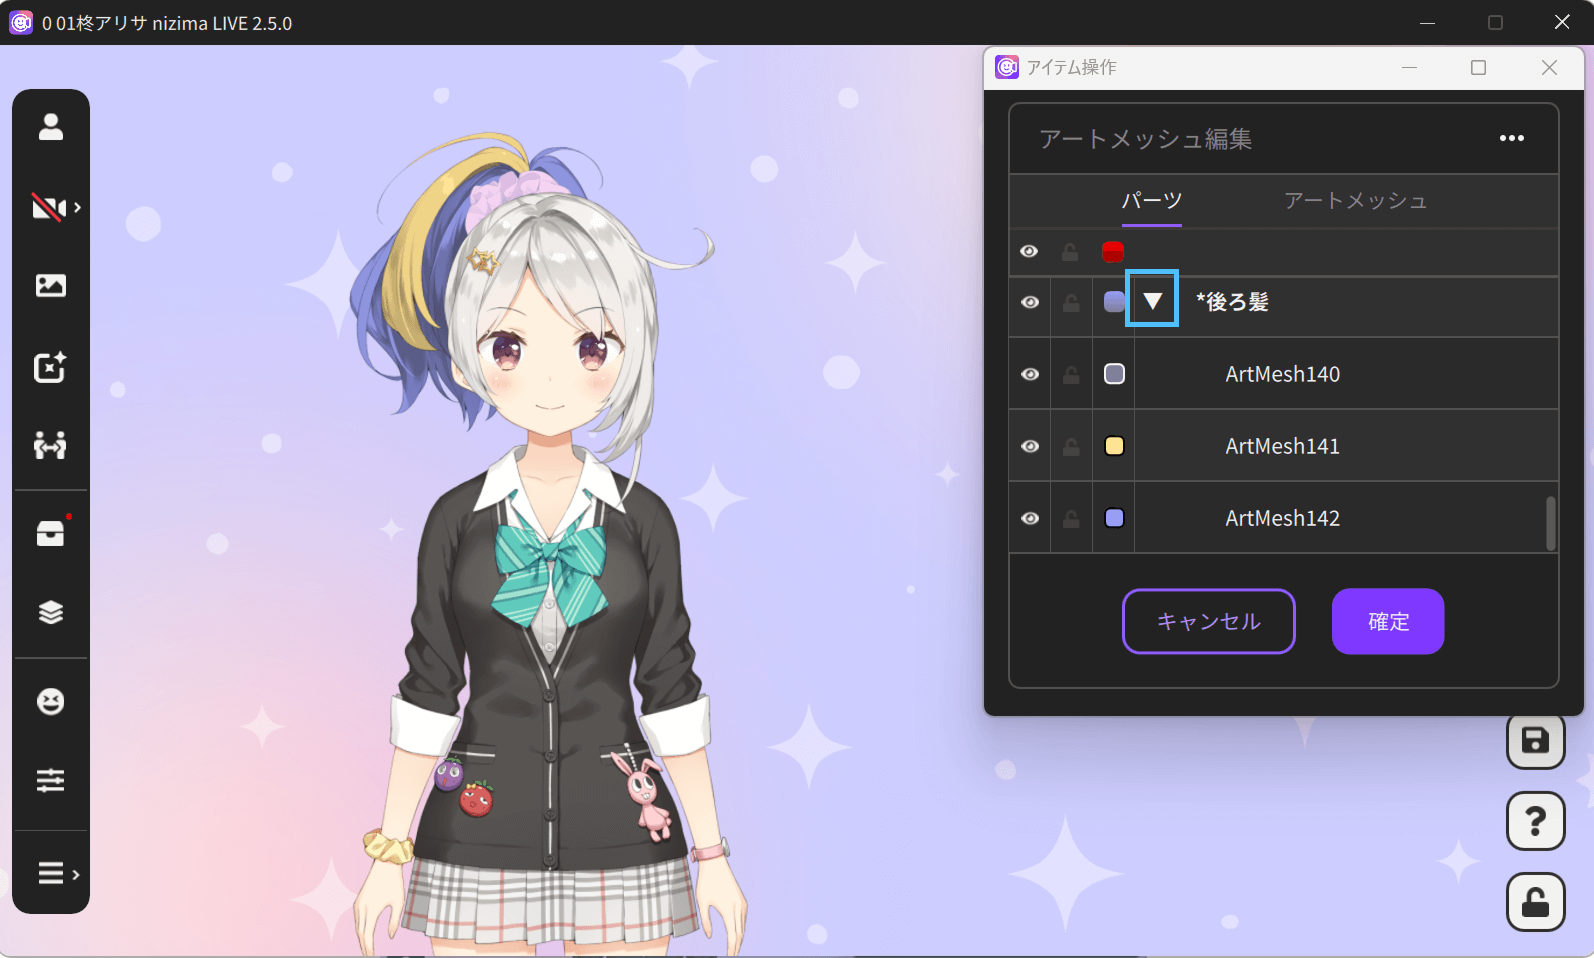
To change the color of a part in more detail, click the triangle icon next to the part. The ArtMeshes in the parts folder are displayed, allowing you to change each of their colors individually.
Resetting the display all together
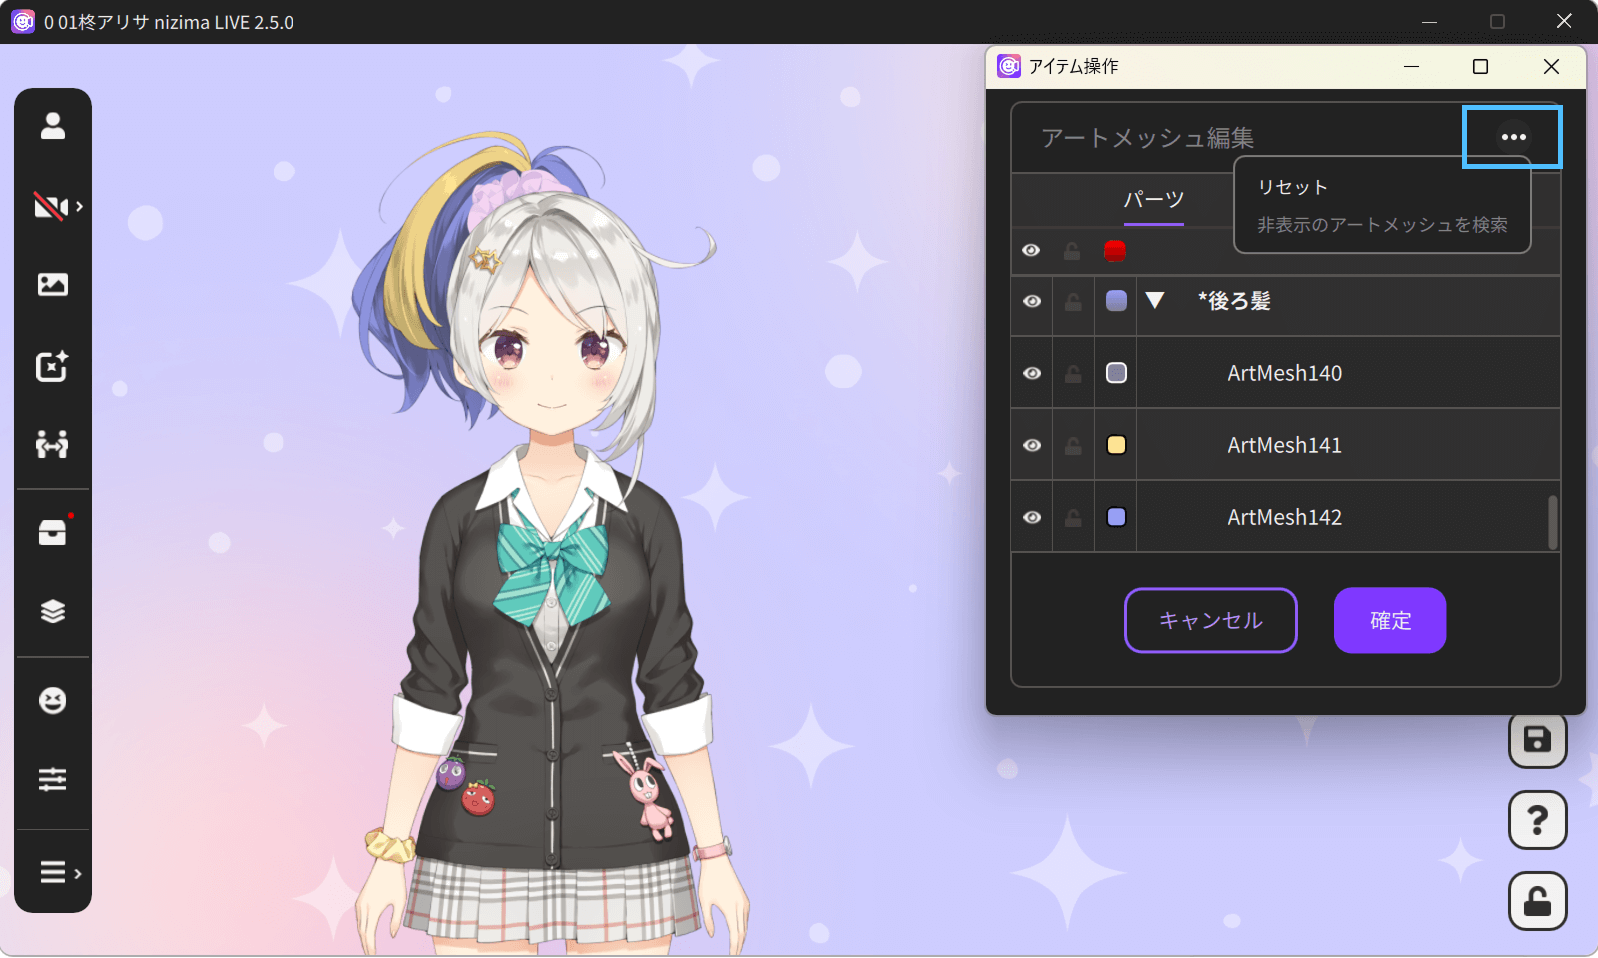
You can reset all the edits that you made to ArtMeshes from the “…” menu in the upper right corner.