Timeline
Updated: 06/17/2026
The Timeline is used to manage and edit assets and motion over time, allowing you to create animations and video compositions.
This page explains the operations and features available on the Timeline.
Table of Contents
Layer List Basic Operations
Right-Click Operations
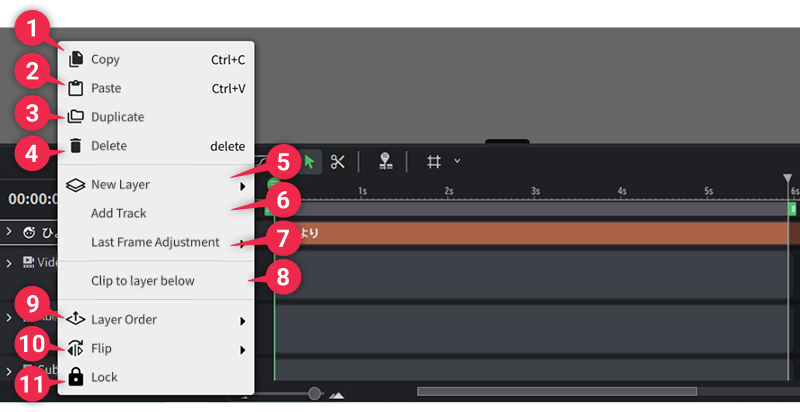
| ➊ | Copy | Copies the selected layer. |
| ➋ | Paste | Pastes the copied layer. |
| ➌ | Duplicate | Duplicates the selected layer. |
| ➍ | Delete | Deletes the selected layer. |
| ➎ | New Layer ▶ | From ▶, you can create Text, Shape, Solid, Timecode, and Pattern layers. |
| ➏ | Add Track | Adds a new track. |
| ➐ | Last Frame Adjustment | From ▶, you can choose one of the following options: Set to Current Playback Position Sets the last frame to the current playback head (green bar) on the Timeline. Align to Last Layer Sets the last frame to match the layer with the longest duration. |
| ➑ | Clip to Layer Below | Masks the selected layer or group using the opaque area of the layer or group directly below it. |
| ➒ | Layer Order ▶ | Changes the stacking order of layers from ▶. |
| ➓ | Flip ▶ | Applies Flip Horizontally or Flip Vertically to the selected layer from ▶. |
| ⓫ | Lock | Locks the selected layer. |
Timeline Toolbar
The toolbar displayed at the top of the Timeline provides essential controls for playback, loop playback, cutting, and pinning the playback head.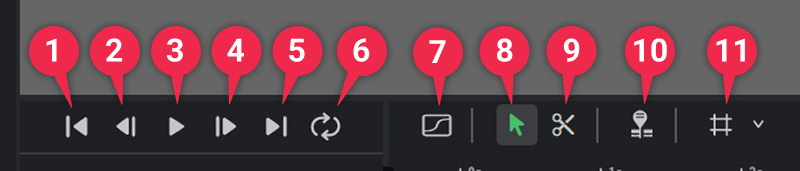
| ➊ | Move to Start Frame | Moves the playback head to the start of the work area. |
| ➋ | 1 Frame Back | Moves the playback head back by one frame. |
| ➌ | Play / Stop | Plays or stops the scene. |
| ➍ | 1 Frame Forward | Moves the playback head forward by one frame. |
| ➎ | Move to End Frame | Moves the playback head to the end of the work area. |
| ➏ | Loop Playback | When enabled, playback repeats within the work area. |
| ➐ | Curve Editor | Switches the Timeline to the Curve Editor. |
| ➑ | Select Tool | Switches to the select tool. |
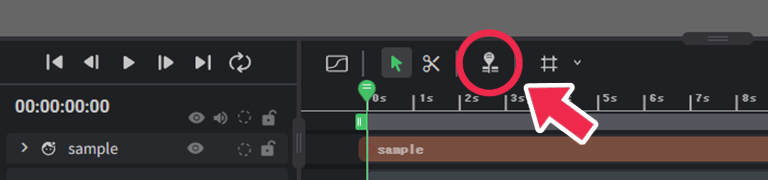
| ➒ | Cut Tool | Switches to the cut tool. |
| ➓ | Pin Playback Head | When enabled, clicking keyframes does not move the playback head. |
| ⓫ | BPM Grid Toggle | When enabled, displays the BPM grid on the timeline. Detailed settings can be adjusted from the icon on the right. |
Work Area
The work area is the bar located above the Timeline.
By specifying a range within this bar, you can repeatedly play back that section only.
It can also be used to define the export range.
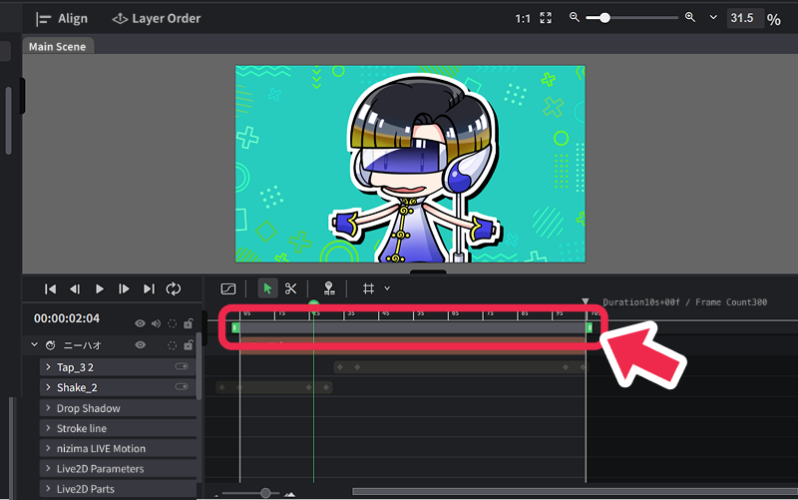
Displaying and Adjusting the Work Area
Drag either end of the bar to change the start or end point, allowing you to expand or shrink the range.
Drag the center of the bar to move it left or right without changing its length.
Specifying the Preview Range
Only the section specified by the work area can be played back.
When Loop Playback is enabled in the toolbar, the playback head repeatedly plays within the work area, allowing you to closely check animation motion and timing.
Specifying the Export Range
Click Export in the upper-right corner of the screen and select Work Area Only under Export Range in the dialog.
With this setting, only the range specified in the work area will be exported instead of the entire Timeline.
Basic Keyframe Operations (Dope Sheet / Curve Editor)
How to Add Keyframes
Animations are created by inserting keyframes on the Timeline.
The default interpolation method when adding keyframes is “Auto Smooth”.
Keyframes with “Auto Smooth” applied are interpolated with smooth curves (similar to Live2D Cubism’s “Auto Smooth”).
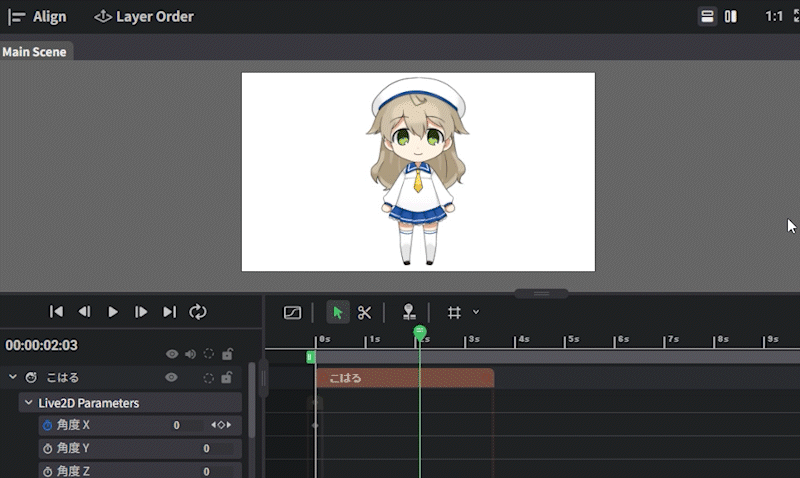
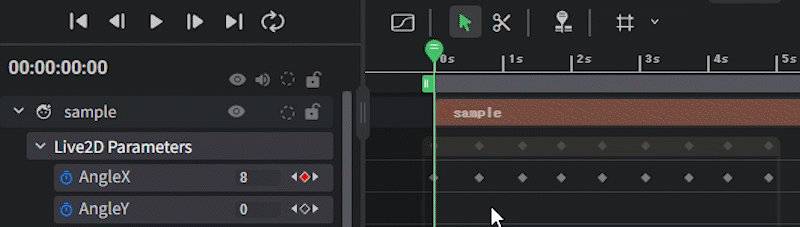
① Adding Keyframes from the Layer List
Click “∨” to the left of a layer to display its property group.
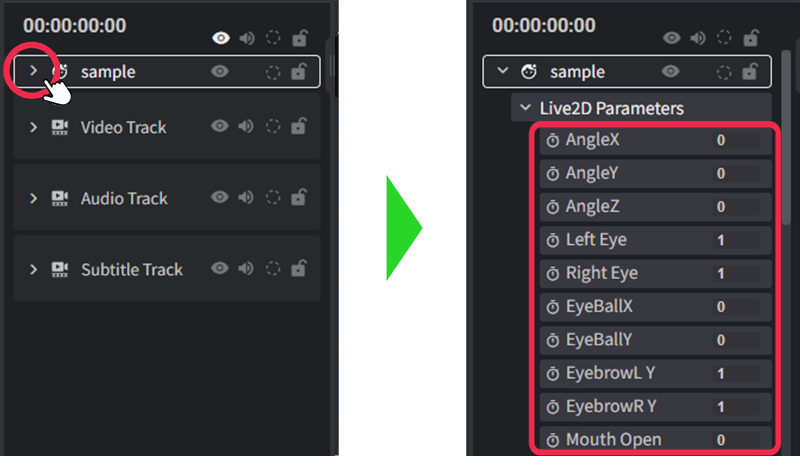
Click the clock icon next to a property to add a keyframe.
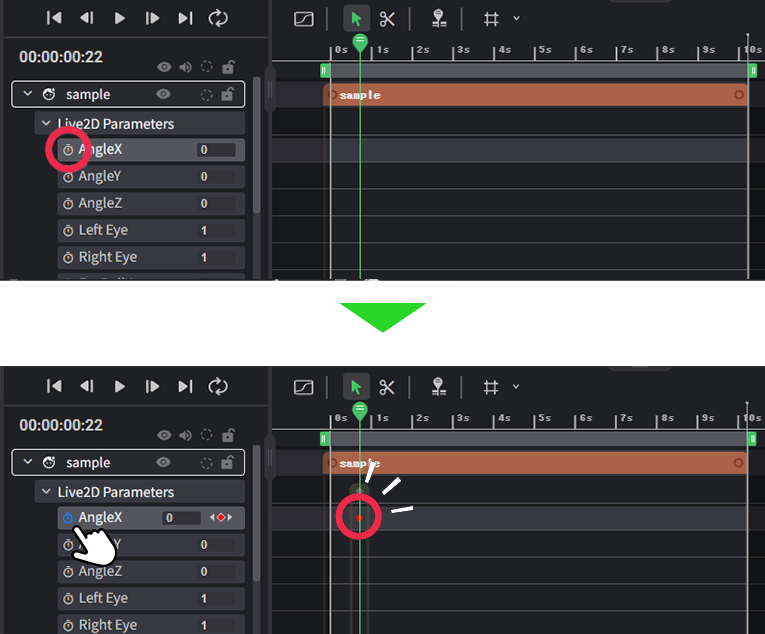
You can also add keyframes by clicking the ◇ icon to the right of the label.
By changing numeric values, you can fine-tune the model’s motion.
The same operations can be used in the Curve Editor to add keyframes.
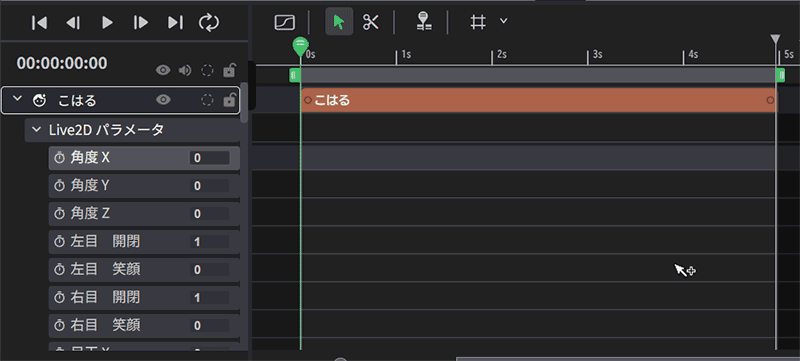
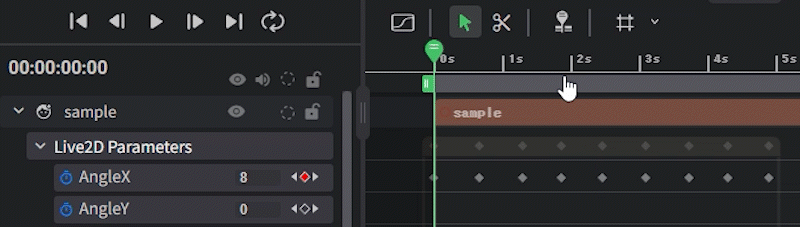
② Adding Keyframes with Ctrl + Click
By holding Ctrl and clicking, you can add a keyframe at any position on the Dope Sheet.
If Pin Playback Head  is turned off, adding a keyframe will also move the playback head to that position.
The same operation can be used in the Curve Editor to add or delete keyframes.
Ctrl + clicking an existing keyframe again will delete that keyframe.
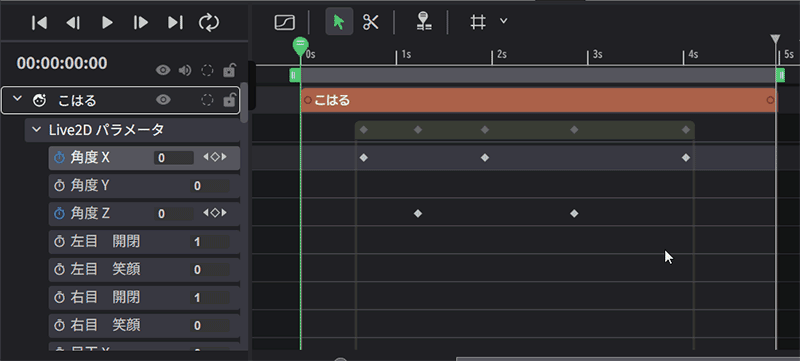
Dope Sheet
The Dope Sheet is used to manage keyframes and adjust timing, making it easier to understand the overall keyframe layout.
Scrolling and Zooming in the Dope Sheet
You can freely adjust the display position and zoom using the mouse.
| Operation | Details |
|---|---|
| ・Spacebar + mouse drag ・Middle Mouse Button Drag | Scrolls vertically and horizontally within the Dope Sheet. |
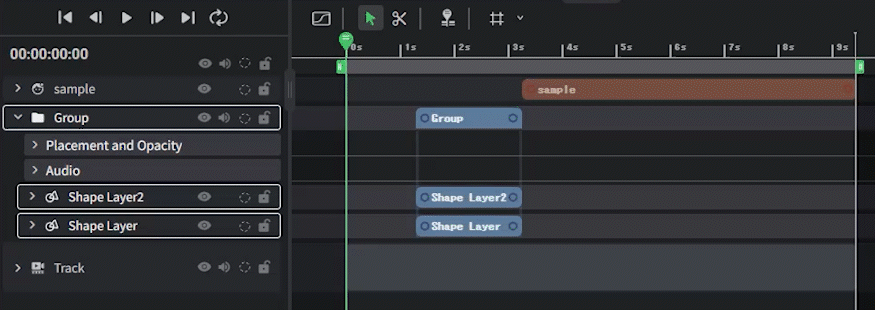
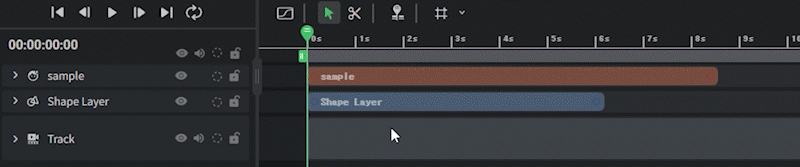
Aligning Layers
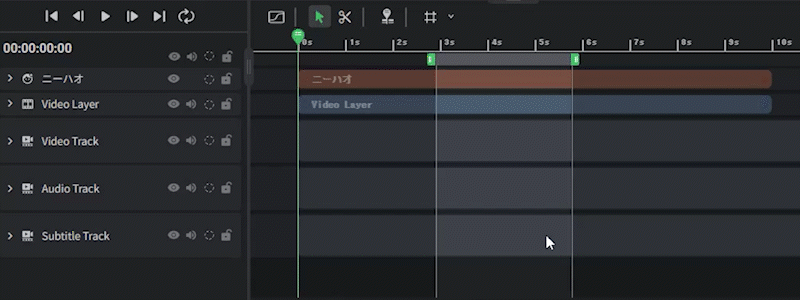
Double-click the left or right edge of a layer or group on the Timeline to align it to the beginning or end of the scene.
If multiple layers are selected, all selected layers will be aligned together.
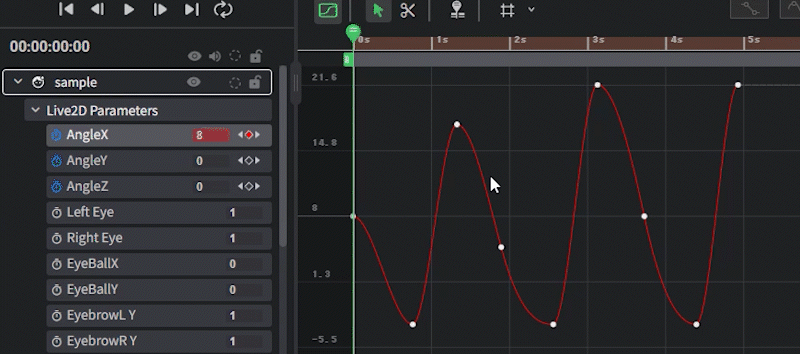
Curve Editor
Click the graph icon in the Timeline toolbar to switch from the Dope Sheet to the Curve Editor.
The Curve Editor allows you to adjust the smoothness and speed of motion between keyframes.
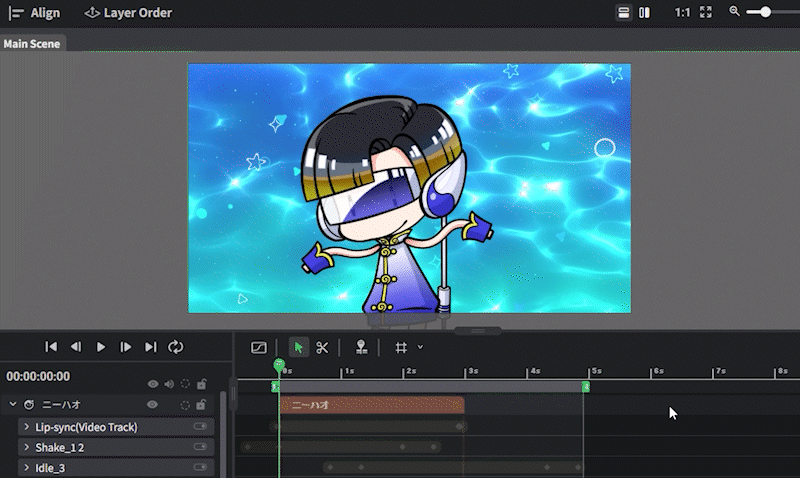
When a property within a layer is selected, the display range of that layer appears as a bar at the top of the Timeline.
*If properties from multiple layers are selected, the bar will not be displayed.

This helps you visually understand the relationship between the layer’s duration and keyframes, making it easier to determine where to place keyframes.
Use this feature to create more advanced animations.
Scrolling and Zooming in the Curve Editor
You can freely adjust the display position and zoom using the mouse.
| Operation | Details |
|---|---|
| ・Spacebar + Mouse Drag ・Middle Mouse Button Drag | Scrolls vertically and horizontally within the Curve Editor. |
| Alt + Mouse Wheel | Zooms the time axis (horizontal). |
Curve Types
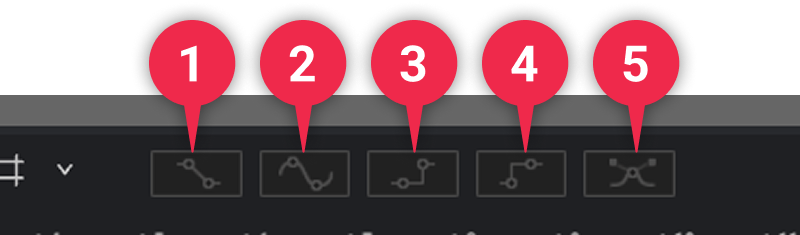
| ❶ | Linear | Connects keyframes with straight lines, creating constant, linear motion. |
| ❷ | Auto Smooth | “Auto Smooth” is the default keyframe interpolation method. When applied, the area between keys is connected with smooth curves. The animation starts moving slowly and decelerates towards the next keyframe. ※The curve is the same as Live2D Cubism’s “Auto Smooth”. |
| ❸ | Step | Connects keyframes with horizontal lines based on the current keyframe value, causing instantaneous changes between frames. |
| ❹ | Inverse Step | Connects keyframes with horizontal lines based on the next keyframe value, causing instantaneous changes. |
| ❺ | Bezier | Connects keyframes with Bezier curves, allowing fine control over motion acceleration and deceleration. |
Bounding Box for Selected Keyframes
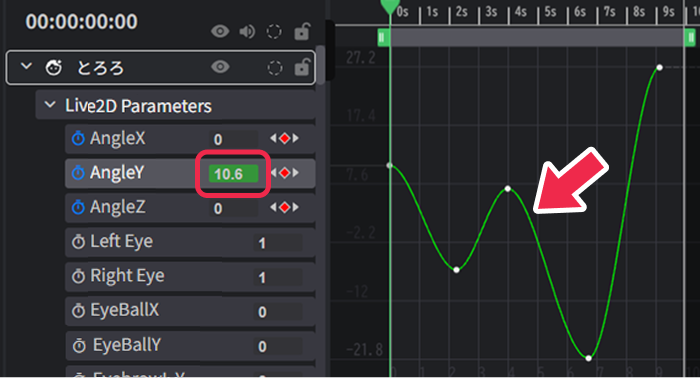
In the Curve Editor, the parameter input fields for each property are displayed in the same color as the corresponding graph.
Parameter Input Fields and Graph Colors
In the Curve Editor, each property’s parameter input field is displayed in the same color as its corresponding graph.
This makes it easier to visually match graphs with their numeric values when working with multiple properties.
How to Operate
- Open the Curve Editor and drag to select the desired keyframes.
- Once selected, a bounding box appears around them.
- Drag inside the bounding box to move all selected keyframes.
Move: Hover near the center until the cursor becomes a four-way arrow, then drag.
Scale: Drag a corner or the midpoint of an edge to scale part of the curve.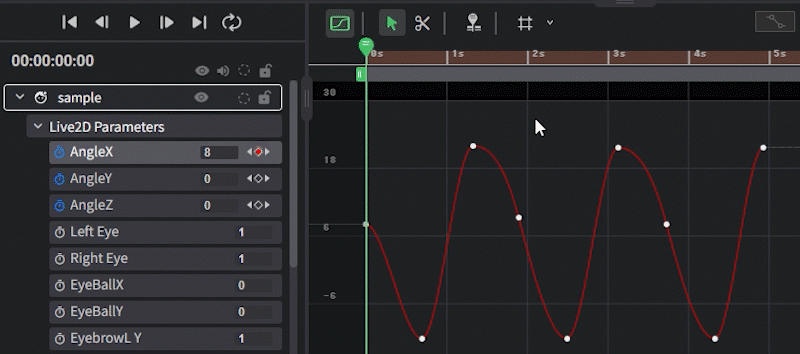
- Press the Delete key to remove all selected keyframes.
Switching Between Locking and Moving the Playback Head
In the Dope Sheet and Curve Editor, you can toggle whether clicking a keyframe automatically moves the playback head.
This behavior is similar to Live2D Cubism Editor and can be switched on or off using the Pin Playback Head button in the Timeline toolbar.
- Off (Default): Clicking a keyframe moves the playback head to that position.
- On: Clicking a keyframe does not move the playback head.
Cut Function
Click the scissors icon in the Timeline toolbar to switch to the Cut tool.

You can split assets such as videos, audio, and Live2D models into arbitrary lengths, extract only the necessary parts, and delete unnecessary sections for detailed editing.
Cut Shortcuts
The following operations allow you to quickly split items using only the keyboard, without the cut tool.
| Operation | Details |
|---|---|
| S | When selecting a layer on the timeline, it splits at the current position of the playhead. |
Copy and Paste Keyframes
Keyframes can be copied and pasted on the same layer with a time offset or pasted onto another layer.
This is useful when applying the same motion or timing to multiple elements.
Copy and Paste Procedure
The procedure is the same in both the Dope Sheet and Curve Editor.
- Select the keyframe to copy and press Ctrl + C.
(Keyframes can be selected from each layer’s properties, such as Live2D parameters.) - Select the destination property, move the playback head to the desired position, and press Ctrl + V.
Keyframes copied in the Dope Sheet can only be pasted in the Dope Sheet, and keyframes copied in the Curve Editor can only be pasted in the Curve Editor.
Copy and paste between different editors is not supported.
Conditions for Pasting
The behavior of keyframe copy and paste depends on whether the source and destination layers and properties match.
Note: This behavior may change in future updates.
Dope Sheet
- Same layer × Single Property
Values and motion are pasted as is. Pasting is possible even if the property differs (e.g., Rotation → Opacity).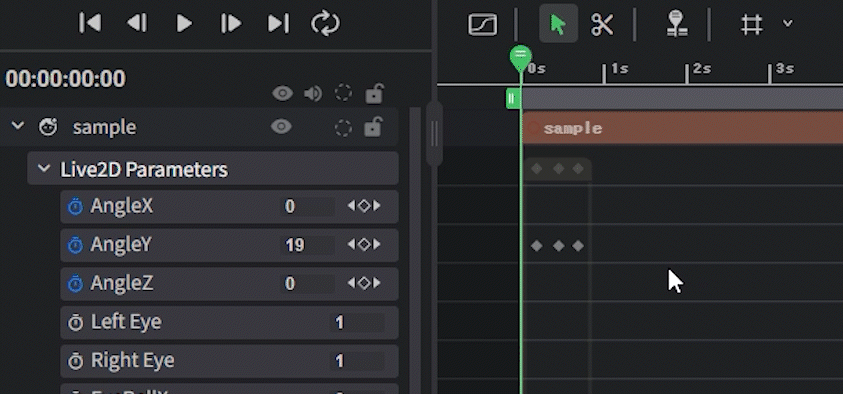
- Same layer × Multiple Properties
Multiple keyframes can be copied and pasted simultaneously.
- Different Layers x Single Property
Pasting is possible even between different layers. Values are automatically adjusted to preserve the curve shape.
- Different Layers x Multiple Properties
Pasting is possible even between different layers. Values are automatically adjusted to preserve the curve shape.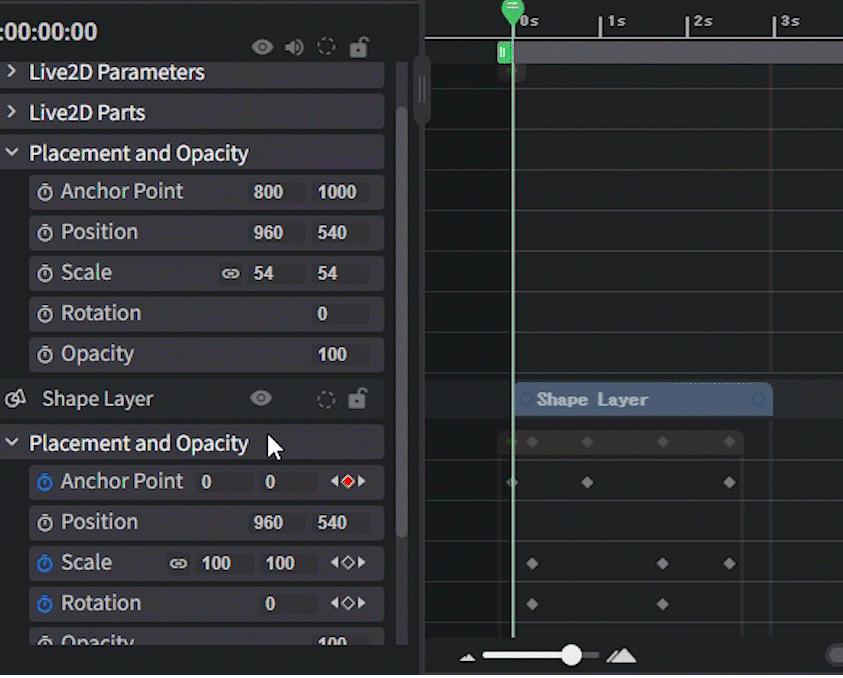
Curve Editor
- Same layer × Single Property
Values and curves are pasted as is. If properties differ, values are converted to preserve the curve shape.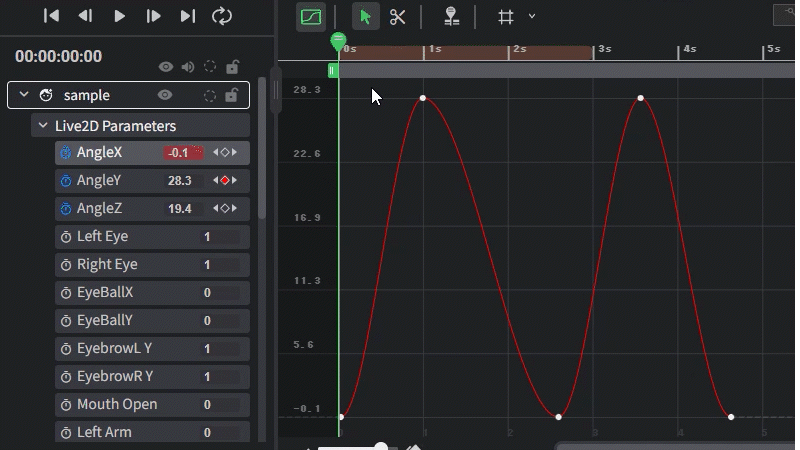
- Same layer × Multiple Properties
Multiple keyframes can be copied and pasted simultaneously.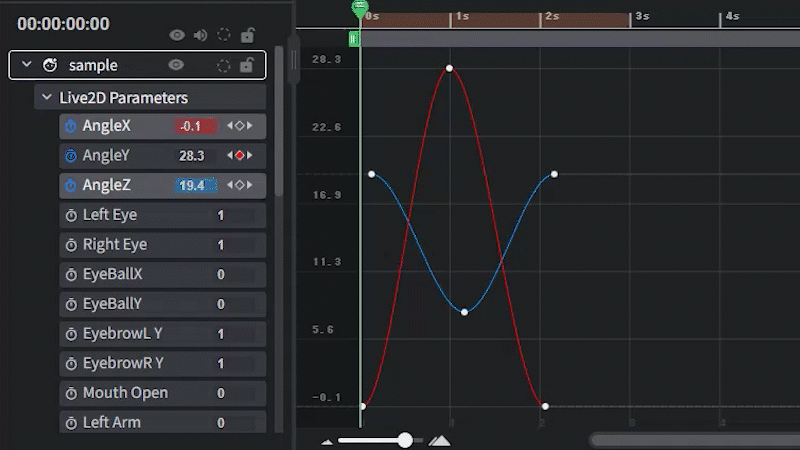
- Different Layers x Single property
Pasting is possible even if property types differ. Values are automatically adjusted to preserve the graph shape.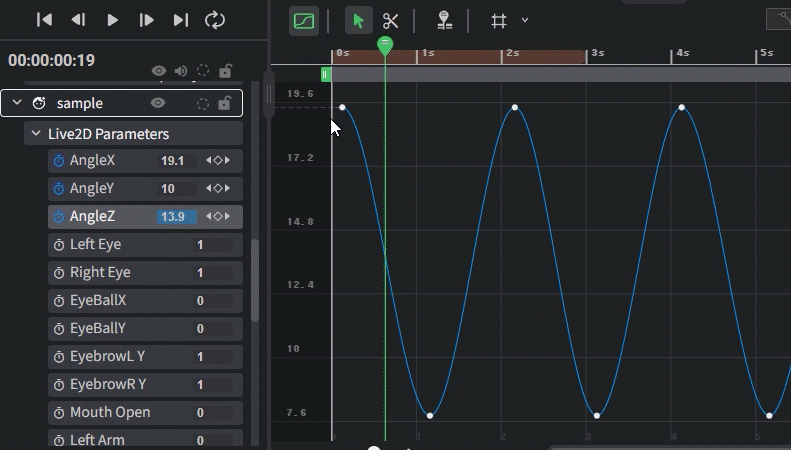
- Different Layers x Multiple Properties
Keyframes are pasted only into properties with matching names.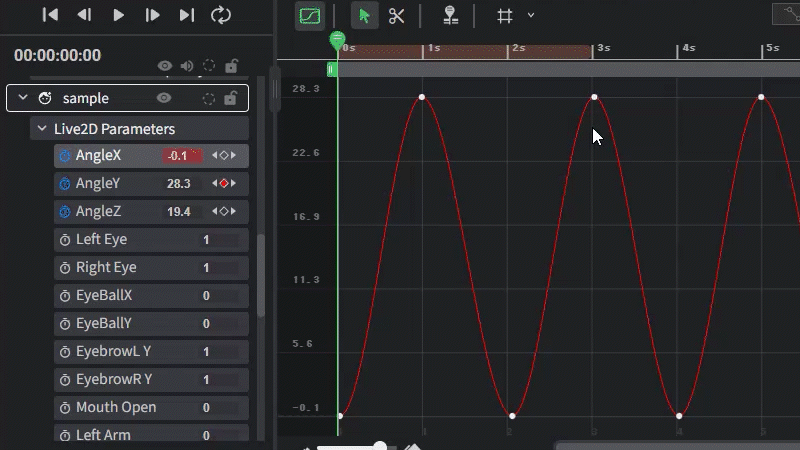
Separating Audio and Video in Video Files
Audio and video can be separated from a video file and edited as independent tracks.
Right-click a video layer in the Layer List or on the Timeline and select Separate Video and Audio to create separate tracks.