Storage
Updated: 06/18/2026
Using storage allows you to reuse image, video, audio asset, and other uploaded materials across various projects.
It saves you the trouble of uploading the same assets repeatedly, enabling you to work more efficiently.
Table of Contents
Basic storage operations
You can open storage from the “Storage” option in the sidebar.
When you open the storage, assets used in other projects, saved assets, and folders are displayed in the palette. These assets can be added and used in the current project.
Saved assets are shared across projects, so the same assets can be used from any project.
Additionally, you can create folders to organize assets or add Favorites for quick access to the desired assets.
Using storage assets in projects
Assets saved in storage can be added to and used on the project canvas.
Clicking the asset you want to use will place it on the canvas.
*Assets within the currently open project are not saved in storage.
To use them (in storage), please add them via “Upload”.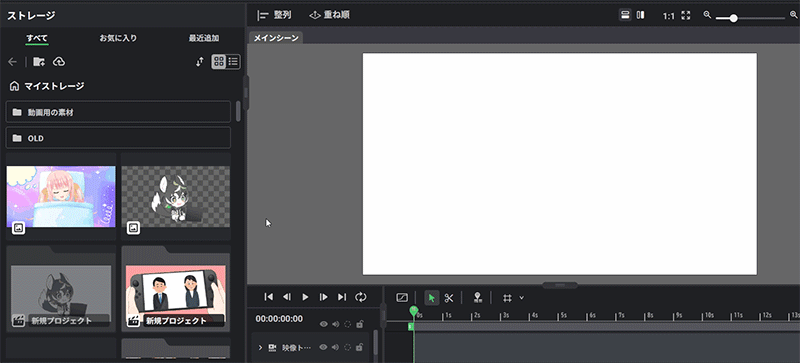
Uploading assets
You can upload and add new assets.
Uploaded assets are saved in storage and can be reused repeatedly in other projects.
How to add
- Add via upload button
Click the upload button at the top of the storage and select files to add.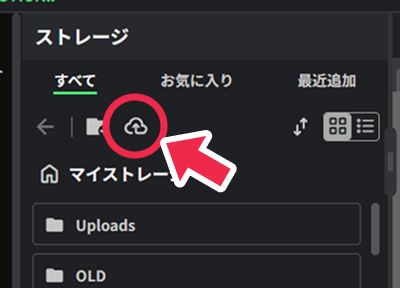
- Add via drag and drop
You can also drag and drop files into the storage palette to add them.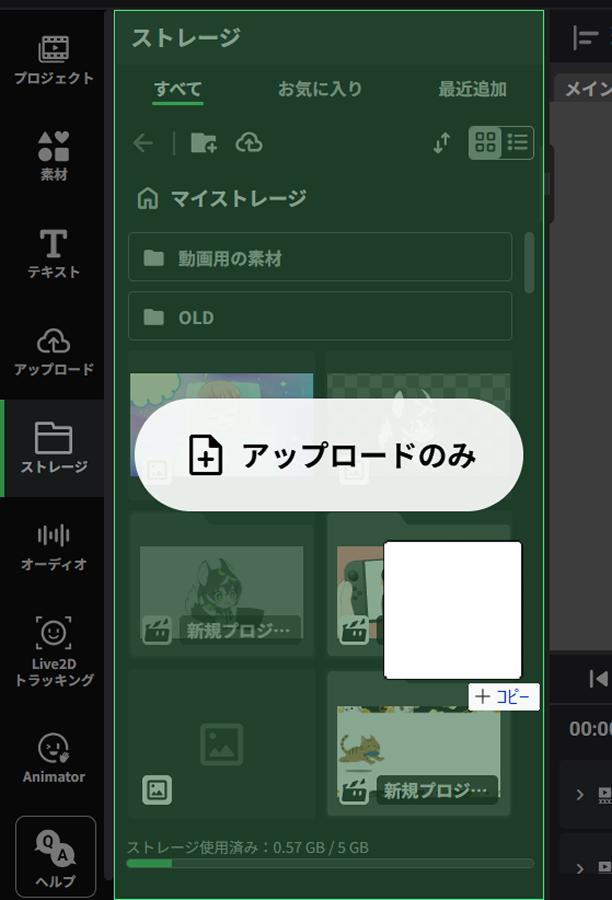
<Supported files>
| Images | png, jpg, jpeg, webp, gif, svg, hdr |
| Videos | mp4 (h.264 codec), webm (vp8, vp9, av1 video codecs and opus audio codec) |
| Voice | mp3, wav, ogg, m4a, flac |
| Live2D | Folders containing Live2D models (such as model3.json) or those compressed in ZIP format. (An uncompressed folder can only be uploaded via drag & drop.) Included exp3.json (expressions) and motion3.json (motions) will be automatically extracted. The extracted expressions and motions will be added to the “Live2D Facial Expressions” and “Live2D Motions” lists in the palette that appears when selecting Live2D layers. |
Creating and organizing folders
You can create folders to organize assets.
By utilizing folders, you can classify assets by purpose or project, making it easier to find the assets you need.
Creating folders
Click the folder creation icon at the top of the palette to create a new folder.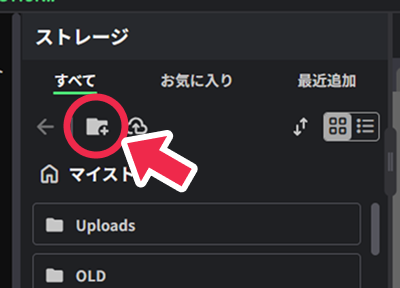
Moving assets and folders
To move assets or folders, select “Move” from the menu (︙) of the target asset or folder.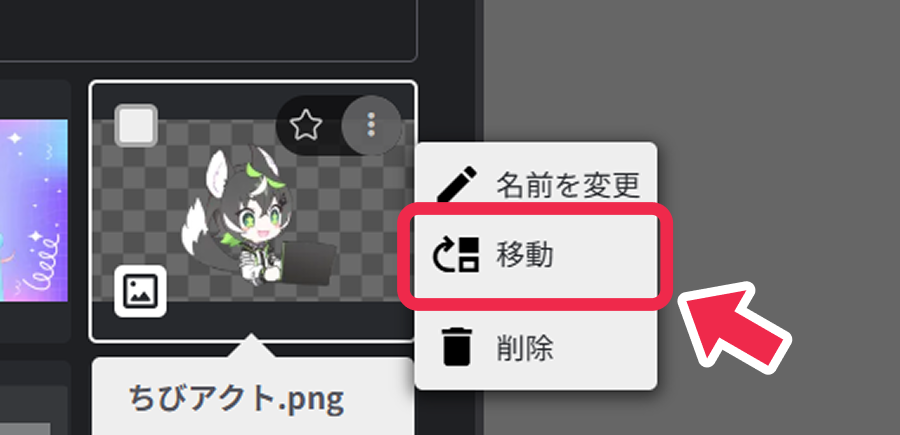 In the displayed dialog, select the destination folder and click the “Move” button to move to the selected location.
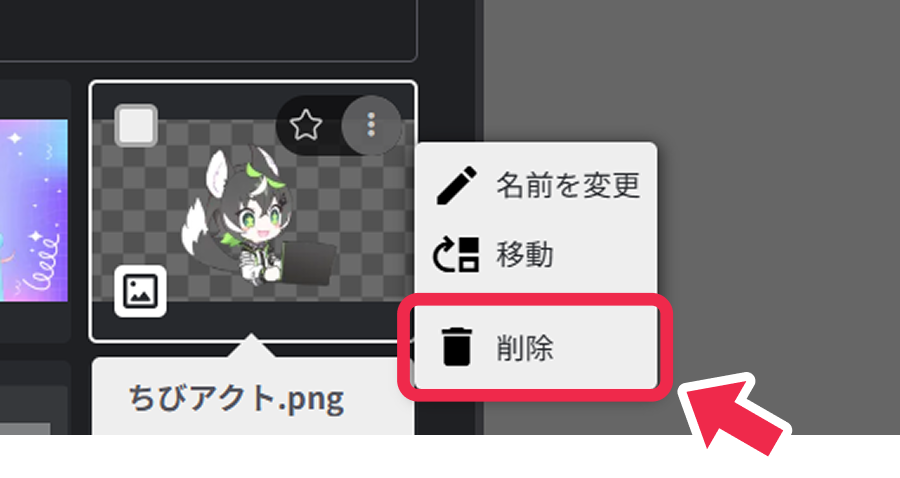
Deleting assets and folders
Assets uploaded to storage and folders created can be deleted by the following operations:
- Select “Delete” from the menu (︙) of the target asset or folder
- Select the target asset or folder and delete it from the menu at the bottom
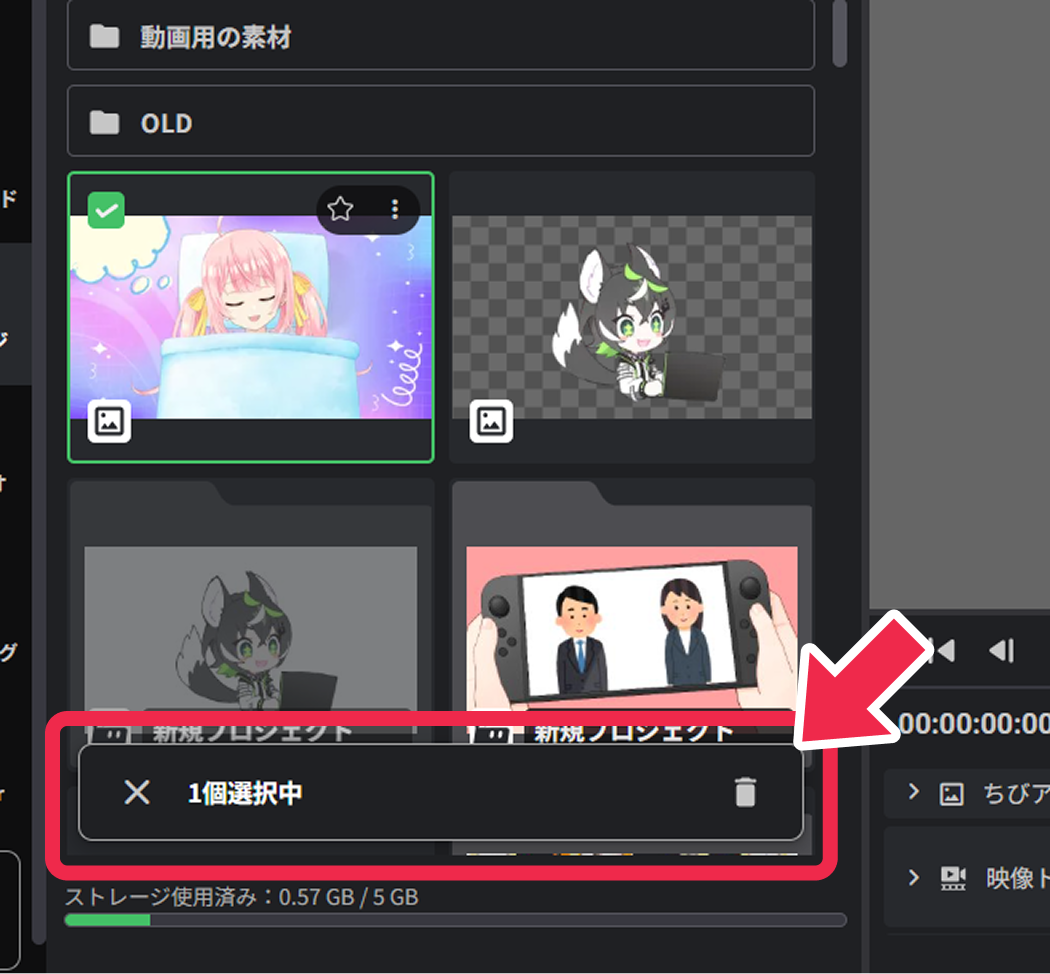
Clicking the checkbox displayed when hovering the mouse shows the number of selected items and the delete menu at the bottom of the palette.
To delete multiple items at once, use this operation for bulk deletion.
Clicking “×” in the menu allows you to deselect all selections at once.