使用Pose功能 (SDK for Cocos Creator)
最終更新: 2023年3月14日
本页说明让Cubism模型控制部件显示状态的步骤。
以下内容以追加到已执行“载入SDK”的项目为前提。
参考“姿势设置”了解如何设置姿势,并参考“Pose”了解SDK的Pose规格。
概述
如果是选中Cocos Creator Editor菜单中的[Live2D/Cubism/OriginalWorkflow/Should Import As Original Workflow]并载入的模型,将为模型设置Pose。
如果您想将Pose功能应用于没有上述设置的模型,您可以按照本文说明的步骤进行设置。
- 清除AnimationClip的曲线
- 在OW模式下重新载入模型
* 在OW模式下重新载入模型时,会同时追加除Pose设置外的OW的组件“CubismUpdateController”、“CubismParameterStore”和“CubismExpressionController”。
清除AnimationClip的曲线
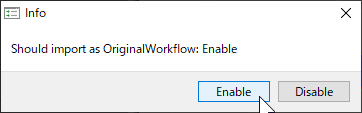
1. 在Cocos Creator Editor菜单中选择[Live2D/Cubism/OriginalWorkflow/Should Import As Original Workflow],并在显示的对话框中设置为Enable。

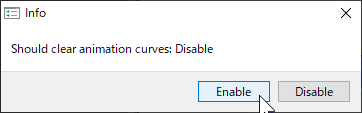
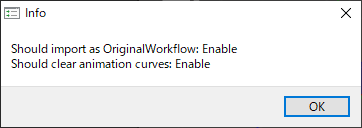
2. 在Cocos Creator Editor菜单中选择[Live2D/Cubism/OriginalWorkflow/Should Clear Animation Curves],并在显示的对话框中设置为Enable。

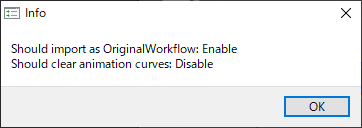
出现以下显示即可。
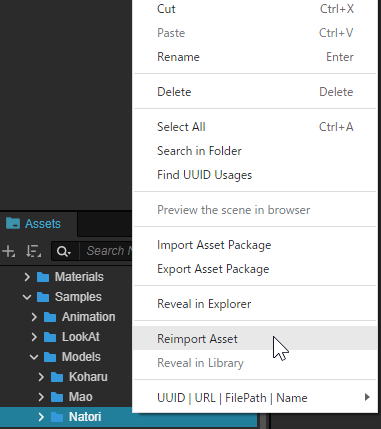
3. 在Projec视窗中,右键单击要设置的模型数据文件夹,然后单击“Reimport”。
在OW模式下重新载入模型
1. 在Cocos Creator Editor菜单中选择[Live2D/Cubism/OriginalWorkflow/Should Clear Animation Curves],并在显示的对话框中设置为Disable。
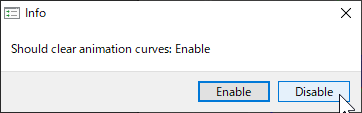
出现以下显示即可。
2. 在Project视窗中,右键单击要重新载入的模型数据文件夹,然后单击“Reimport”。
请问这篇文章对您有帮助吗?
是否