Canvas
Updated: 12/17/2025
The canvas is the work area where layers and objects are placed and edited.
You can freely adjust the animation and design while selecting, moving, scaling, and other operations.
On-canvas operations
On the canvas, you can use the mouse or keyboard to zoom in and out and move the display.
| Operation | Details |
|---|---|
| Mouse wheel | Zoom In/Zoom Out |
| ・Space + drag ・Middle mouse button + drag | Movement |
| Ctrl+Alt+mouse wheel | Zooms in or out on the selected layer around the cursor position. |
| Ctrl + Right Click | Displays a popup menu listing the layers beneath the cursor, allowing you to easily switch and select a layer from the menu. *Even if layers overlap, you can visually switch and select them. *A hidden icon will appear for hidden layers, and a lock icon for locked layers. If a layer is both hidden and locked, only the hidden icon will appear. 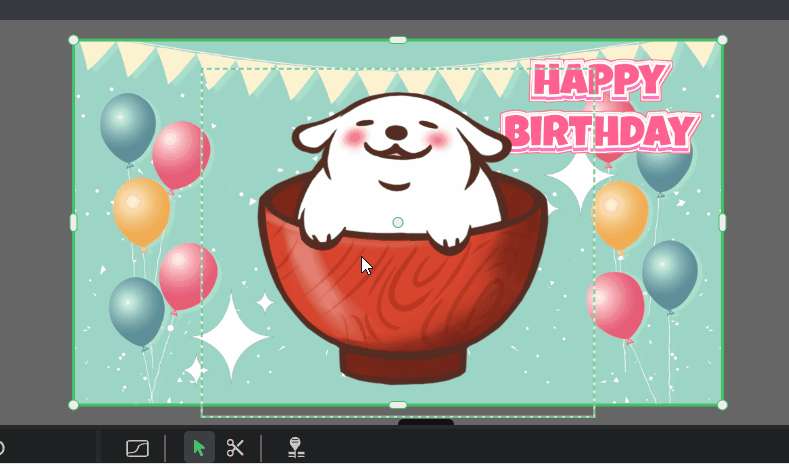 |
| Ctrl + Shift + Right Click | This functions the same as Ctrl + Right Click, but if the target layer is not already selected, it will be added to your selection; if it is already selected, it will be deselected. |
Important Notes
While operating video layers by dragging or other means, the image quality may temporarily appear to be reduced to lighten the processing load.
This preview degradation is temporary and does not affect the output results.
Option bar
The option bar brings together buttons for convenient operations related to the alignment and stacking order of the selected objects and the display of the canvas.

| ➊ | Align | Aligns objects placed on the canvas. |
| ➋ | Arrange | Changes the overlay order of objects placed on the canvas. |
| ➌ | 1 : 1 | Displays the canvas in its full scale. |
| ➍ | Display All | Displays the All canvas. |
| ➎ | Canvas zoom | Zoom out/zoom in the canvas. |
Selected Layer Operations
You can select a layer by clicking on the opaque area of the layer on the canvas. A bounding box (green frame) appears around the selected layer, which can be moved, transformed, and rotated by dragging or using shortcuts.
How to select layers
| Operation | Details |
|---|---|
| Click | Select layer. An off-canvas layer can be selected by clicking within the enclosing rectangle of the layer. |
| Shift + Click | Multiple layers can be additionally selected. |
| Drag | Drag You can select multiple layers at once by enclosing a range. |
Moving Layers
| Operation | Details |
|---|---|
| ・Drag opaque areas of a layer ・Drag the white circle in the center | Move the selected layer. *If you cannot click directly on the layer due to overlapping layers, select the layer on the timeline first, and then drag the white circle in the center of the canvas. 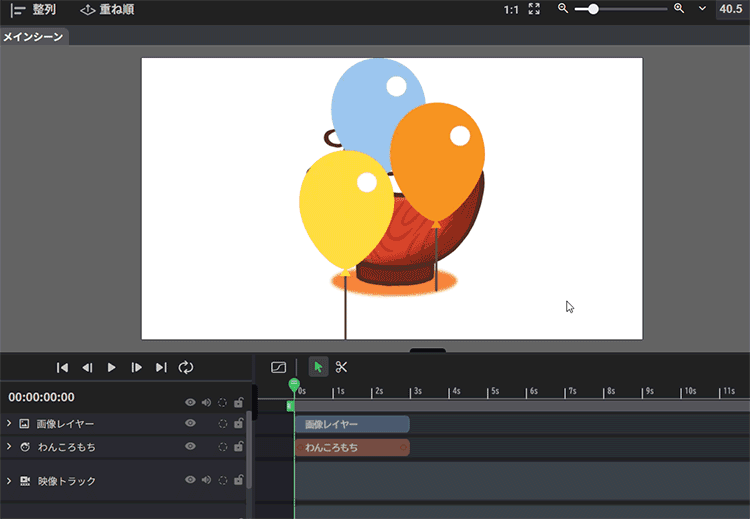 |
| Shift + Drag | Move the selected layer horizontally or vertically. |
| Alt + Drag | Duplicate the selected layer and move it. |
Zoom in/out
You can zoom in and out by dragging the white circles on the four corners of the bounding box.
The cursor changes to  at positions where scaling is possible.
| Operation | Details |
|---|---|
| Drag | Scale up or down while maintaining the aspect ratio. |
| Shift + Drag | Scale freely without maintaining the aspect ratio. |
| Alt + Drag | Fix the center and zoom in or out. |
| Alt + Shift + Drag | Scale the image while keeping the center fixed and without maintaining the aspect ratio. |
Rotation
You can rotate the bounding box by dragging outside the four corners of the box.
In rotatable positions, the cursor changes to  .
.
| Operation | Details |
|---|---|
| Drag | Rotate the layer. |
| Shift + Drag | It can snap and rotate every 45 degrees. |
About Anchor Points
The small green dot that appears when selected is the anchor point (center of rotation/scaling).
*By default, it is hidden in the center of the bounding box (white circle).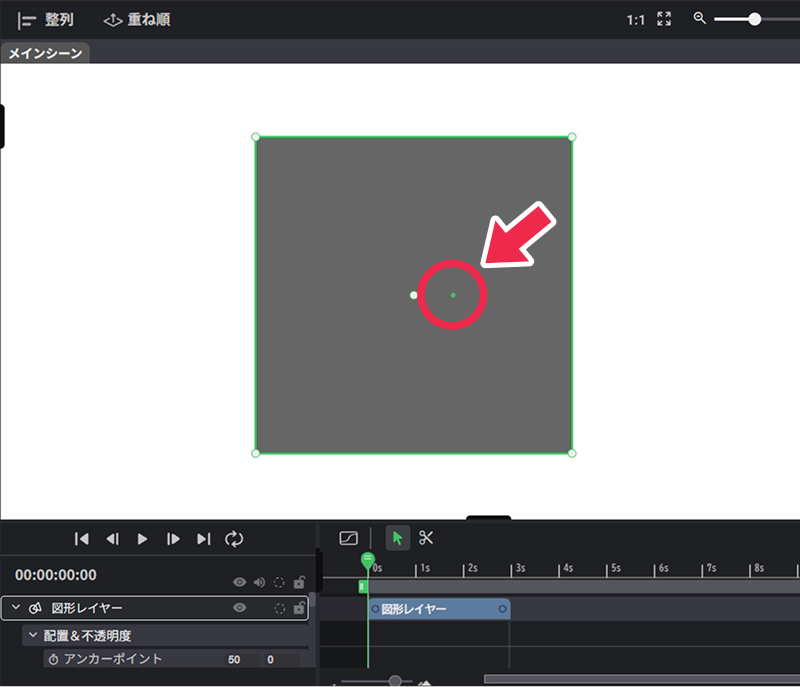
The position of the anchor point can be adjusted from the properties panel.
This is useful for specifying the center point of motion when animating scaling or rotation.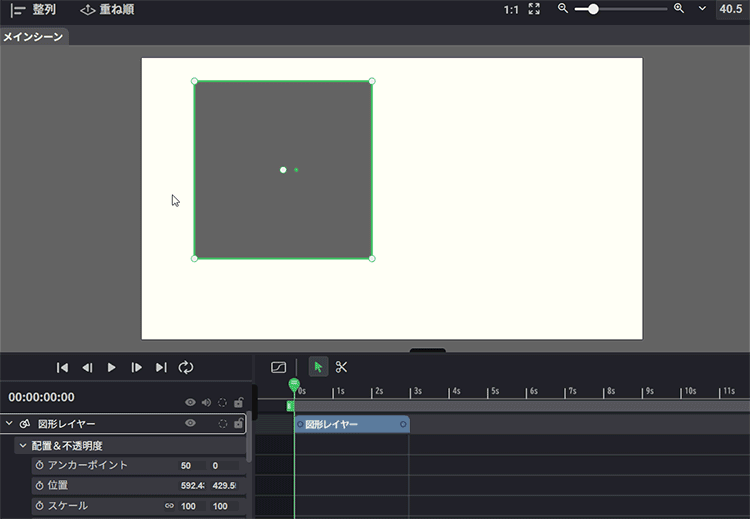
Adjustment of cropping area (image, video, Live2D, panorama layer)
When the target layer is selected alone, elongated white rounded corner handles appear in the center of the four sides.
Drag this handle to trim (crop) the visible area of the layer.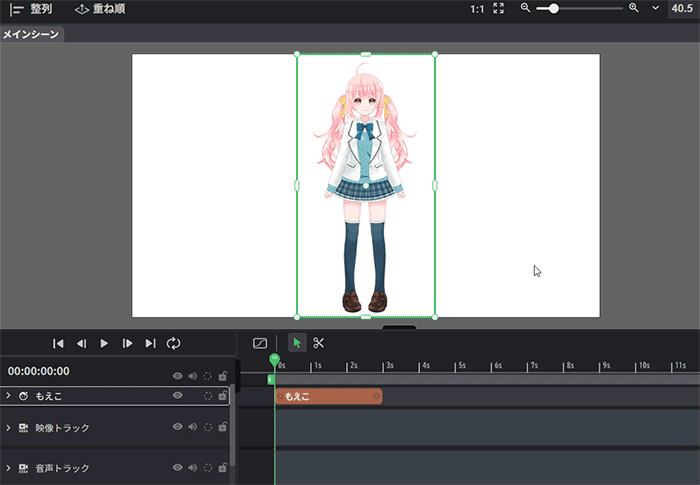
Double-clicking the long white rounded handle will return you to the display range before trimming.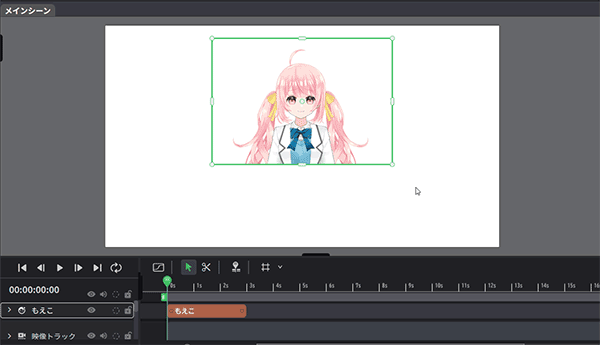
TIPS
The Live2D model initially sets the crop area according to the “document size”.
If the model is cut off in the middle, the display area can be expanded and adjusted.
If you want to display only the upper body, you can make the crop area smaller, which will reduce the size of the bounding box. This also makes it easier to rotate and scale.