6. Creating Animations
You can download the latest Cubism Editor here.

Switch to Animation Mode and add motion to the model you have created.
This section describes basic operation of the Animation Mode.
Basic Tutorial List
- Illustration Processing
- Preparing to Move the Illustration
- Adding facial expressions
- Adding body movement
- Adding XY Facial Movement
- Creating Animations
Tutorial Video
Below are links to the pages in a manual that explains in more detail the items described in the video.
- Model Loading and Placement [0:28]
- Basic Operation of the Timeline [1:20]
- Basic Dope Sheet Operation [2:38]
- Animation Template [3:46]
- Shy Function [4:30]
- Adjustment of Spacing [5:05]
- Graph Editor [5:37]
The completed sample model of “Hiyori Momose” appearing in the video => Click here to download
Video Review
This section describes the operations for attaching motion to the model.
Adding motion makes the model even more attractive, so learn how to use it here!
Edit Mode Types
Live2D Cubism has two modes: Modeling Mode and Animation Mode.
The Modeling Mode is used to add motion to illustrations, and the Animation Mode is used to add motion to created models.
In this page, the Animation Mode will be explained.
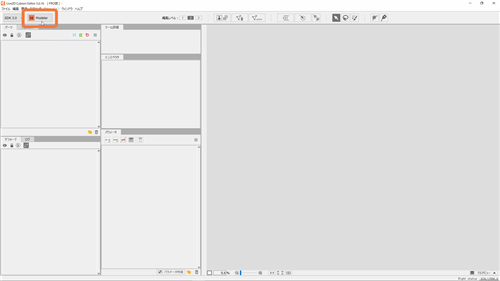
The mode is toggled by pressing the [Modeler]/[Animator] icon in the upper left corner of the Editor.
Load the model
After switching to Animation Mode, load the model file for which you want to create motion.
Drag and drop the model data onto the timeline palette at the bottom of the screen.
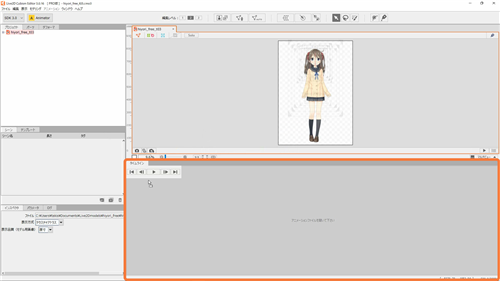
Once the model is loaded, a new scene is added and the model appears on the canvas.
Adjust Model Size
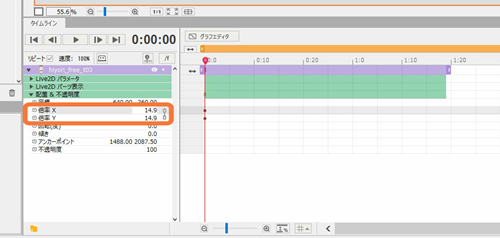
If you want to adjust the size of the model, open the [Placement & Opacity] tab in the Timeline and adjust the size of the model from [Scale].
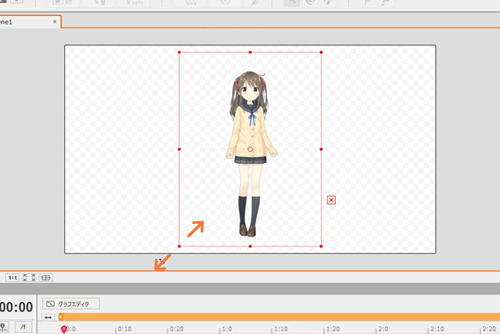
Alternatively, the size can be changed using the bounding box on the canvas.
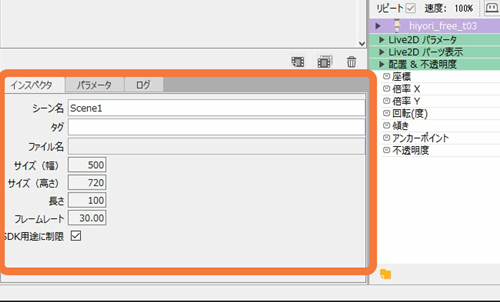
Adjust Canvas Size
The size of the canvas is 1280*720 when newly created, so if you want to adjust it, you can do so from the [Size] settings in the inspector palette.
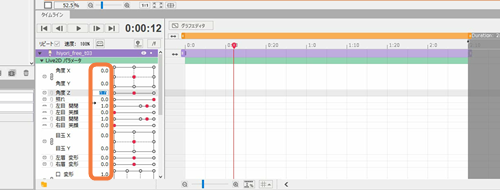
Keyframe Settings
When you have finished placing the model, open the [Live2D Parameters] tab of the purple model track in the timeline palette.
When opened, it displays the parameters you have set in the Modeling Mode.
By moving the slider for this parameter, a keyframe will be hit with that value on the timeline.
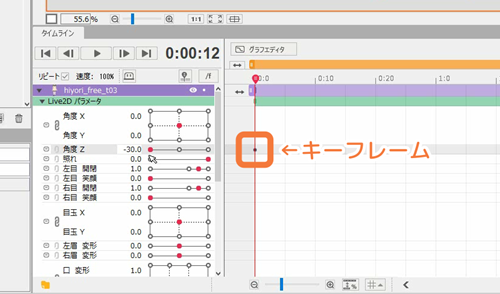
A [Keyframe] is a point struck on the timeline.
To try it out, let’s play around with the parameters and hit multiple keyframes.
If you press the Playback button at the top of the timeline palette with a key being hit, you will see that the animation is performed by automatically inbetweening between the keyframes.
Trackbar and Work Area Settings
When we played back the animation, the model disappeared in the middle of the animation.
The purple bar on the timeline is called the track, which is the display range of the model on the timeline.
The track is shorter than the length of the entire scene so the model disappears in the middle of the scene.
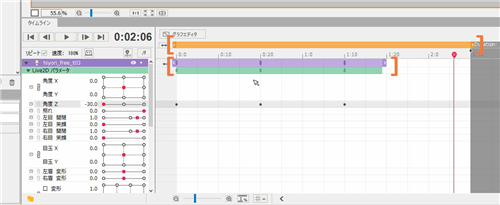
If you want to keep the same model visible throughout the scene, drag the edges of the track to extend it to the full length of the scene.
The length of the scene itself is set in [Duration:] by dragging the left portion of the string to the left or right.
When a scene is extended, the Work Area must also be extended along with it or it will not be visible during playback.
The orange bar indicates the range of the Work Area. If you want to add motion to the end, extend the Work Area to the full scene.
When playing the animation again, the model will not disappear in the middle and will be displayed until the end.
Type of Keyframe Settings
In addition to moving parameters, keyframes can also be placed on the timeline by entering a numerical value next to the parameter.
Keyframes can also be hit by holding down [Ctrl] and clicking on the timeline.
If you hold down [Ctrl], you can hit keyframes in parameter units, or you can click on the green bar to hit keyframes for all parameters at once.
To delete a keyframe, hold down [Ctrl] and click on the keyframe you want to delete, or select the keyframe and press [Delete].
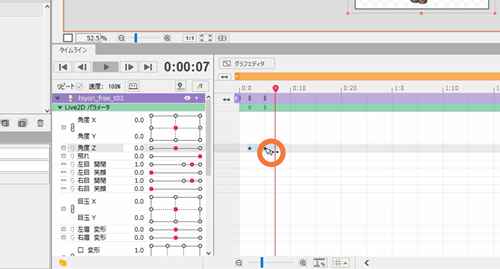
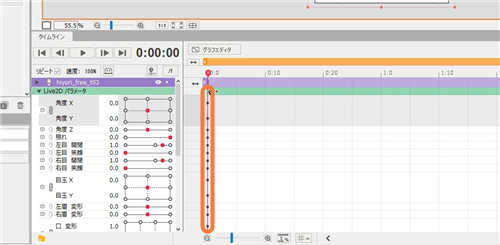
In addition, multiple keyframes can be selected, and they can be moved or deleted at one time.
As you drag on the timeline, the selected area will turn pale blue.
In this state, when the mouse is hovered over a keyframe, an arrow appears next to the mouse, and the keyframe can be moved by dragging it sideways.
You can also copy keyframes with [Ctrl+C] and paste keyframes with [Ctrl+V].
You can also delete keyframes all at one time by pressing [Delete] while they are selected.
Animation Templates
If you want to use the same movement over and over again, it is recommended to save keyframes as “animation templates.”
Select a range of keyframes you want to save and click on [Create New Template] at the bottom right of the template palette.
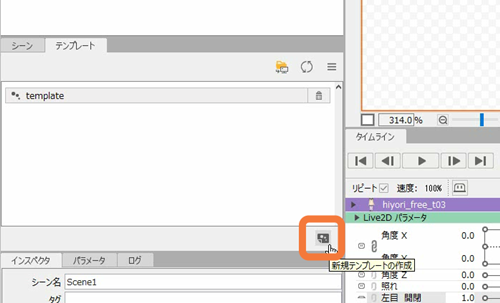
Enter the desired name and click [OK] to save it as a template.
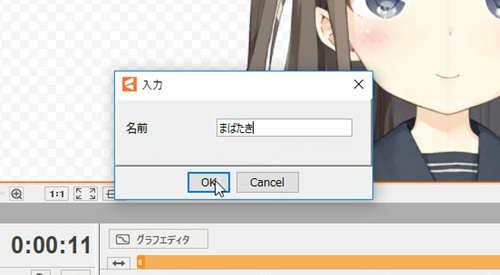

Movements such as eye blinking are used frequently during motion and should be saved as a template.
Shy function
If you hit keyframes for all parameters at frame 0 first, it will be easier to add motion while anticipating the movement.
If you have multiple parameters and find it difficult to edit, use the Shy function and hide the parameters.
Click the small [shy button] on the far left of the parameter you want to hide.

Clicking the large shy button above the track while the shy buttons next to the parameters are pushed in will hide the specified parameters.
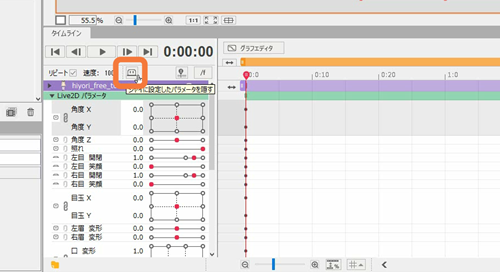
If you want to view them again, just click the large shy button.
This is recommended when adding motion to a model with many parameters.
Adjustment of spacing
If you want to adjust the speed of the entire motion, use the [Adjust Spacing] button at the bottom of the timeline palette with all keyframes selected.
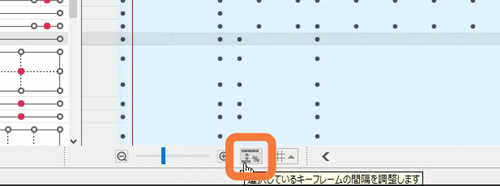
If you apply it at 50%, the spacing between each key is halved and the motion is faster.
Conversely, if applied at 200%, the interval can be doubled to slow down the motion.
It can also be applied partially, so if used properly, it can efficiently improve the quality of motion.
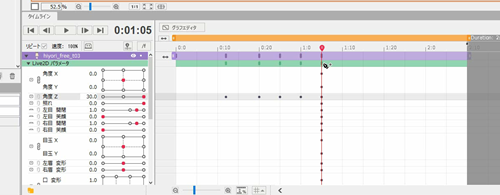
Graph Editor
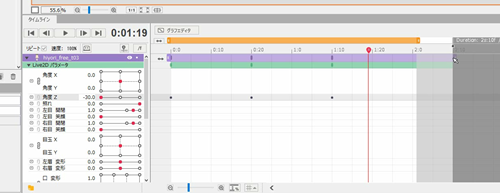
With a parameter selected, click on [Graph Editor] at the top of the timeline to visually check the keyframe transition for that parameter.
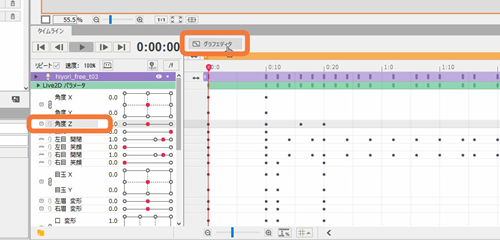
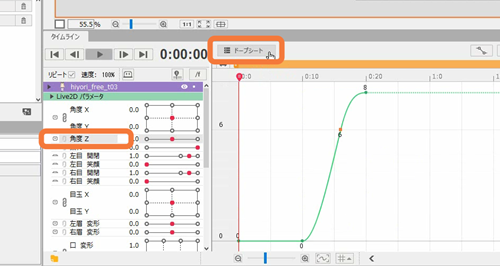
In this state, keyframe values and positions can be edited.
Drag on the timeline and select multiple keyframes to display the bounding box.
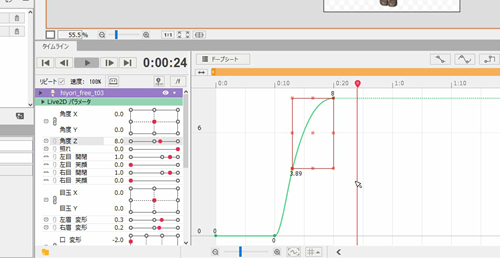
Here, it is possible to change the amplitude of the movement and adjust the spacing.
As with the timeline, keyframes can also be added and removed using [Ctrl].
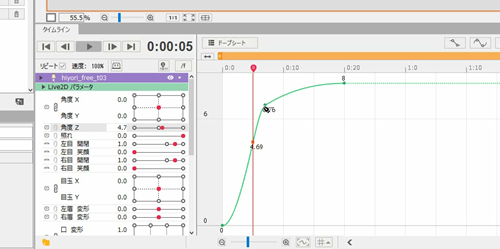
The Graph Editor allows you to intuitively check and edit keyframe values, so be sure to take advantage of it when adding motion.
This is the end of the explanation of how to use the Animation Workspace.
If you want more details about a specific function, please refer to the manual website.
Previous section “5. Adding XY Facial Movement”